Setup the Extranet
I. Extranet Settings
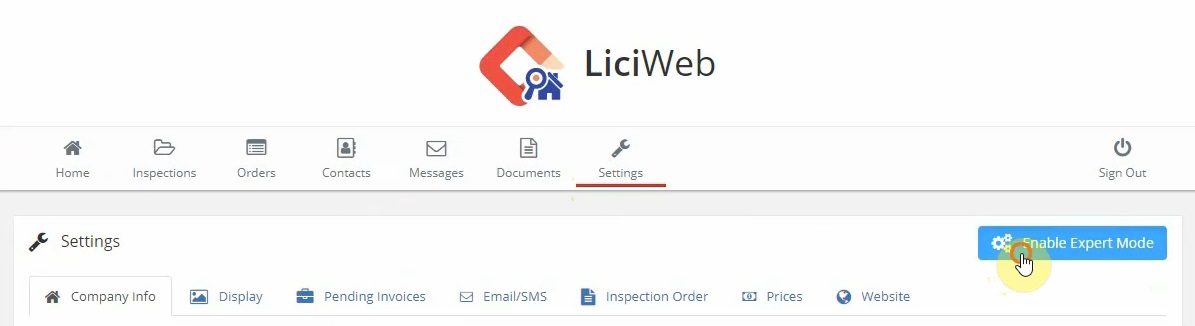
Select “Settings” from the ribbon.
Click “Enable Expert Mode” to display all of the preferences available.
II. Company Information
Use the tabs to go through the different settings sections. Select “Company Info”.
Begin filling out the information.
Notice that each area has a “Save” button.
The “Save” button will only save the information for that specific area.
Here you can edit the content displayed in the Extranet home as well as the legal notices.
Click “Save” for each area individually to save the changes.
III. Display
The second tab in the settings is “Display”.
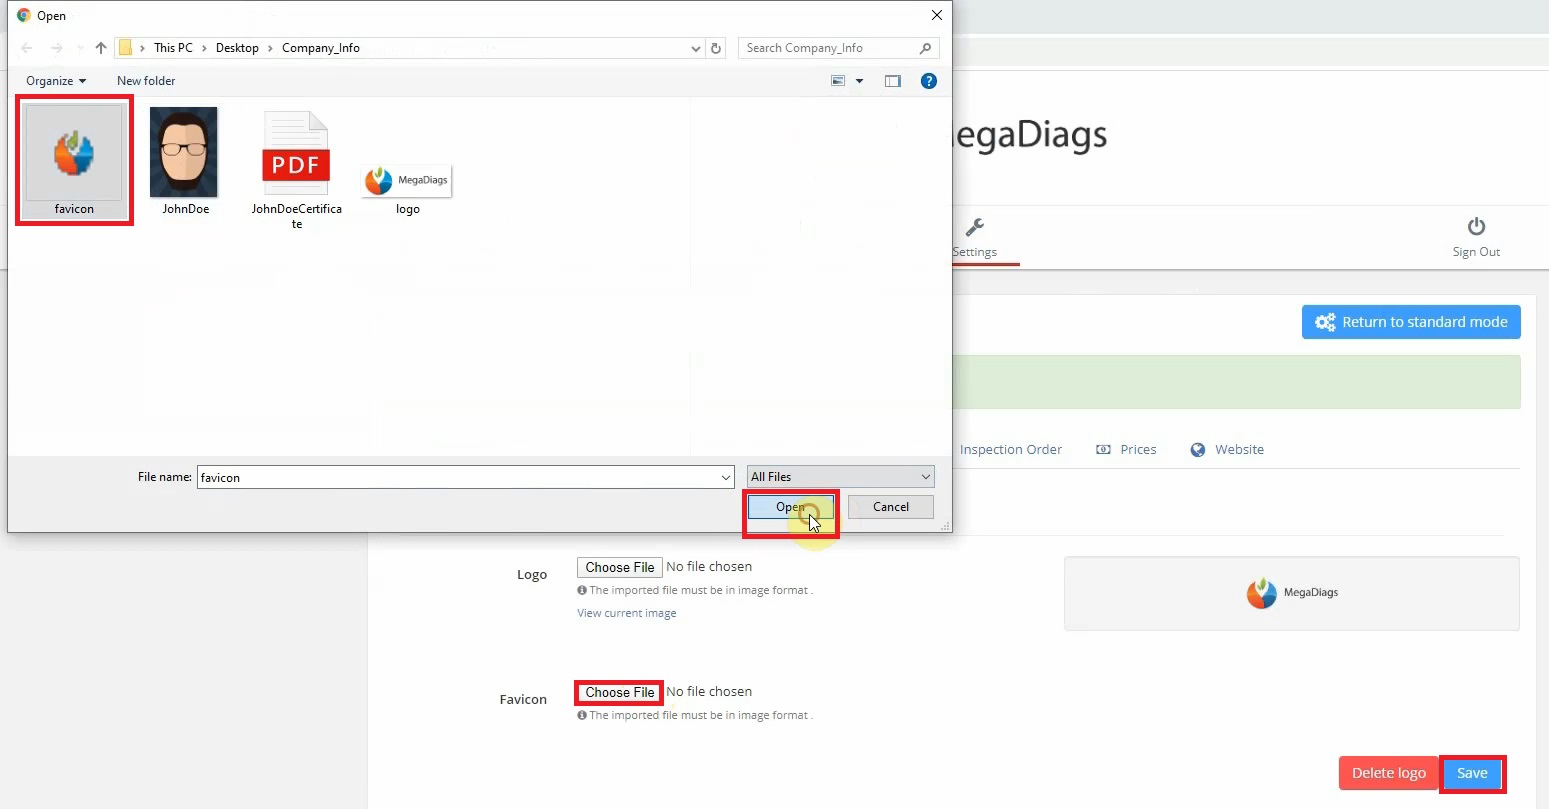
Here you can select the logo which will be displayed at the top of the Extranet.
The favicon is the icon displayed in the browser tab.
To add a logo or a favicon, click “Choose File”, select an image and click “Open”.
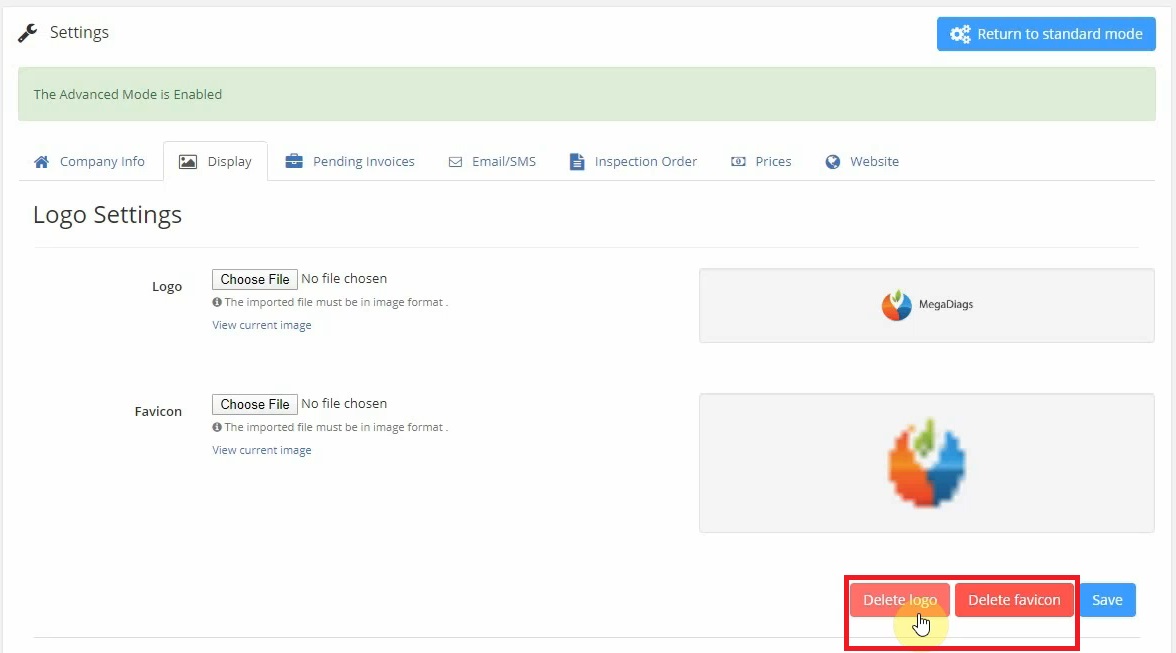
Click “Save” to save the image.
You can delete them by clicking “Delete Logo” or “Delete Favicon”.
Scroll down to the “Customization Settings”.
These allow you to modify the style of the Extranet.
Style your Extranet to match your company’s color scheme.
Click “Save” to save your changes.
IV. Pending Invoices
Click the third settings tab “Pending Invoices”.
Set your preferences for unpaid inspections.
This includes whether clients can download files for unpaid inspections and the capability to add watermarks on PDFs that are missing payments.
To keep your changes, click “Save”.
V. Email / SMS
Click the next tab “Email/SMS”.
This tab lets you manage your email templates and setup your SMS settings.
The email templates let you set up a default email that will later fill in the customer and property information.
Click the button “Choose here the templates to edit”.
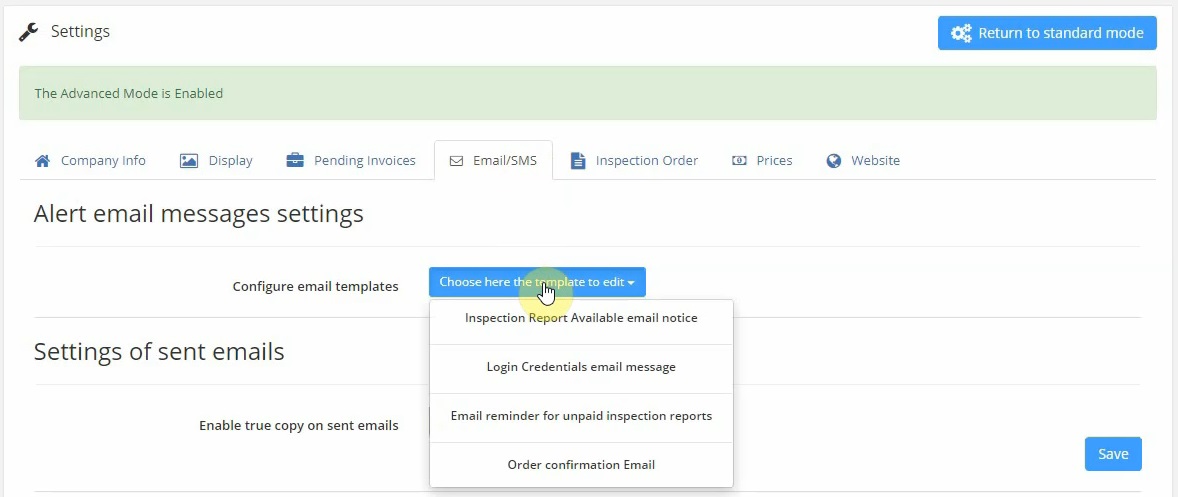
Select any template from the drop-down.
Edit the text if needed and then select a tag from the right hand side and drag it into the left hand side.
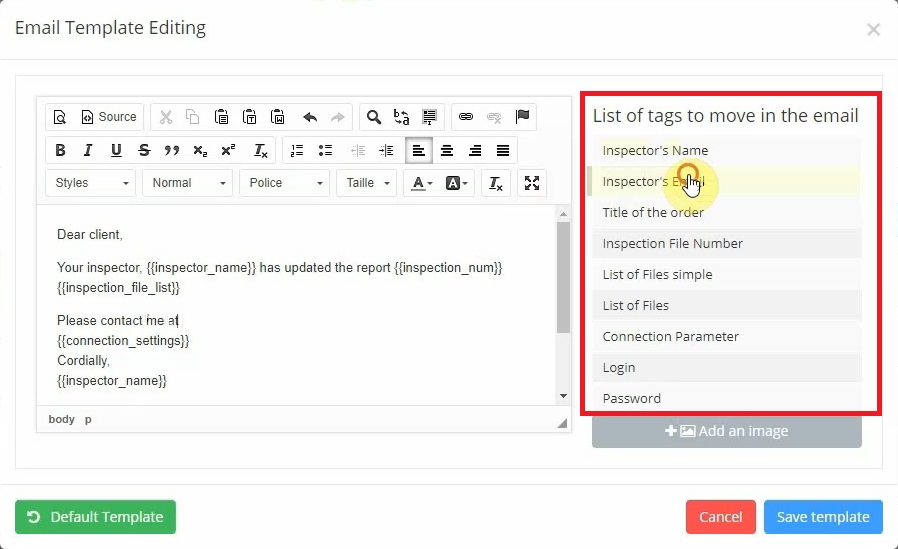
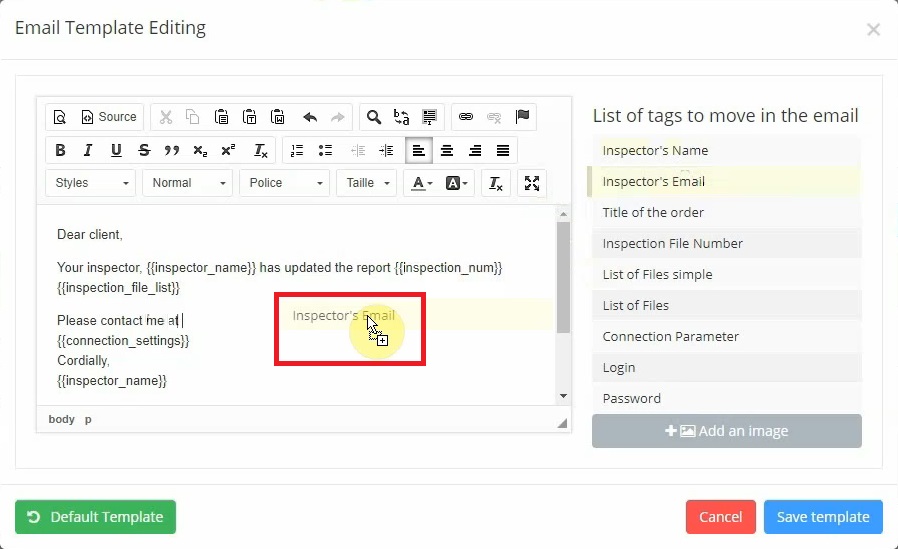
The tags will be replaced automatically with the correct information.
Click “Save Templates” to save your changes.
If you would like to return to the original template, open the template again, and click “Default Template”.
This will undo any changes you’ve made.
Click “Save”.
Just below that is “Configure your SMTP server”
Next is SMS configuration.
This allows you to send text messages to your clients when their inspection reports are completed and for submitting payments.
Set the subscription option to automatically add SMS credit to your account.
VI. Inspection Order
The fifth tab “Inspection Order” allows you to select which services to offer.
These will be the services displayed in the estimate wizard if it is enabled on your website.

VII. Prices
The following tab “Prices” lets you set up the estimate wizard.
If you are using a Liciel customizable website, you have the option of using a contact form or an estimate wizard.
When the estimate options are “off”, the customizable template will have the contact form.
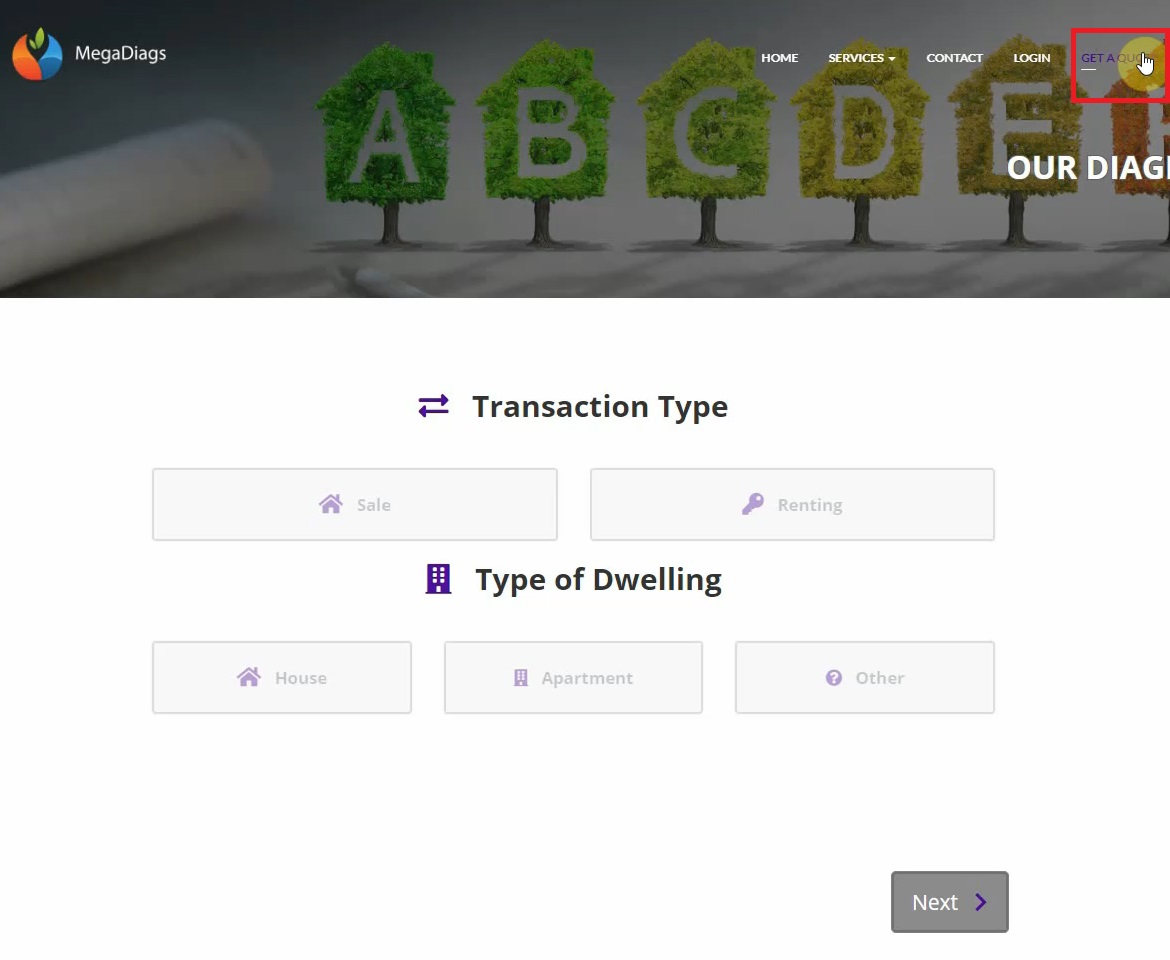
On the website, when the client goes to “Get a Quote”, the contact form will open.
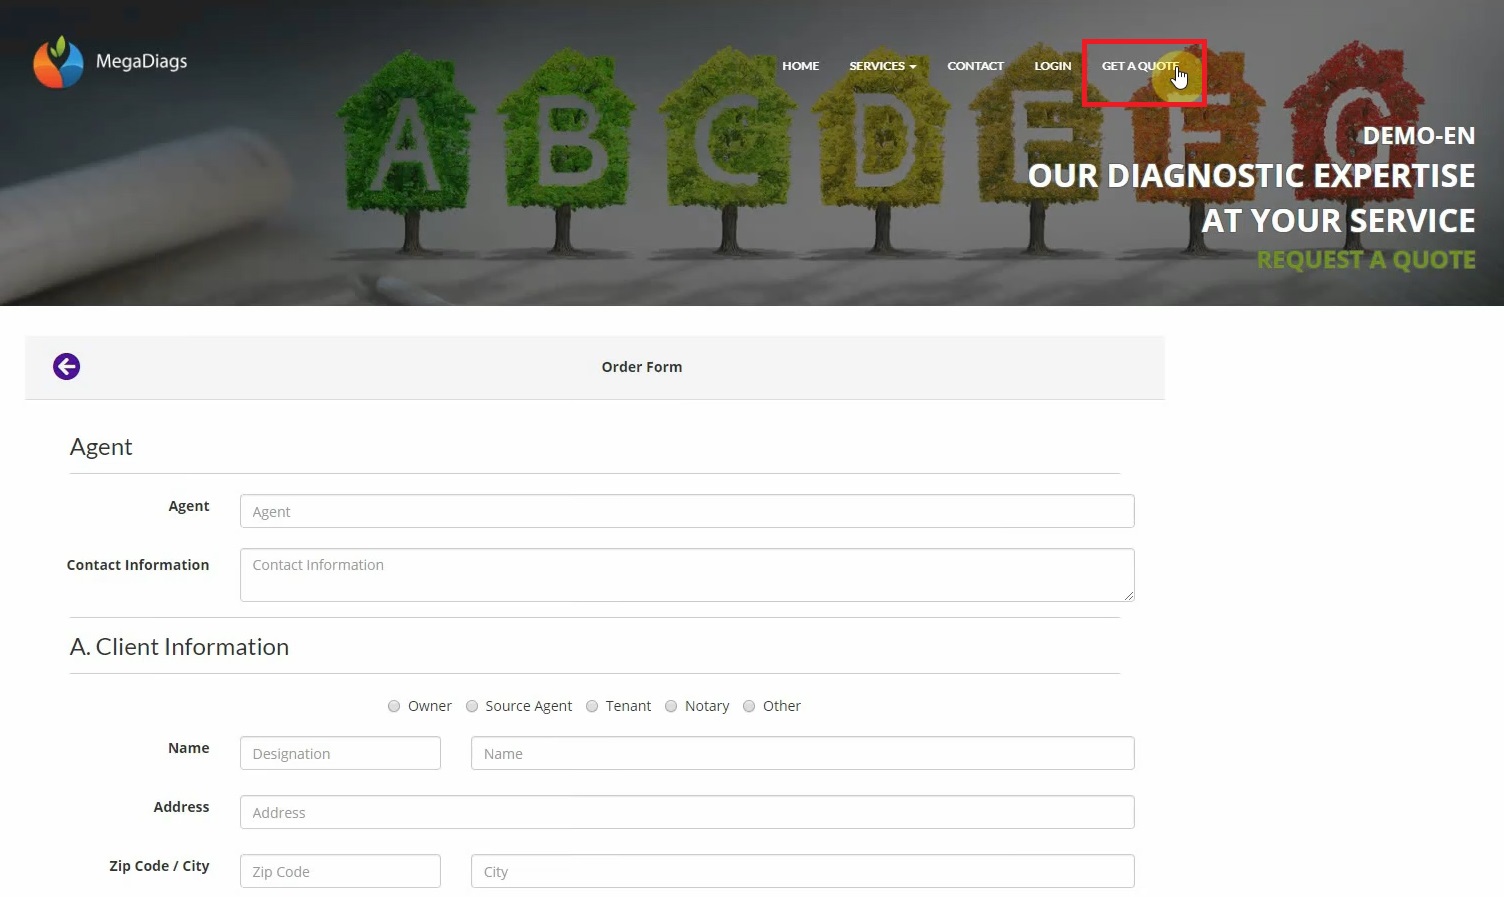
The clients can enter their information and submit the order form.
Submit an order.
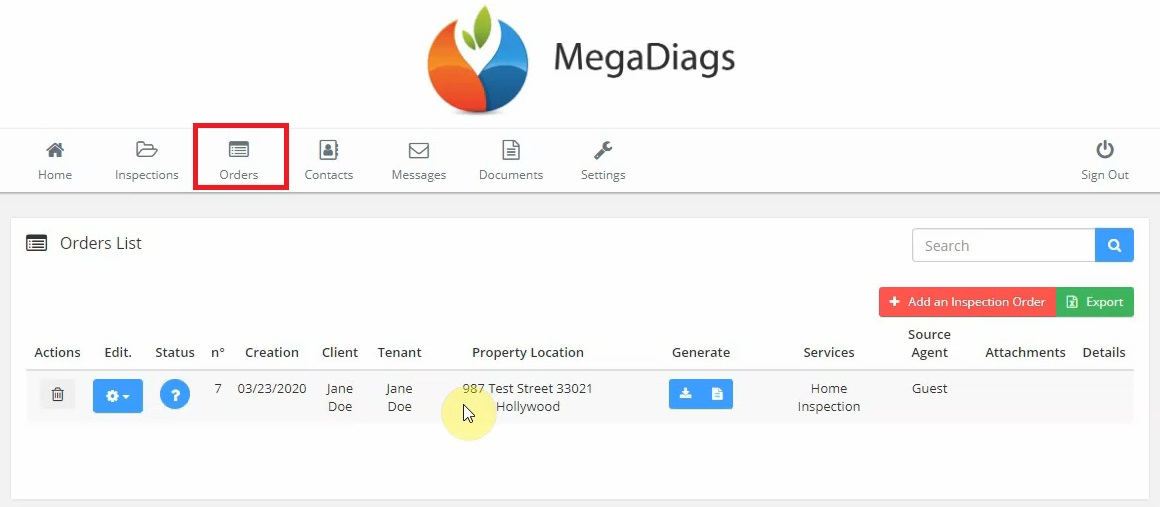
Go back to the Extranet, from the ribbon click “Orders”.
Notice that the order just submitted through the website has been added to the list of orders.
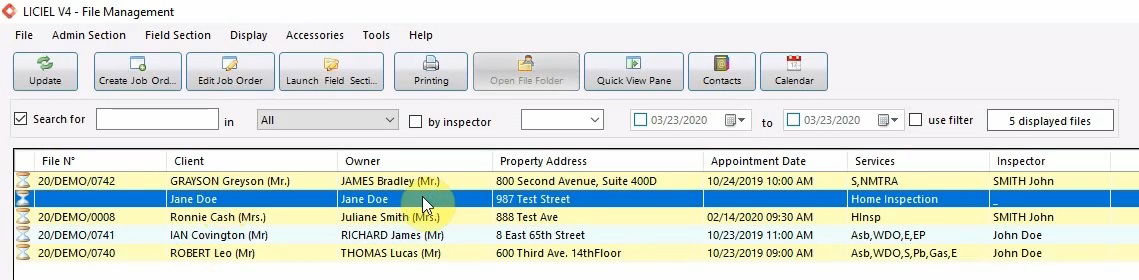
The new order has also been added to the Liciel Inspection Software.
Open the Liciel Inspection Software.
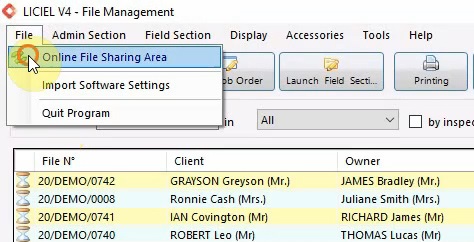
From the toolbar, click “File” and then select “Online File Sharing Area”.
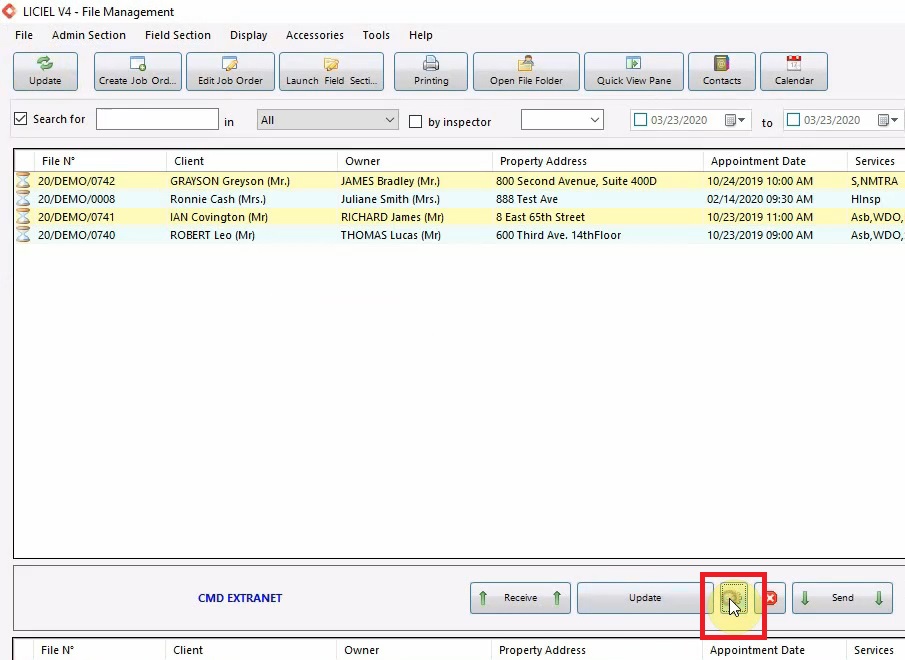
The bottom of the screen will show the file sharing area.
Click the gear icon in the file sharing area.
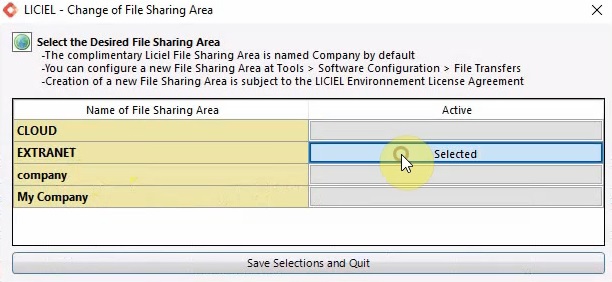
Select “Extranet” from the popup to view the files in the Extranet.
Select the newly created order and click “Receive” to receive the order in the Liciel Inspection Software.
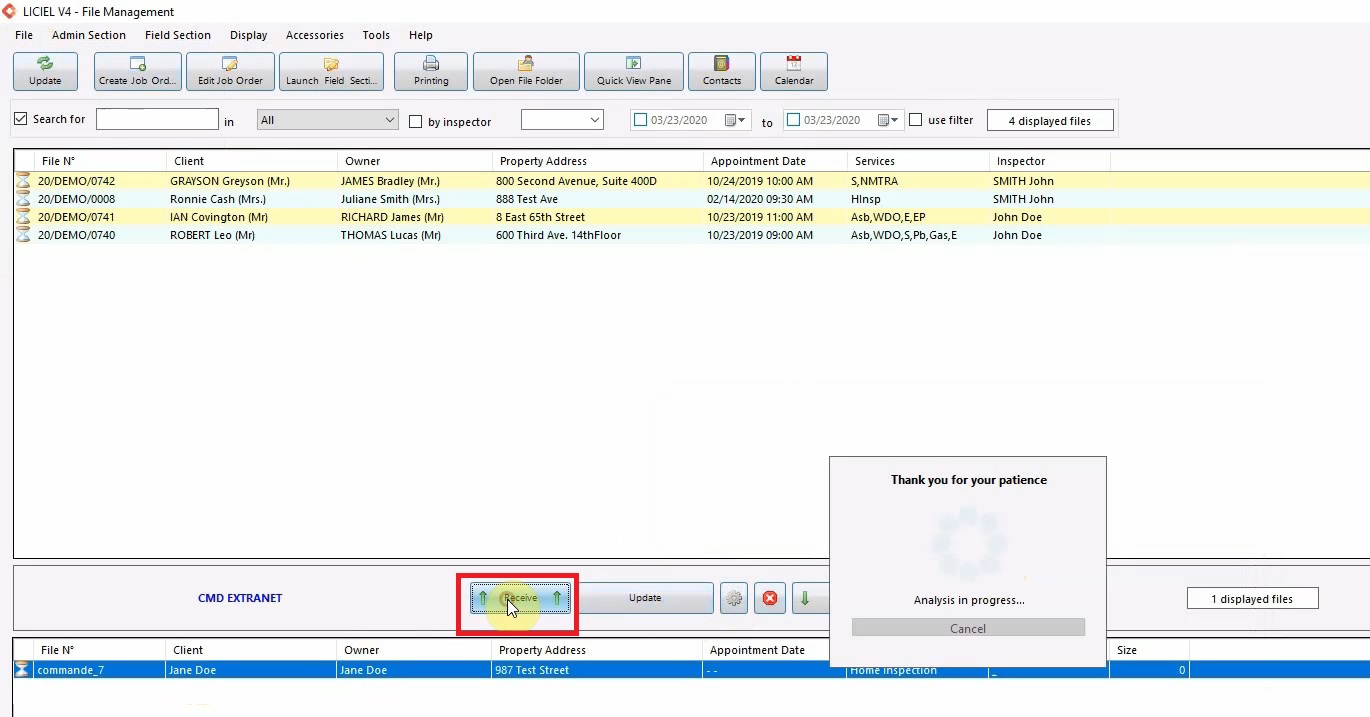
Notice that the order is now in the File Management area, you can proceed with the inspection.
Let’s go back to the Extranet.
Now that we went over the contact form, let’s discuss the estimate wizard.
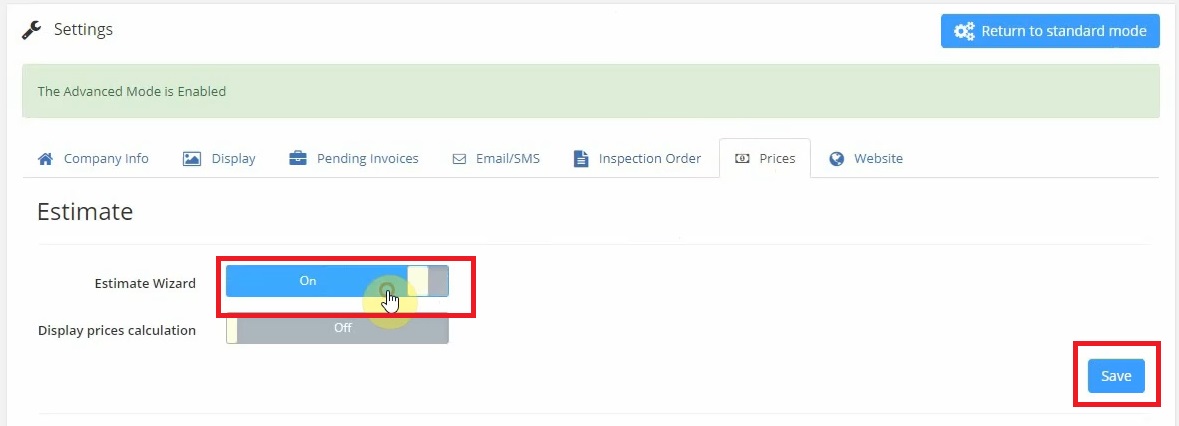
Select “Settings” from the ribbon and click the “Prices” tab.
Enable the “Estimate Wizard” and click “Save”.
On the website, when the client goes to “Get a Quote”, the contact form has been replaced by the estimate wizard.
The client can go through the wizard and submit an order.
This order will appear in the Extranet under “Orders”.
The estimate wizard has the capability to provide users an estimate calculated using the information they provided.
From the Extranet settings, turn on “Display Prices Calculation”. Click “Save”.

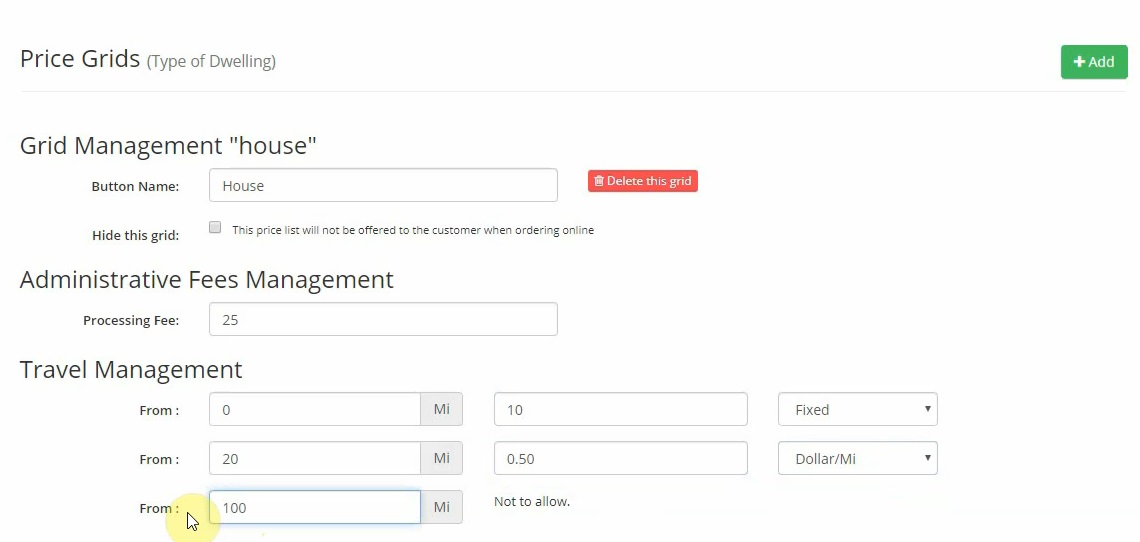
Fill out the Price Grid with the values that will be used to calculate estimates.
Enter a button name.
The example below, uses “House” for the purpose of this demonstration.
This will be one of the options the client can click in the estimate wizard.
Enter a processing fee if any.
This will be added to the rest of the estimate.
Enter the travel management information to charge the distance traveled.
This is calculated using the property address and the office address.
The charge can be set to calculate per mile or with a fixed cost regardless of miles.
If you would like to prevent orders that are beyond x number of miles away from the office, enter the maximum number of miles in the last box.
Depending on the inspections they add to their order, the estimate will change.
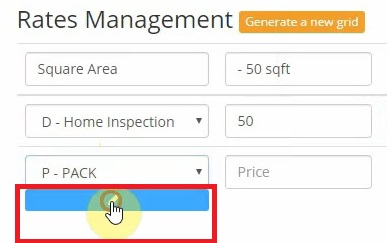
Notice that the top part of the grid in “Rates Management” begins sorting the rates by square area.
To the right of “Square Area”, enter the dimensions used to calculate the estimate.
These size ranges can give you an idea of how long the inspection might take so you can charge accordingly.
After the first line of the grid, you will add the services you offer and how much you charge depending on the square area.
For example, select “Home Inspection” from the drop-down.
Then go down the row and enter the prices for that service for that square area range.

Click the “Plus” sign to add more services.
Just below the “Rates Management” grid, is the package management.

Click the edit icon under the package to select the inspections that will be included in this package.
When the popup opens, enter the package name and use the checkboxes to select the inspections that will be included in this package.
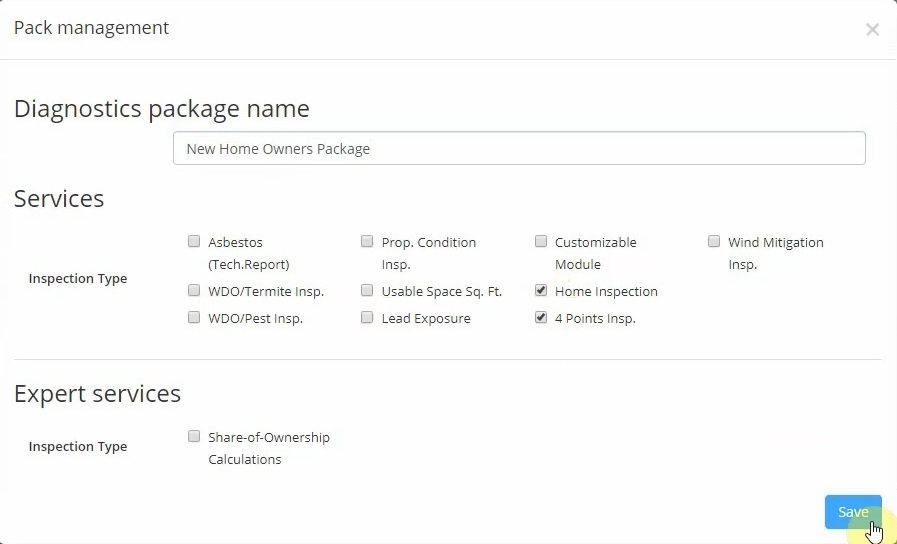
Click "Save" to save your changes.
If you would like to give a discount depending on the number of inspections, enter those preferences in the package management area.
This allows clients that order multiple inspections to receive a discount.
Click “Save” to save the grid.
Once saved, notice that the button “House” has been added next to the “Add” button.

To add another price grid, for example, a price grid for “Apartments”, click the “Add” button.
Enter the name of the new grid.
Notice that the new grid has been added next to the house grid.
Enter the information for travel management and rates management.
Click “Save” when done.
On the website, when a client clicks “Get a Quote”.
Notice that the estimate wizard has the two price grid buttons we just created: “Apartments” and “House”.
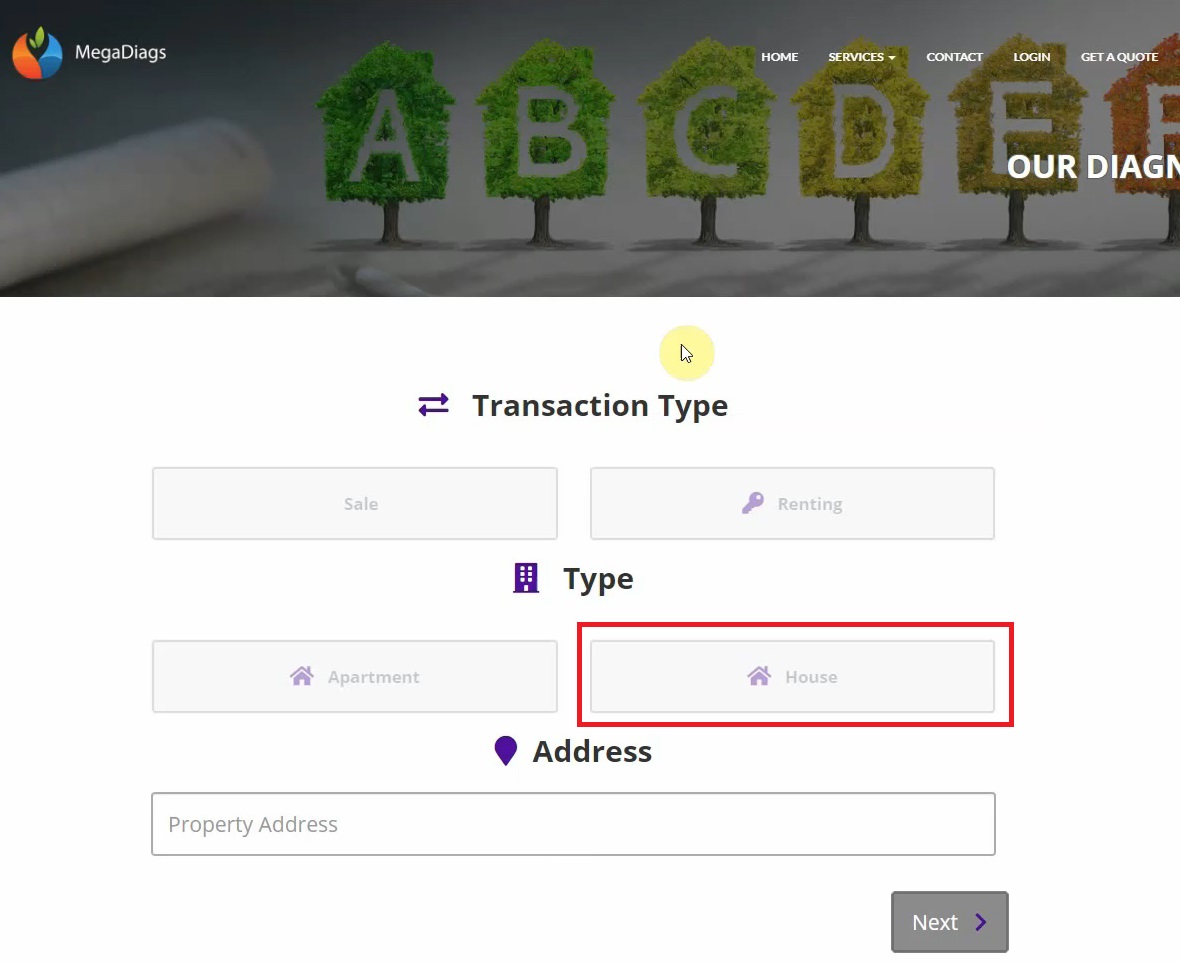
Select either and click “Next”.
Here you will see the square area options from the grid.
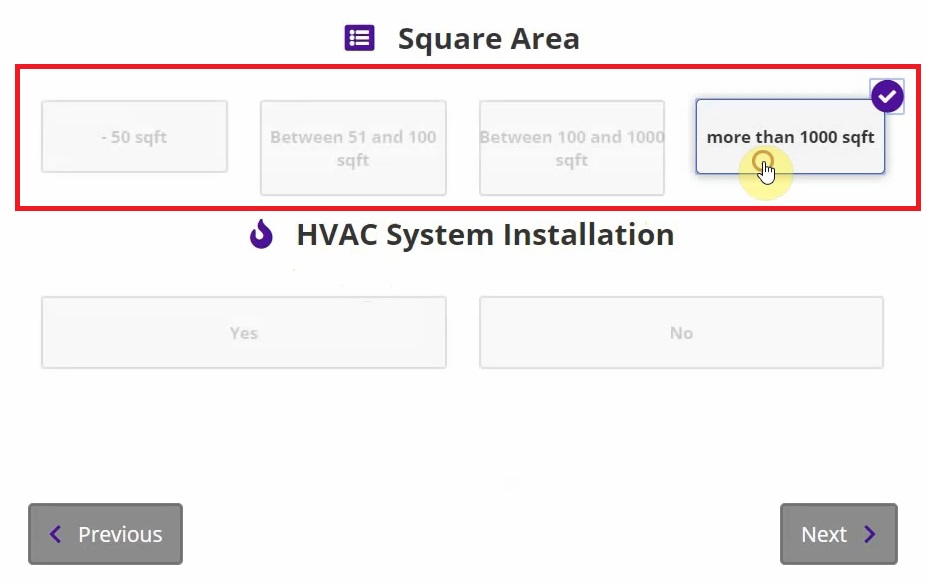
Enter the rest of the information.
Depending on the square areas, the estimate for the services will change.
Click “Next”.
As clients select the services to add to their orders, the cost estimate will reflect the changes.
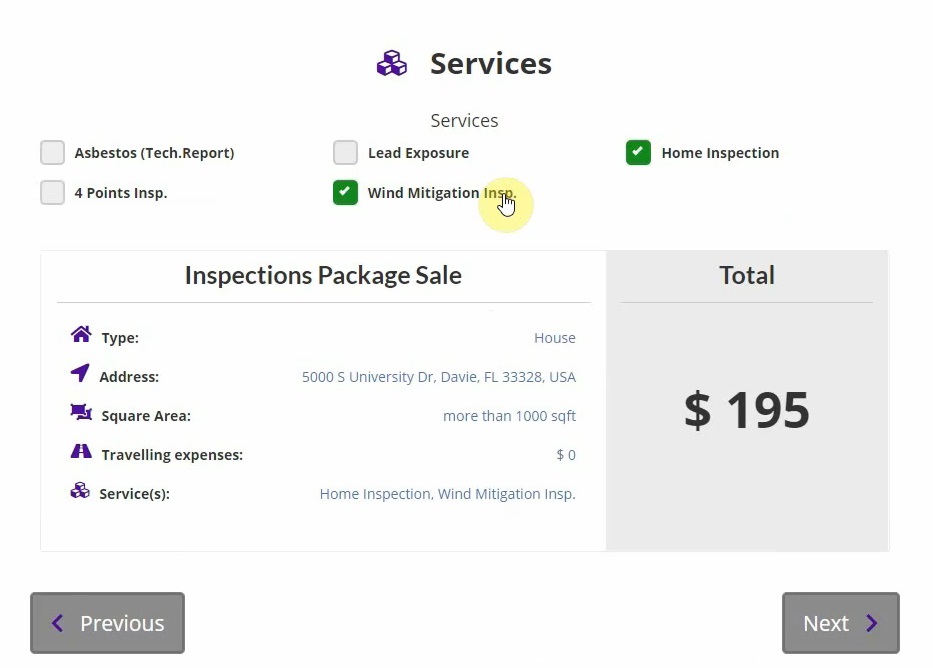
Notice that the services displayed are the services we enabled in the “Settings”.
Of course the estimate displayed is subject to change.
Click “Next” when all the necessary services have been added.
Enter the contact information and click “Request an Estimate”.
The order that was just created can be seen in the Extranet by clicking “Orders” from the ribbon.
Go back to the settings by clicking “Settings” from the ribbon.
VIII. Payments Systems
Click the “Payments Systems” tab.
Setup a payment system to allow your clients to pay for their order through the estimate wizard or through the Extranet.
Liciel makes it easy for you to connect you Payplug, Paypal, Payzen, or Systempay account.
IX. Website
Click the last “Settings” tab, “Website”.
Browse through our customizable websites to find the right one for your company.
Click “Create Website Based on a Template”.

Scroll down to view all of the templates.
Use the filter on the left to display the templates with that particular feature.
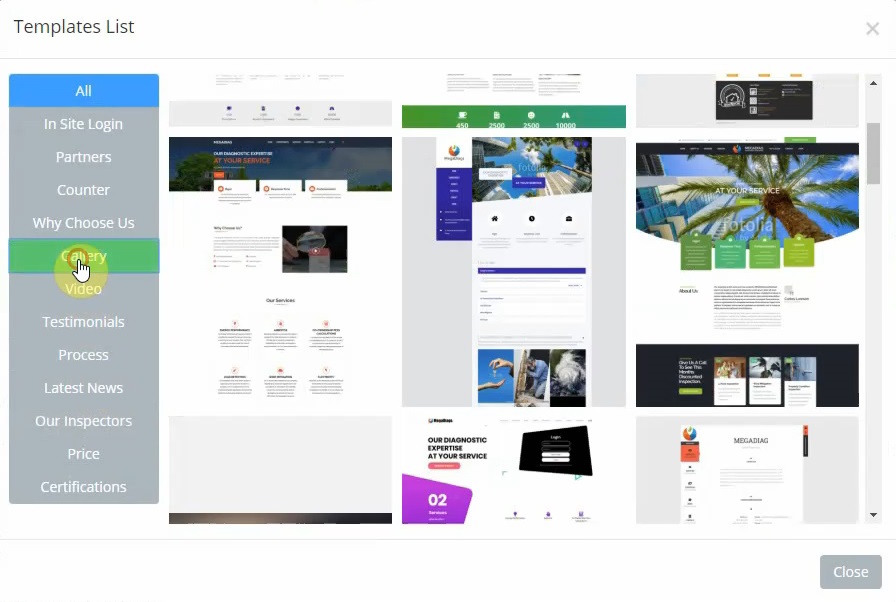
To preview a website template, click it.
Once clicked, you will see the various versions for that template.
Each version has different features.
Click the “Eye” icon to preview the template.
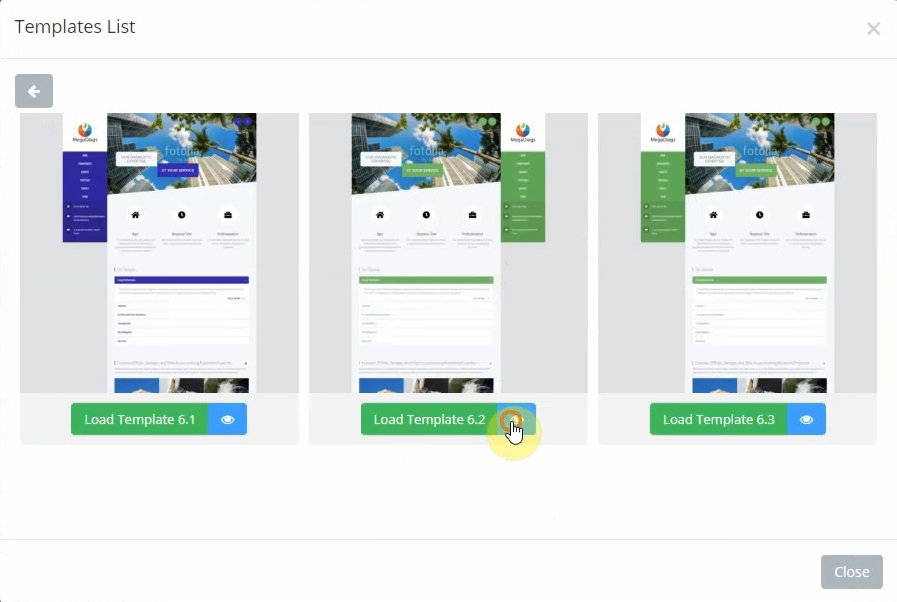
Click “Load Template” to open the website edition platform.