Actors Tool
 Actors Tool
I. Introduction
Use the Actors tool to list contact info and comments related to tradespeople or other people that previously performed work on the property. It can be used to note other tasks performed for the property, such as obtaining permits, etc. This information is for use by the Inspector or the inspection company, and is not included in the inspection reports.
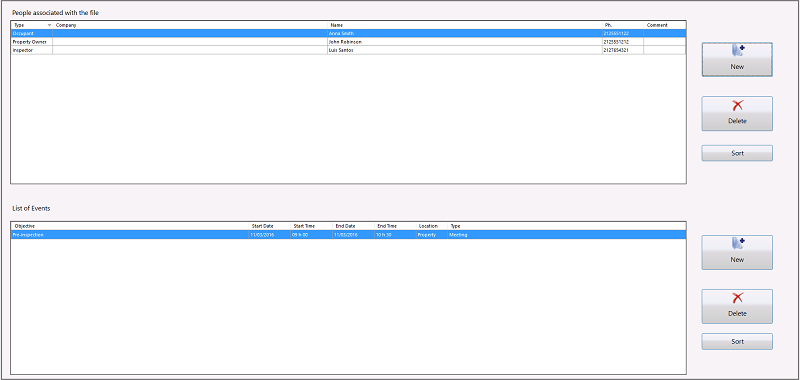
II. People Associated with the File Section
II.A Adding a New Actor
1. Click on  in the upper pane to display the Add/Edit - Participants window.
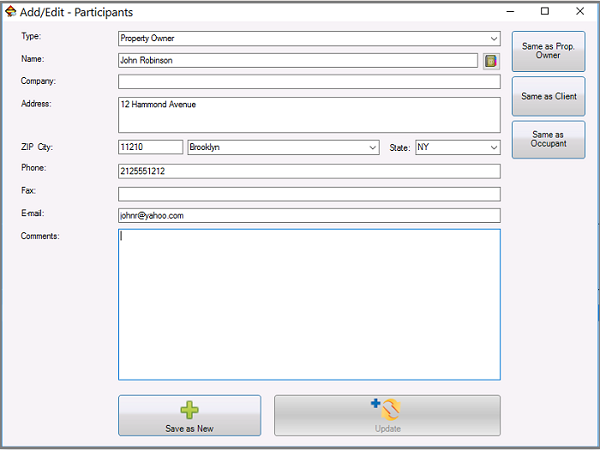
2. Complete these fields, or click one of the buttons described below to complete them with previously saved information:
Type
Enter the selected Actor's relationship to the Job, or select a Type from the drop-down menu.
Name
Enter the first and last name of the selected Actor, or click on  to display the Contacts List window, where you can select from all your Contacts.
 |
copies information from the file's Property Owner Info in the Admin section. |
 |
copies information from the file's Client Info in the Admin section. |
 |
copies information from the file's Tenant Info in the Admin section. |
Company
Enter the business name associated with the selected Actor.
Address
Enter the address of the selected Actor.
ZIP, City, State
Enter the ZIP code. LICIEL automatically completes the City and State fields based on the ZIP; however you can change these manually, if necessary.
Phone, Fax
Enter the selected Actor's Phone and Fax numbers.
Enter the selected Actor's e-mail address.
Comments
Enter any other relevant information.
3. Click on  .
.
II.B Updating an Actor
1. Double-click to select the Actor's record that you want to update.
2. Modify the information, as described above.
3. Click on  .
.
II.C Deleting an Actor
Click to select the record that you want to delete, then click on  .
.
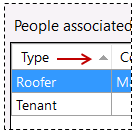
II.D Sorting the List of Actors
|
Click one of the column headings (Type, Company, Name, Ph., Comment) to sort the list on the selected field. A small triangle beside the heading indicates the selected sort field and order (ascending or descending). You can click the heading again to reverse the sort order. Or, click on |
 |
 to sort in descending order on the
 III. List of Events Section
The List of Events section allows you to save a list of appointments or important moments that occurred during the Job.
III.A Adding a New Event
1. Click on in the lower pane to display the Creation/Modification - Events window.
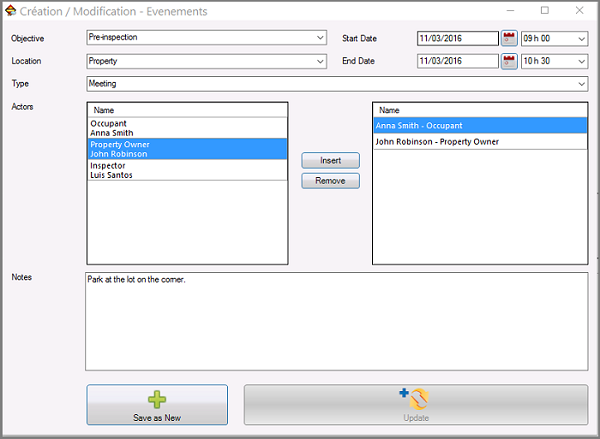
2. Complete these fields:
Objective
Enter text in the box that describes the expected outcome of the Event, such as obtain building permit, assess water quality, etc.
Location
Enter where the event occurs.
Start / End Date
Use the date and hour drop-downs to select the Start and End Date and time, or enter them in the respective fields.
Types
Select an option from the drop-down menu or enter text in the box that describes the Event, such as a meeting, a visit, a submission.
Actors
Select the Actor(s) involved in the Event from the box on the left, then click  to copy that record into the box on the right.
Notes
Enter any other relevant information.
3. Click on .
III.B Updating an Event
1. Double-click to select the record you want to update.
2. Modify the information, as described above.
3. Click on .
III.C Deleting an Event
1. Double-click to select the record you want to delete.
2. Click on .
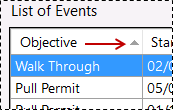
III.D Sorting the List of Events
| Click one of the column headings (Objective, Start Date, Start Time, End Date, End Time, Location, Type) to sort the list on the selected field. A small triangle beside the heading indicates the selected sort field and order (ascending or descending). You can click the heading again to reverse the sort order.
Or, click on |
 |