|
Condo Share of Ownership Interest Calculation Module |
I. Introduction
In condominiums, each co-owner owns a share of the condominium and of common expense responsibilities, which is expressed in condo shares. The determination of the number of shares may depend on condo surface area and other variables such as floor number and ceiling height, for example. The Condo Share of Ownership Interest Calculation Module allows you to easily calculate these shares, introduce and/or modify such variables, and generate a full report of such calculations.
The module is organized into five horizontal tabs described below:
-
General Features
-
List of Condo Units
-
Share-of-Ownership Calculation
-
Calculation Methods
-
Report/Conclusions

I.A The General Features Tab
The General Features tab offers general information regarding types of condominiums, how they are organized, and the responsibilities of their owner associations. It also allows you to enter basic data on the condo that you are inspecting.
I.A.1 Condominium Address Section
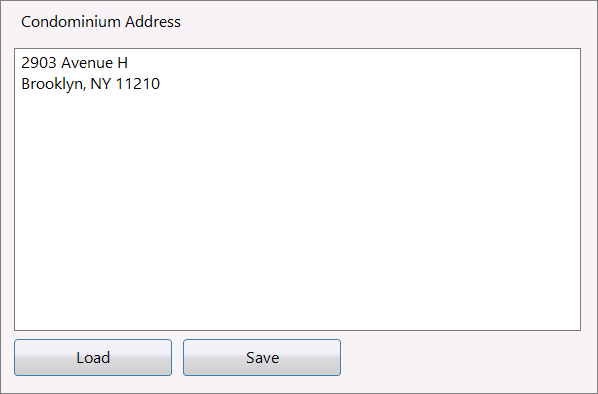
Enter the condo's address or click on 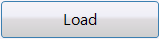 to upload an address previously saved in your computer.
To save your entry, click on 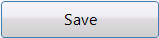 .
.
I.A.2 General Description Section
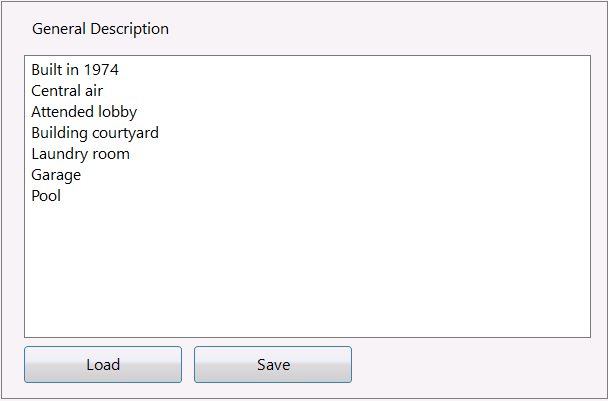
Enter the condo's general description, or click on to upload an existing Condo General Description template from your computer.
To save your entry, click on .
I.A.3 Property Boundaries Section
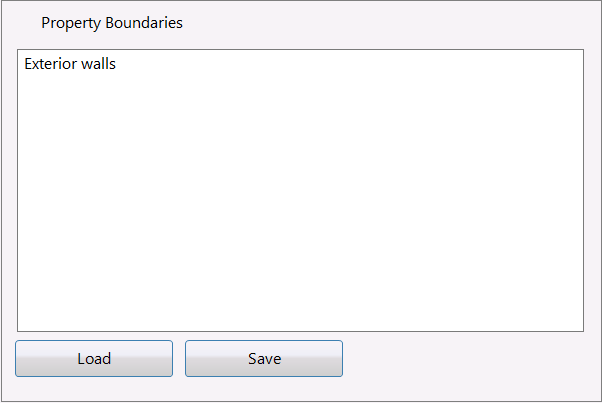
Enter the boundaries, or click on to upload a Property Boundaries template from your computer.
To save your entry, click on .
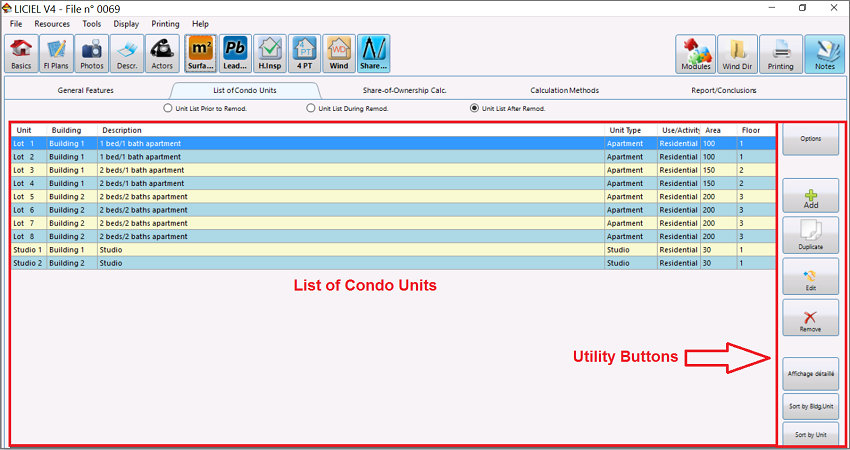
II. List of Condo Units Tab
The List of Condo Units tab allows you to add the units that are part of the condominium, which display in the large field as a list, and manage them using the Utility Buttons on the right.
II.A Adding a Unit to the List of Condo Units
1. Before adding a unit to the List of Condo Units, select its current stage according to these three parameters:
-
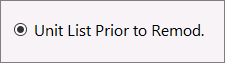
Unit List Prior to Remodeling
-
Unit List During Remodeling
-
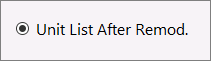
Unit List After Remodeling (this stage is set by default)

2. On the Utility Buttons, click on  to display the Unit Details window.
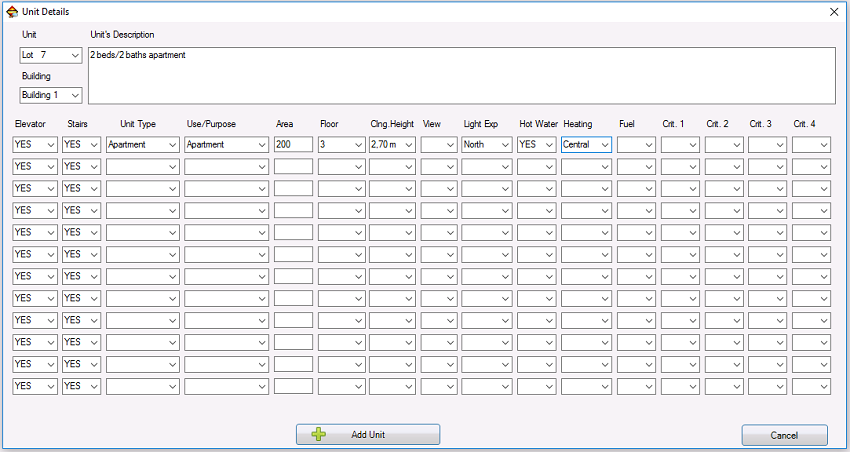
3. Complete all applicable fields (you can enter the information manually or use the available drop-down menus):
-
Unit
-
Building
-
Unit's Description
-
Elevator
-
Stairs
-
Unit Type
-
Use/Purpose
-
Area
-
Floor
-
Ceiling Height
-
View
-
Light Exposure
-
Hot Water
-
Heating
-
Fuel
-
Criteria 1 to 4 (these fields are fully customizable)
4. Click on  to save the information. To cancel the addition, click on
  .
.
The unit that you just added will appear at the bottom of the List of Condo Units.

II.B Duplicating a Unit
1. Click to highlight the reference unit that you want to duplicate from the List of Condo Units.
2. On the Utility Buttons, click on 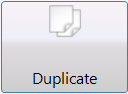 to open the following window:

3. Keep the default name provided by LICIEL or enter a different identifier of your choice.
4. Click on  to save the action. To cancel it, click on .
The duplicated unit will appear at the bottom of the List of Condo Units.
II.C Modifying a Unit
1. Click to highlight the unit that you want to modify from the List of Condo Units.
2. On the Utility Buttons, click on  to display the Unit Details window (see section "II.A Adding a Unit to the List", above).
3. Make changes to the unit as needed.
4. Click on  to save your edits. To cancel them, click on
  .
.
II.D Deleting a Unit
1. Click to highlight the unit that you want to remove from the List of Condo Units.
2. On the Utility Buttons, click on  .
.
A confirmation/countdown pop-up window will appear.
3. Click on the Yes button to confirm the deletion, or on the No button to cancel it.
II.E Displaying all Columns on the List of Condo Units
By default, the List of Condo Units shows the Unit, Building, Description, Unit Type, Use/Activity, Area, and Floor columns.
To display the rest of the available columns, click on  .
.
The following columns will them also be integrated into the display:
-
Ceiling Height
-
View
-
Light Exposure
-
Heating
-
Hot water

To hide these columns again, click on  .
.
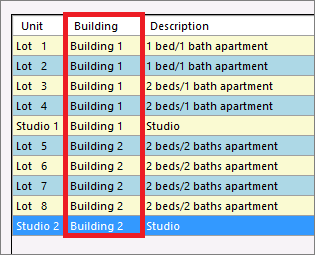
II.F Sorting the List of Condo Units
II.F.1 Sorting by Building
1. On the Utility Buttons, click on  .
.
A confirmation/countdown pop-up window will appear.
2. Click on the Yes button to sort the components, or on the No button to cancel the action.
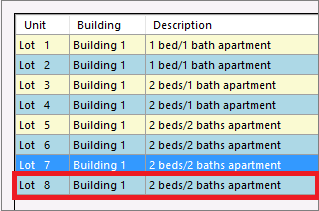
The components will be sorted by building, as shown in the example below:
II.F.2 Sorting by Unit Type
1. On the Utility Buttons, click on 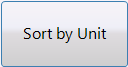 .
.
A confirmation/countdown pop-up window will appear.
2. Click on the Yes button to sort the components, or on the No button to cancel the action.
The components will be sorted by unit type, as shown in the example below:
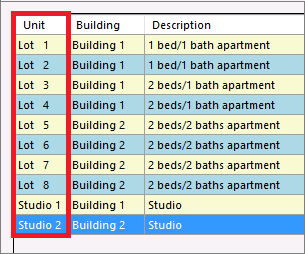
II.F.3 Sorting the List using Column Headings
Click on any of the column headings (Unit, Building, Description, etc.) to sort the list using the selected variable.
A small triangle beside the headings indicates the selected sort field and order (ascending or descending), as shown in the example below.
To reverse the sort order, just click on the selected heading again.
II.G Completing Complementary Lists
Depending on the stage that you have previously selected for the list of units when you added it (see section "II.A Adding a Unit to the List of Condo Units", above), you may have a Unit List Prior to Remodeling, a Unit List During Remodeling, and/or a Unit List After Remodeling.
To export a certain List of Condo Units to a complementary list, take the following steps:
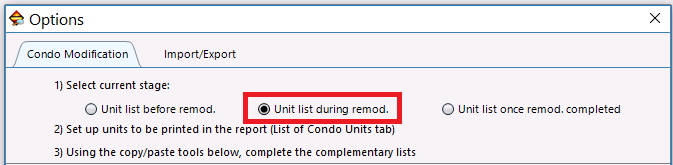
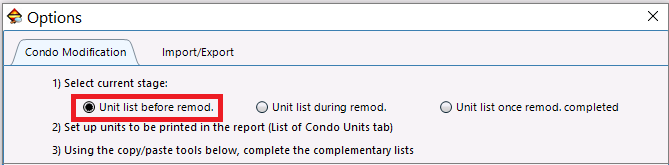
1. On the Utility Buttons, click on  to open the Options window, which displays on the Condo Modification tab. Then, select the current stage of the reference List of Condo Units (for example, Unit list once remodeling is completed, which is marked by default).

2. Set up units to be printed in the report.
3. Select a copy/paste tool from the available options depending on your needs (for example, Copy displayed list to before remodeling list).
4. A confirmation/countdown pop-up window will appear to let you know that the software is copying the data from the reference list to the complementary one. Click on the OK button.
5. Close the Options window.
6. Back on the List of Condo Units tab, select the complementary list by checking its respective radio button.
The list of units that you just copied will display on the selected complementary list.
6. Edit the list as needed.
7. Select the Unit List After Remodeling by checking its radio button.
To complete the share calculation process, see section "III. Starting the Condo Share of Ownership Calculation", below.
II.H Exporting/Importing a List of Condo Units
II.H.1 Exporting a List
1. On the Utility Buttons, click on to open the Options window, which displays on the Condo Modification tab.
2. Select the list that you want to export (for example, Unit list during remodeling).
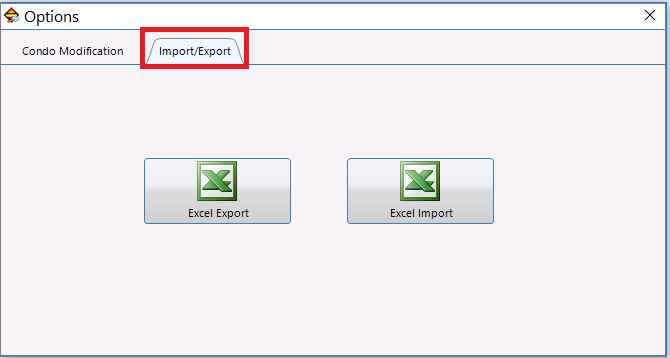
3. Click on the Import/Export tab to display the Excel icons.
4. Click on 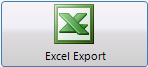 .
.
5. A countdown pop-up window will appear for you to select if open the generated file folder or not. Click on the Yes or No buttons depending on your needs.
The selected list will be downloaded directly to the client's file in your computer.
II.H.2 Importing a List
1. On the Utility Buttons, click on to open the Options window, which displays on the Condo Modification tab.
2. Select the list that you want to import (for example, Unit list before remodeling).
3. Click on the Import/Export tab (shown above).
4. Click on 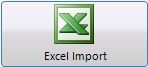 .
.
5. Select the file that you need to import from your computer and upload it.
Its data will immediately display on the selected List of Condo Units.
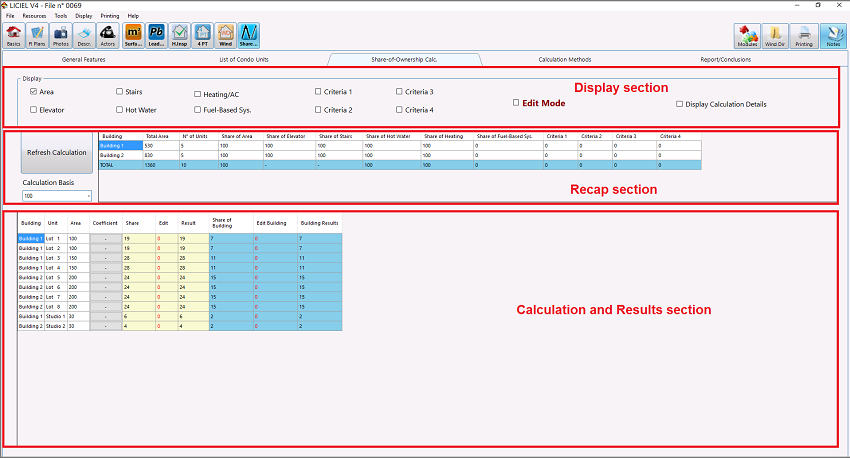
III. Share-of-Ownership Calculation Tab
The Share-of-Ownership Calculation tab allows you to calculate the shares of owner responsibilities on common elements. The Display section shows the main variables of the calculation process. The Recap section summarizes the number of units and buildings that you previously added on the List of Condo Units tab, and the percentage of common interests. Use this section to refresh the calculation and set the calculation basis. The Calculation and Results section gives you access to formulas used in the calculations. It also shows you the percentage of common shares. Use this section to edit them as needed.
III.A Updating the Share of Ownership Calculation
1. In the Recap section, click on 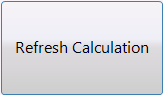 to update the calculation and the results based on the changes made to the List of Condo Units tab and the calculation basis.
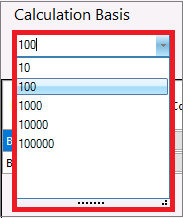
2. Select the Calculation Basis using the available drop-down menu.
By default, LICIEL sets a fixed value of 1000. If this value is not equal to the base that you use to make the calculations, you can modify it in this section.
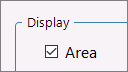
3. Select the variables for which you want the shares of ownership displayed.
By default, Area is the variable that heads the calculation process.
4. Check the  box to enable the use of the Calculation and Results columns, where you can introduce/edit the proper values for each of the units and their elements.
You can also check the  box to make visible the formula that was used to make the calculations in the Calculation and Results section.
5. In the Calculation and Results section, click to highlight the cell you want to work with.
Note: If you are inspecting a condominium property with more than one building, this section will also display the Share of Building, Edit Building, and Building Results columns, as shown below.

- 6. Double-click on the Edit column to modify the percentage of responsibility for the selected variable.

The Edit window will open for you to introduce the value.
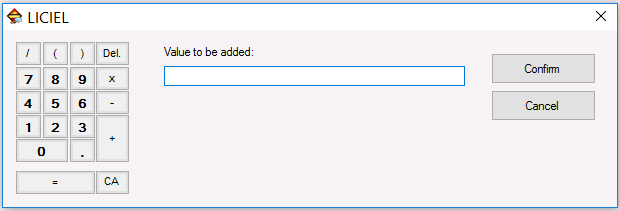
7. Enter the corresponding value. You can enter it manually or use the keypad to the left.
8. Click on to save it. To cancel the action, click on .
If you need to edit the Share of Building field, double-click on the Edit Building column (see above) for the unit that you need to affect.
The Edit window (shown above) will open for you to make the desired change.
III.B Continuing with the Calculation Process
1. In the Display section, select all the applicable elements, one by one, to continue calculating, as shown in the section above.

2. Follow the aforementioned steps (steps 4 to 8).
IV. Calculation Methods Tab
The Calculation Methods tab allows you to select the coefficient calculation method employed, set a rounding preference, and visualize/manage the coefficient tables used in calculation.
IV.A Selecting the Coefficient Calculation Method
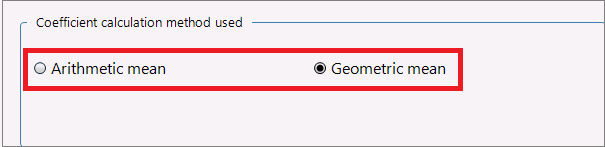
In the Coefficient calculation method used section (on the top left of the window), select the method that best suits your needs from the available ones:
-
Arithmetic mean
-
Geometric mean
IV.B Simplifying Rounding of Final Share Amounts
Note: This tool will only be helpful if the shares of ownership are over 10,000.
In the Multiplying factor used section (on the top right of the window), check the available box to simplify rounding.

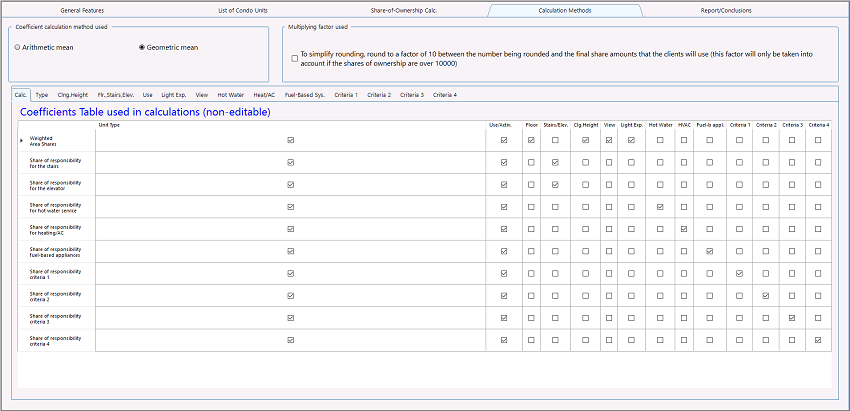
IV.C Managing Coefficient Tables Used in Calculation
The Calculation Methods tab allows you to visualize the variables used in the calculation of weighted area shares (stairs, elevator, hot water service, and other criteria that you had previously selected). By default, this tab displays the Calculation sub-tab, which is not editable.

The Calculation Methods tab also allows you to manage the coefficient tables used in calculations.
These tables are displayed in 13 sub-tabs, as shown below.

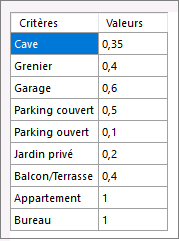
IV.D Type Sub-tab
The Type sub-tab gives you access to a table displaying the coefficients used in regards the type of unit that you are inspecting (apartment, storage unit, parking spot, etc.).
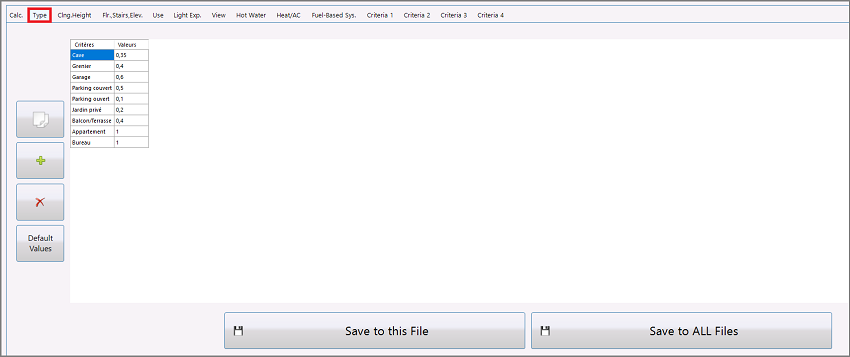
It also allows you to manage the coefficients table as needed.
IV.D.1 Editing a Coefficient
1. Double-click on the cell that you need to edit to display the following window:

2. Enter the new coefficient and click on .
To cancel the action, click on .
The new coefficient will display in the selected cell.
IV.D.2 Duplicating a Coefficient
1. Click to highlight the reference coefficient that you need to duplicate.
2. Click on  .
.
The coefficient that you just duplicated will display below the reference one.
IV.D.3 Adding a New Coefficient
1. Click on  .
.
A new row will be added at the bottom of the table.
2. Click on the new row in the Criteria column to display the Edit window (shown above).
3. Enter the new criteria and click on .
4. Click on the new row in the Value column to display the Edit window again.
5. Enter the new value and click on .
To cancel, click on .
IV.D.4 Removing a Coefficient
1. Click to highlight the coefficient that you need to delete.
2. Click on  .
.
The selected coefficient will disappear from the table.
IV.D.5 Setting Default Values
1. Click on  .
.
A confirmation/countdown pop-up window will appear.
2. Click on the Yes button to confirm the action, or on the No button to cancel it.
IV.D.6 Saving Data to the Current File
Click on  .
.
IV.D.7 Saving Data to All Files
Click on  .
.
Note: The process described above is valid for the next sub-tabs:
-
Ceiling Height
-
Floor, Stairs, Elevators
-
Use
-
Light Exposure
-
View
-
Hot Water
-
Heating/AC
-
Fuel-Based System
-
Criteria 1 to 4
V. Report/Conclusions Tab
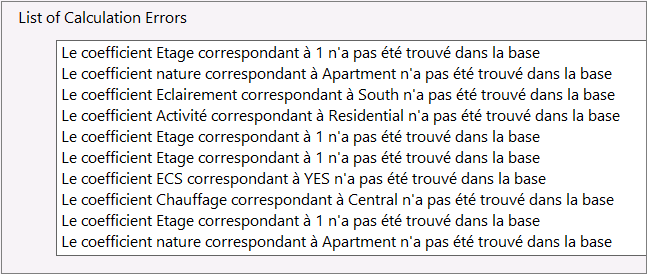
The Report/Conclusions tab allows you to indicate the data that will be included in the report, and enter comments and recommendations as needed. It also displays a List of Calculation Errors for you to correct them, if any.
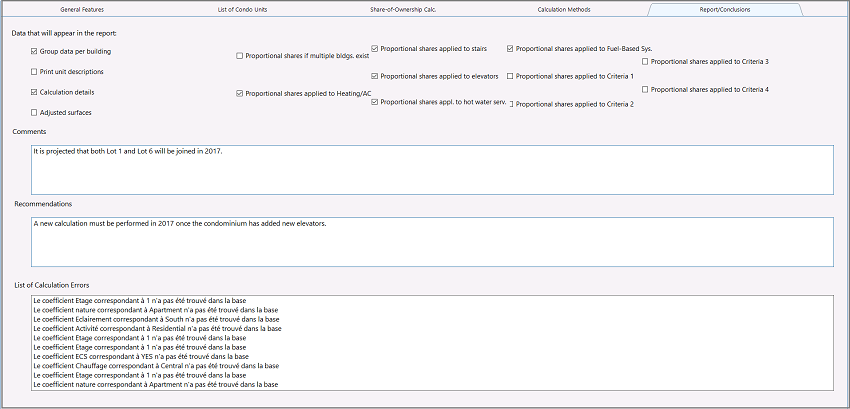
Data that will Appear in the Report Section
To select the data that you need to include in your report, just check the desired boxes from the available options.

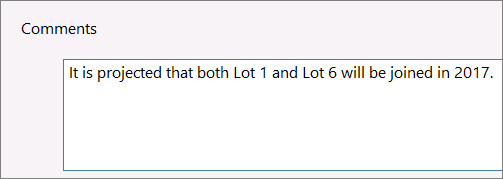
Comments Section
Enter any additional information in the available text field as needed.
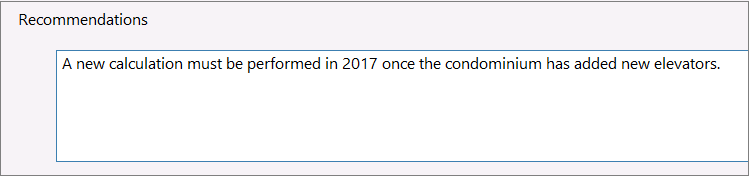
Recommendations Section
Introduce recommendations in the available text field, if any.
List of Calculation Errors Section
This section summarizes the calculation errors, if any.