Printing Reports and Other Files
I. Opening the Printing Module
To generate and print the reports, open the Printing Module.
The Printing Module can be opened multiple ways.
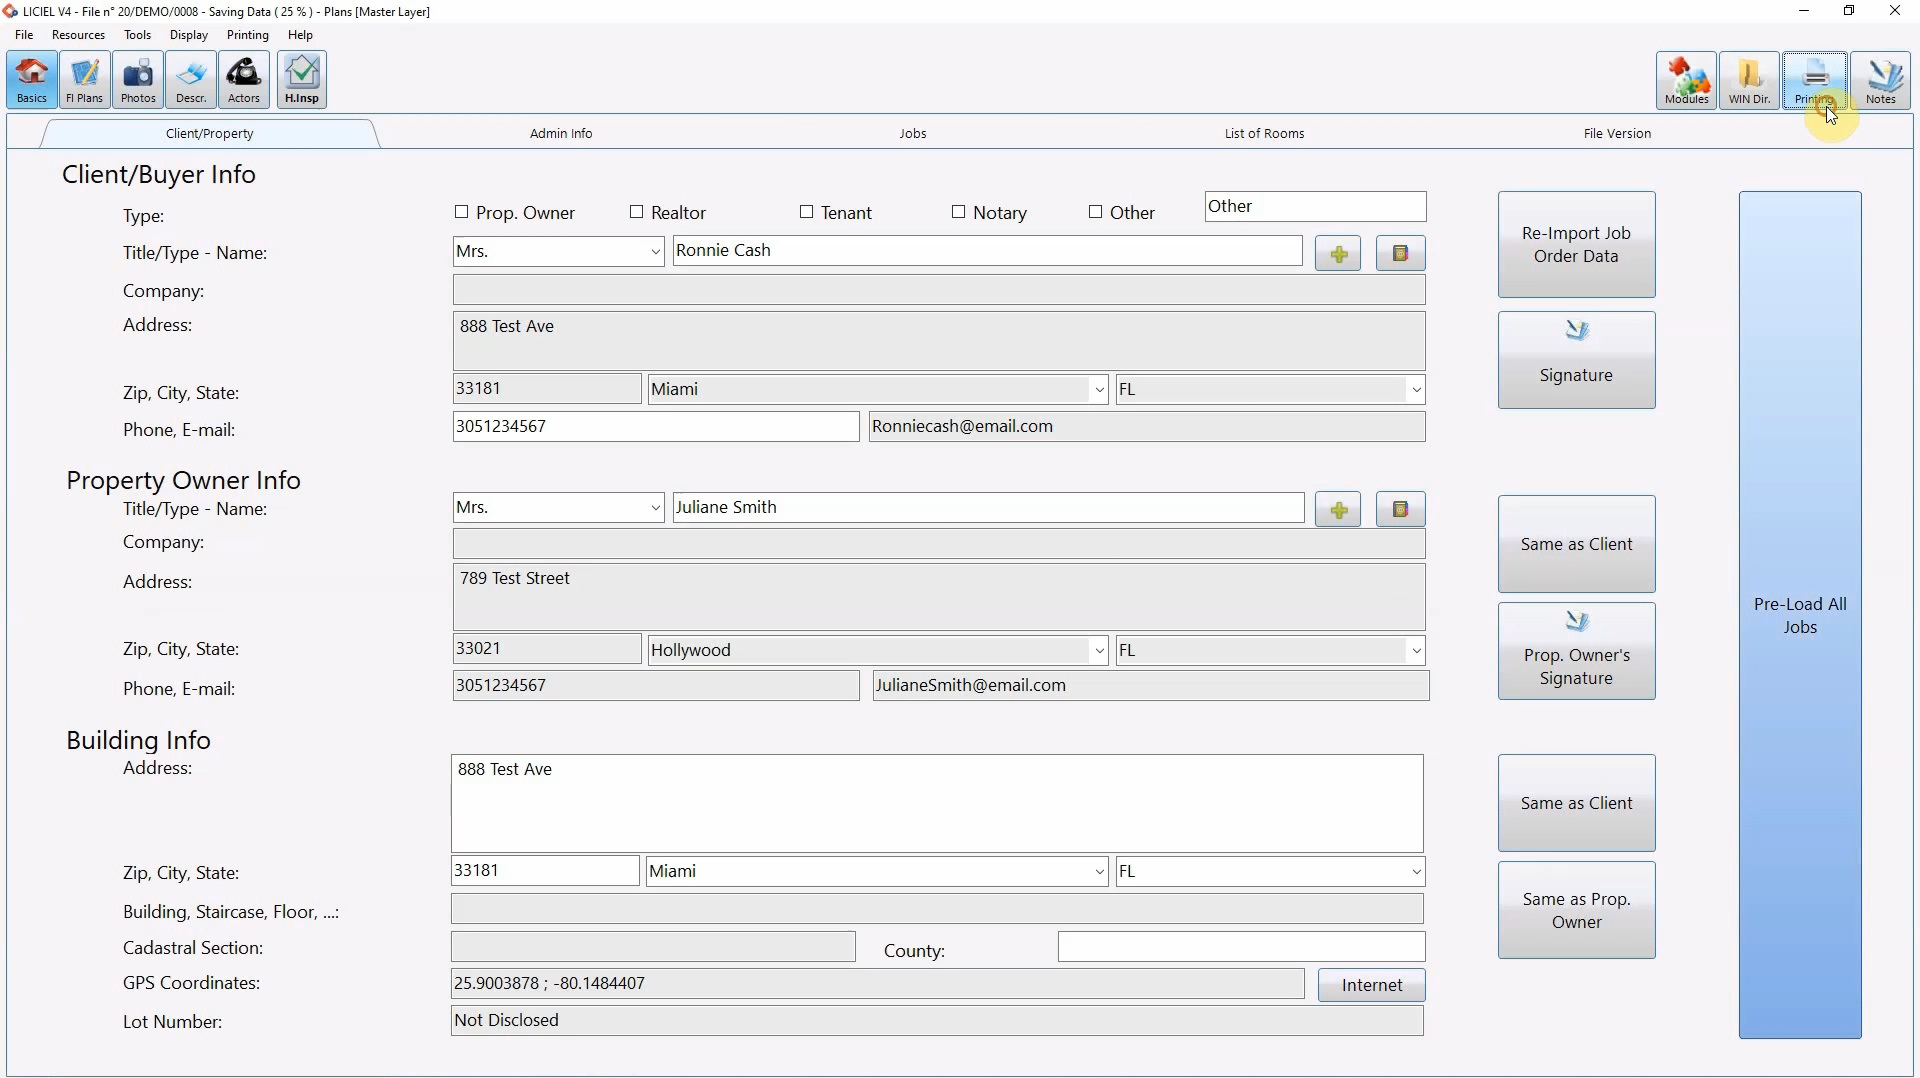
From the File Management window, select an order.
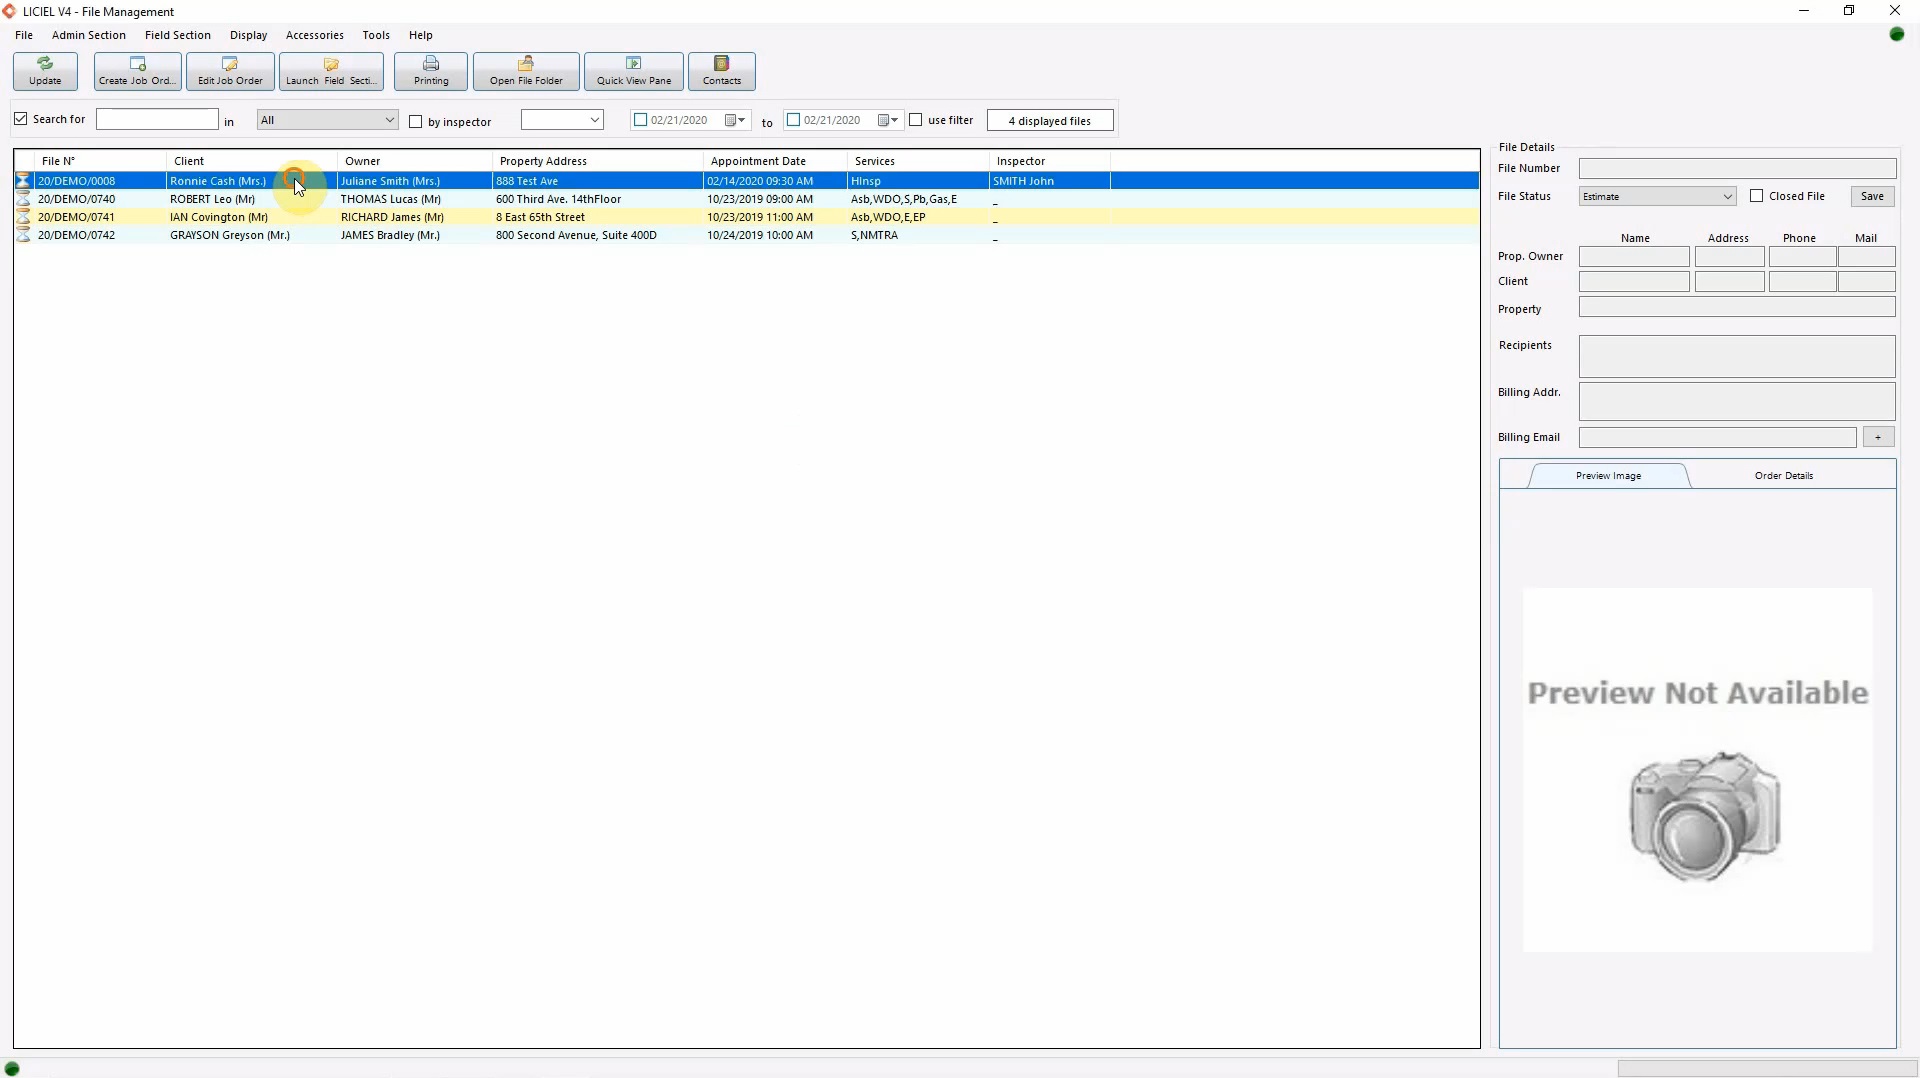
Then, click "Printing" from the ribbon.
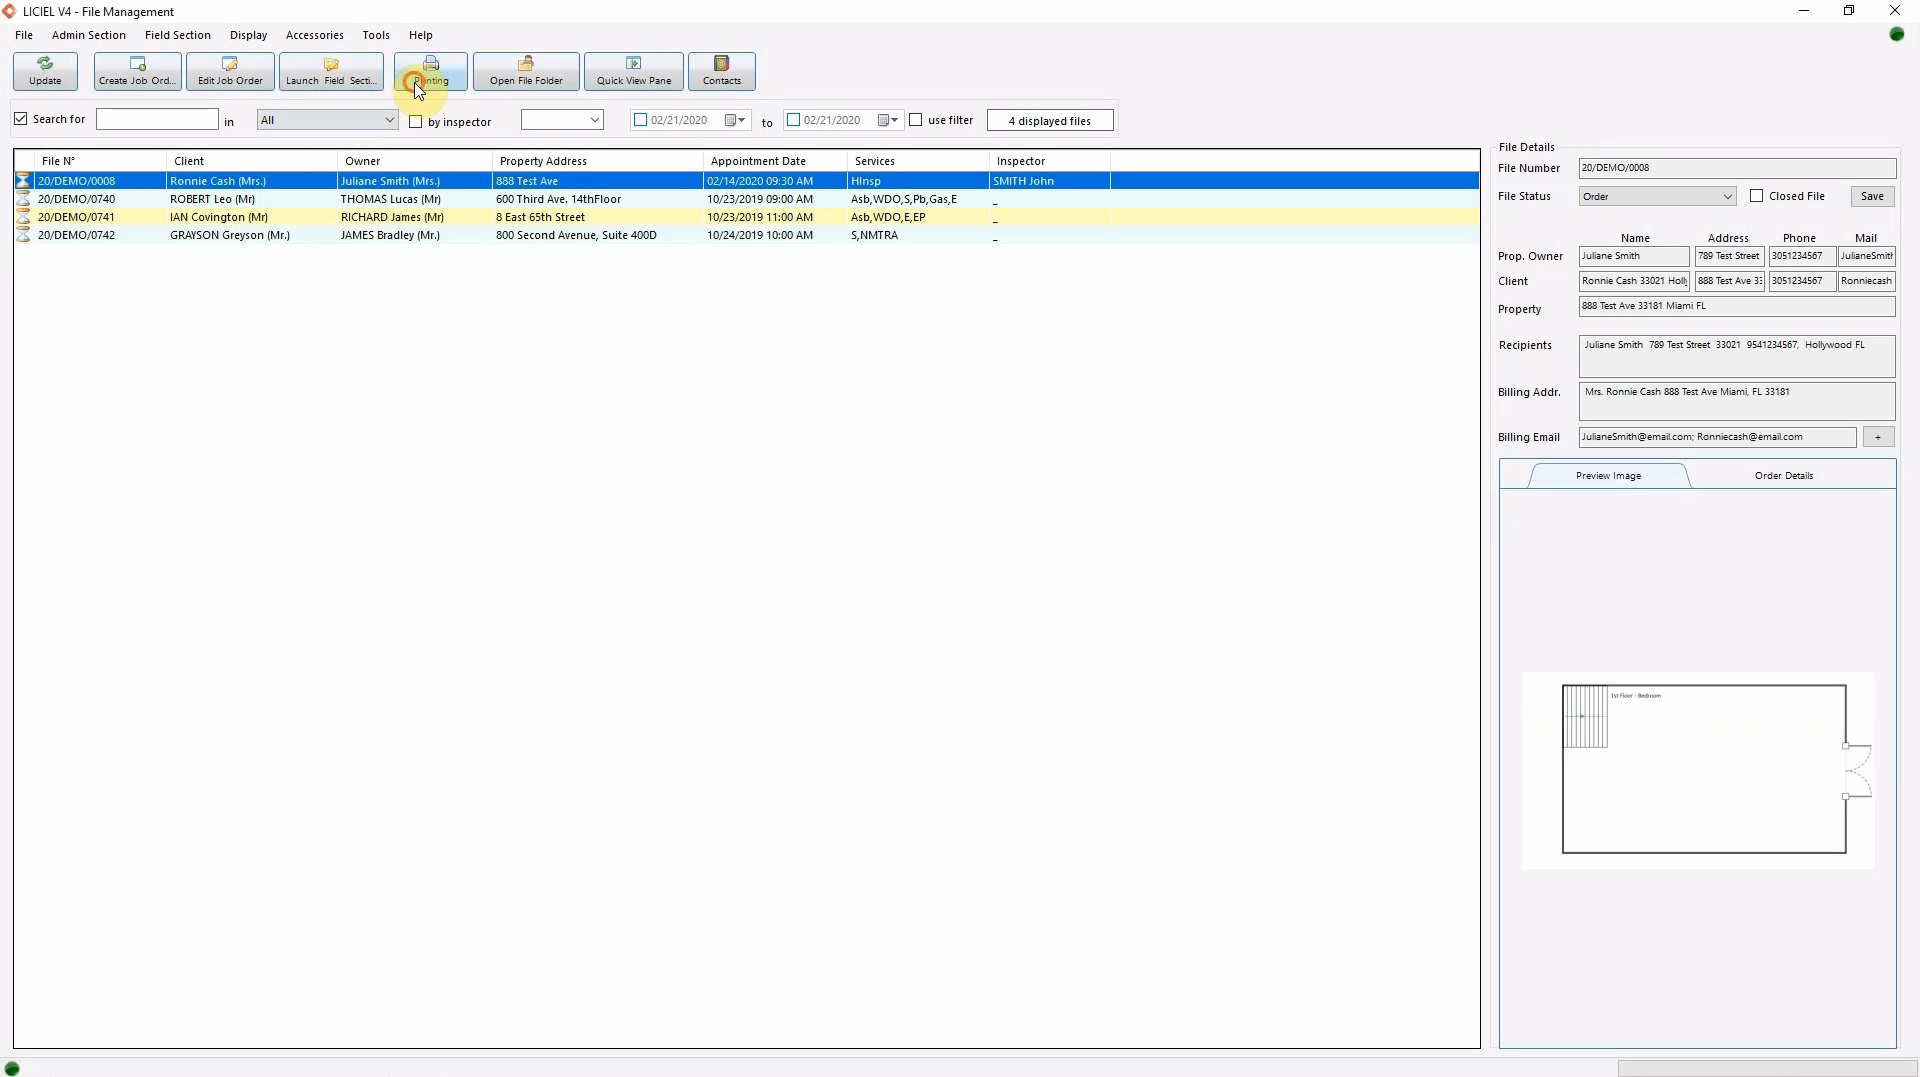
This will open the Printing Module.
Notice that the title on the Printing Module Window specifies the File Number for the order.

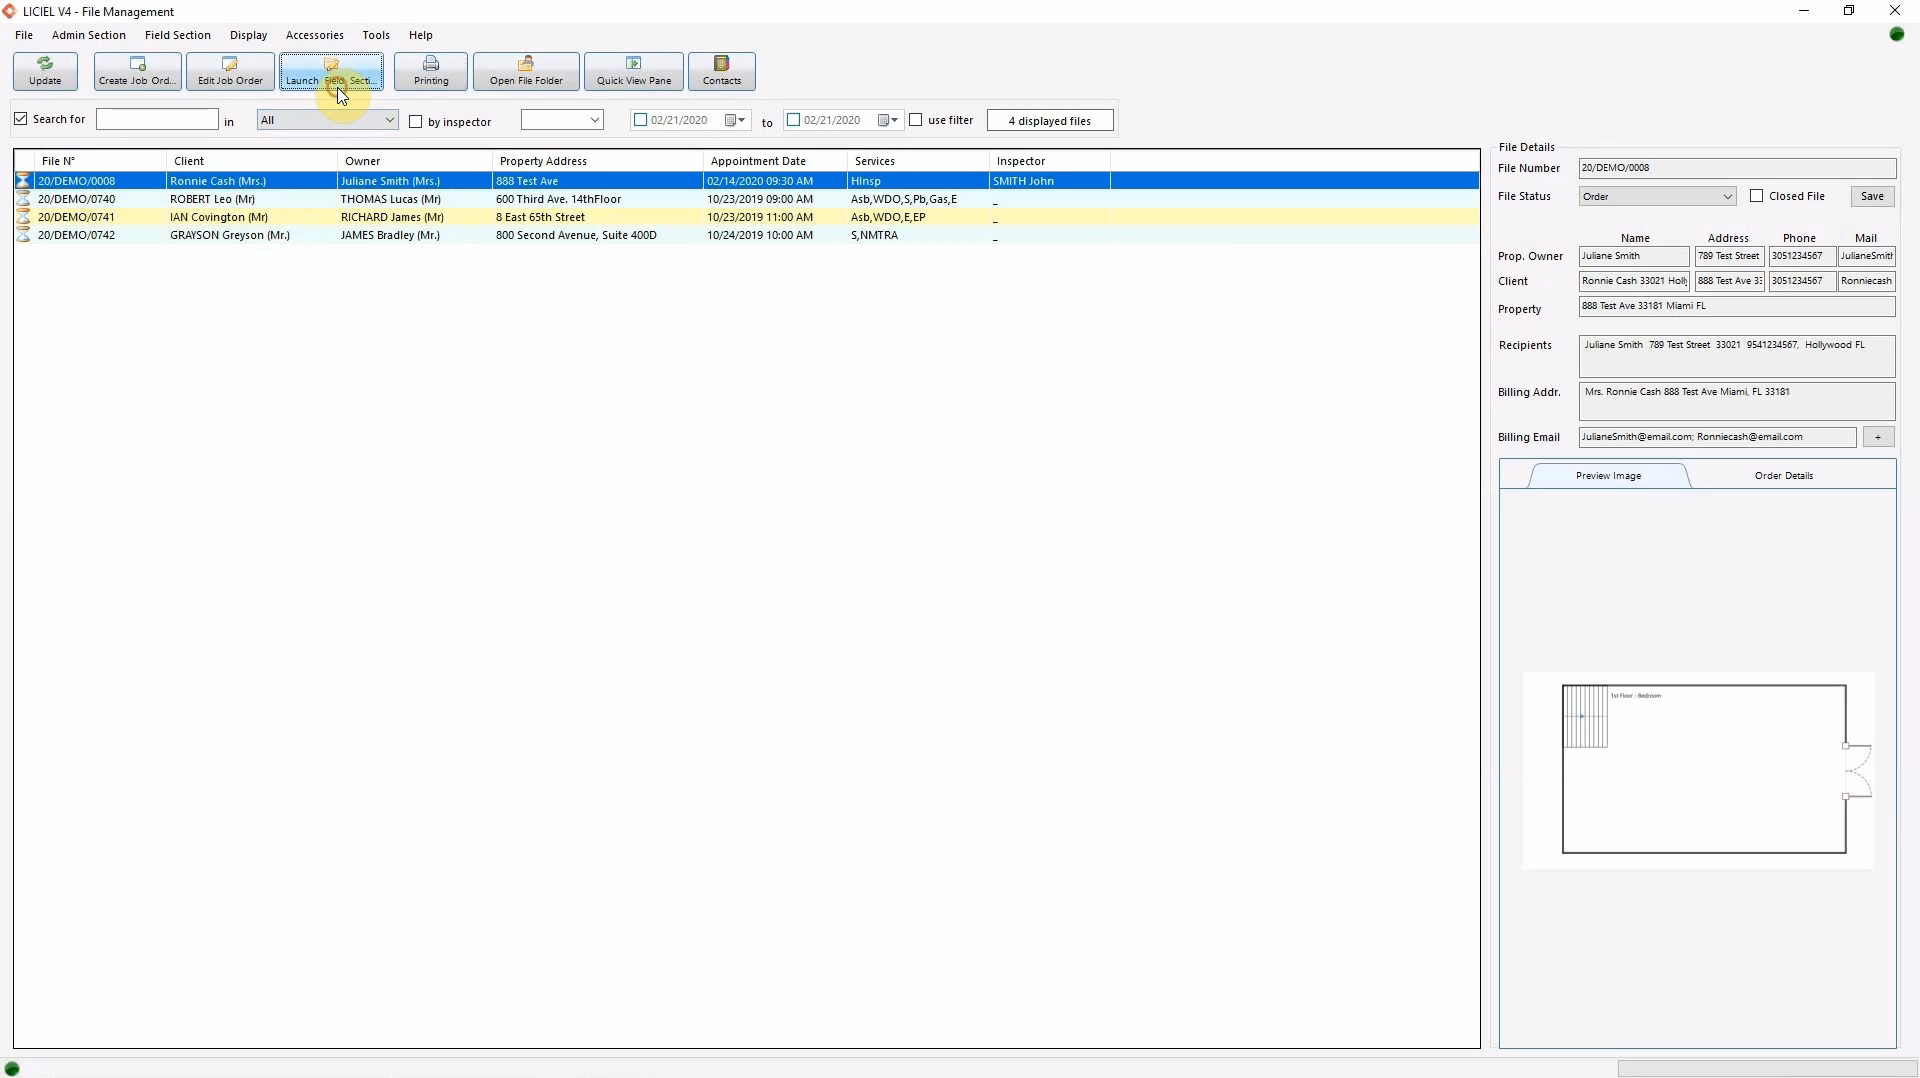
The Printing Module can also be opened from the Field Section.
Close this printing window.
Select the order from the File Management window and then click "Launch Field Section".
Click the “Pre-Load All Jobs” button.
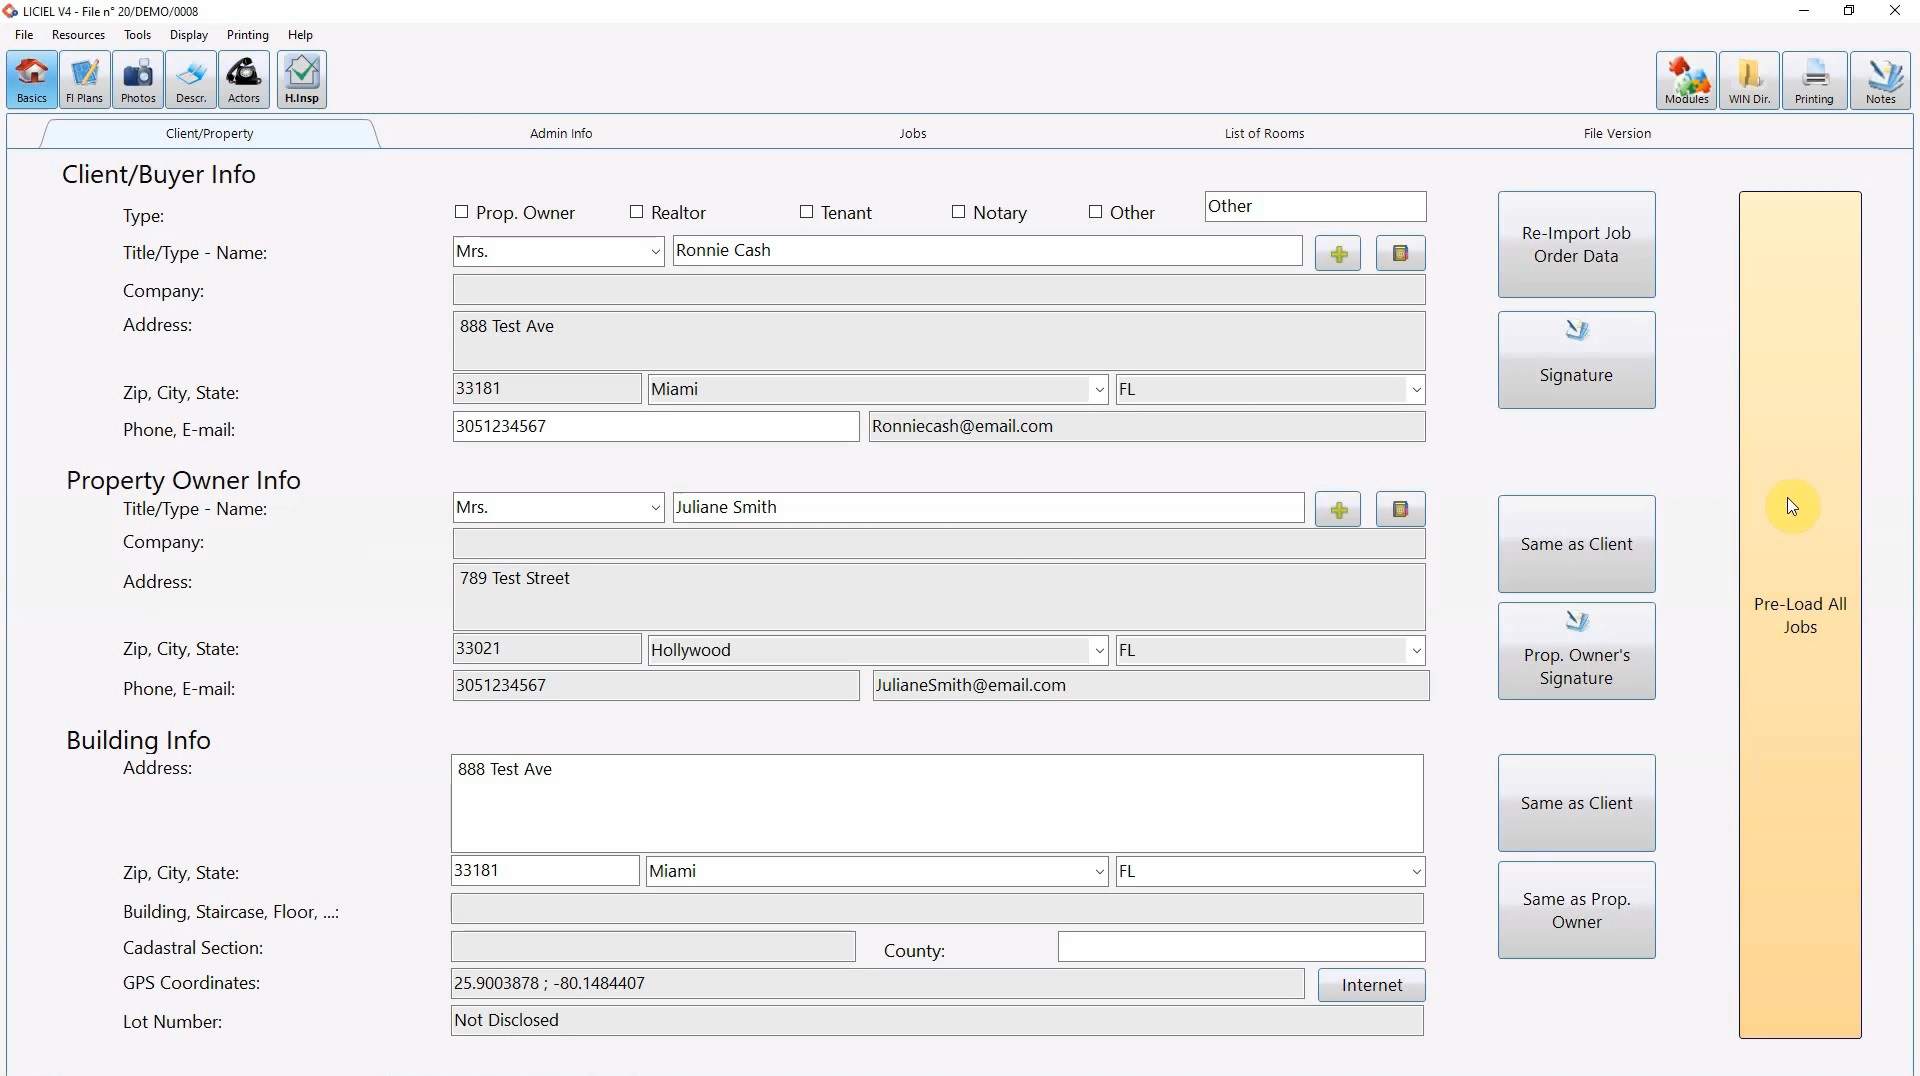
Then, click “Printing” from the ribbon.
Again, the file number will be visible in the window header.
It’s important that the printing module is opened with the correct file number to generate the correct reports.

You can navigate through the Printing Module using the tabs at the top.
II. Templates
The first tab is “Set Up Administrative Documents”.
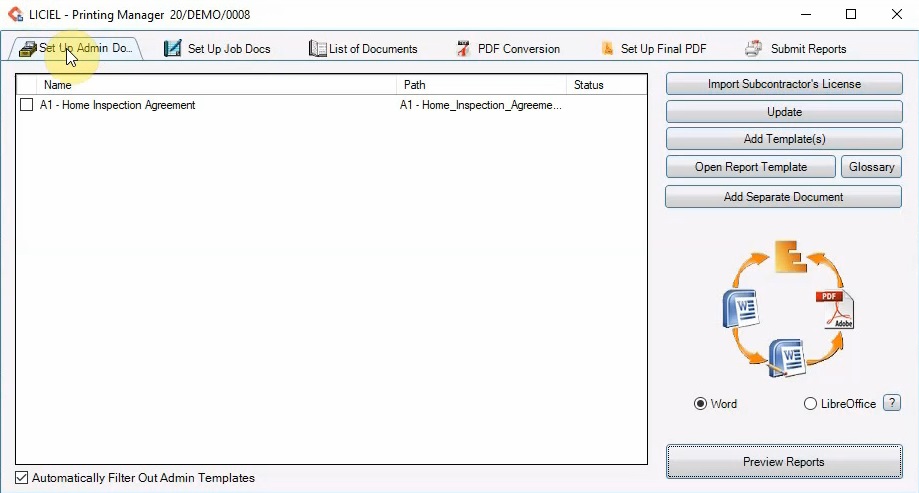
Here you can generate the administrative documents for this inspection.
For example, the Home Inspection Agreement.
We will refer to these documents as templates.
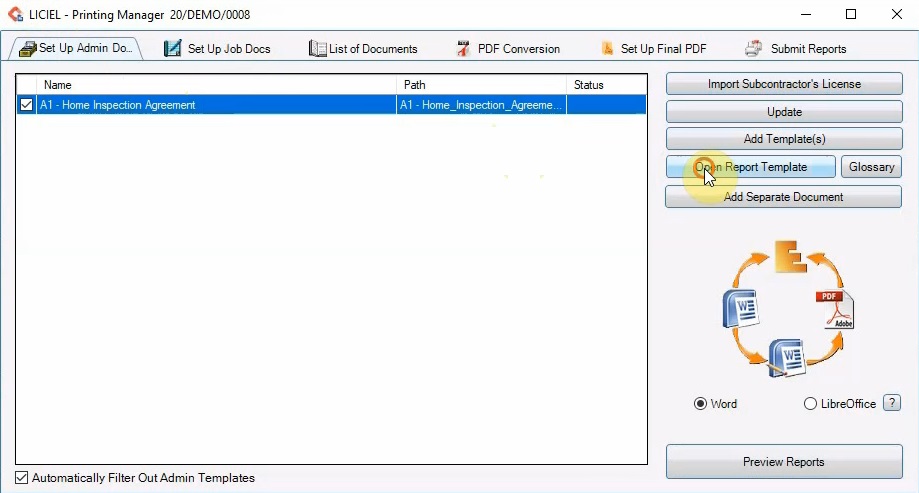
Templates can be modified if needed.
From the right side, click “Open Report Template”.
Read the popup carefully.
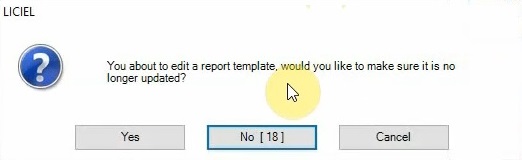
These default templates are maintained and occasionally updated by LICIEL.
To prevent your changes from being overridden on the next LICIEL update, click “Yes”, otherwise click “No".
The templates are a combination of text and keys.
The keys are used to insert the appropriate information from the field section into the word document.
For example, “li_client_name” will be replaced with the actual client name.
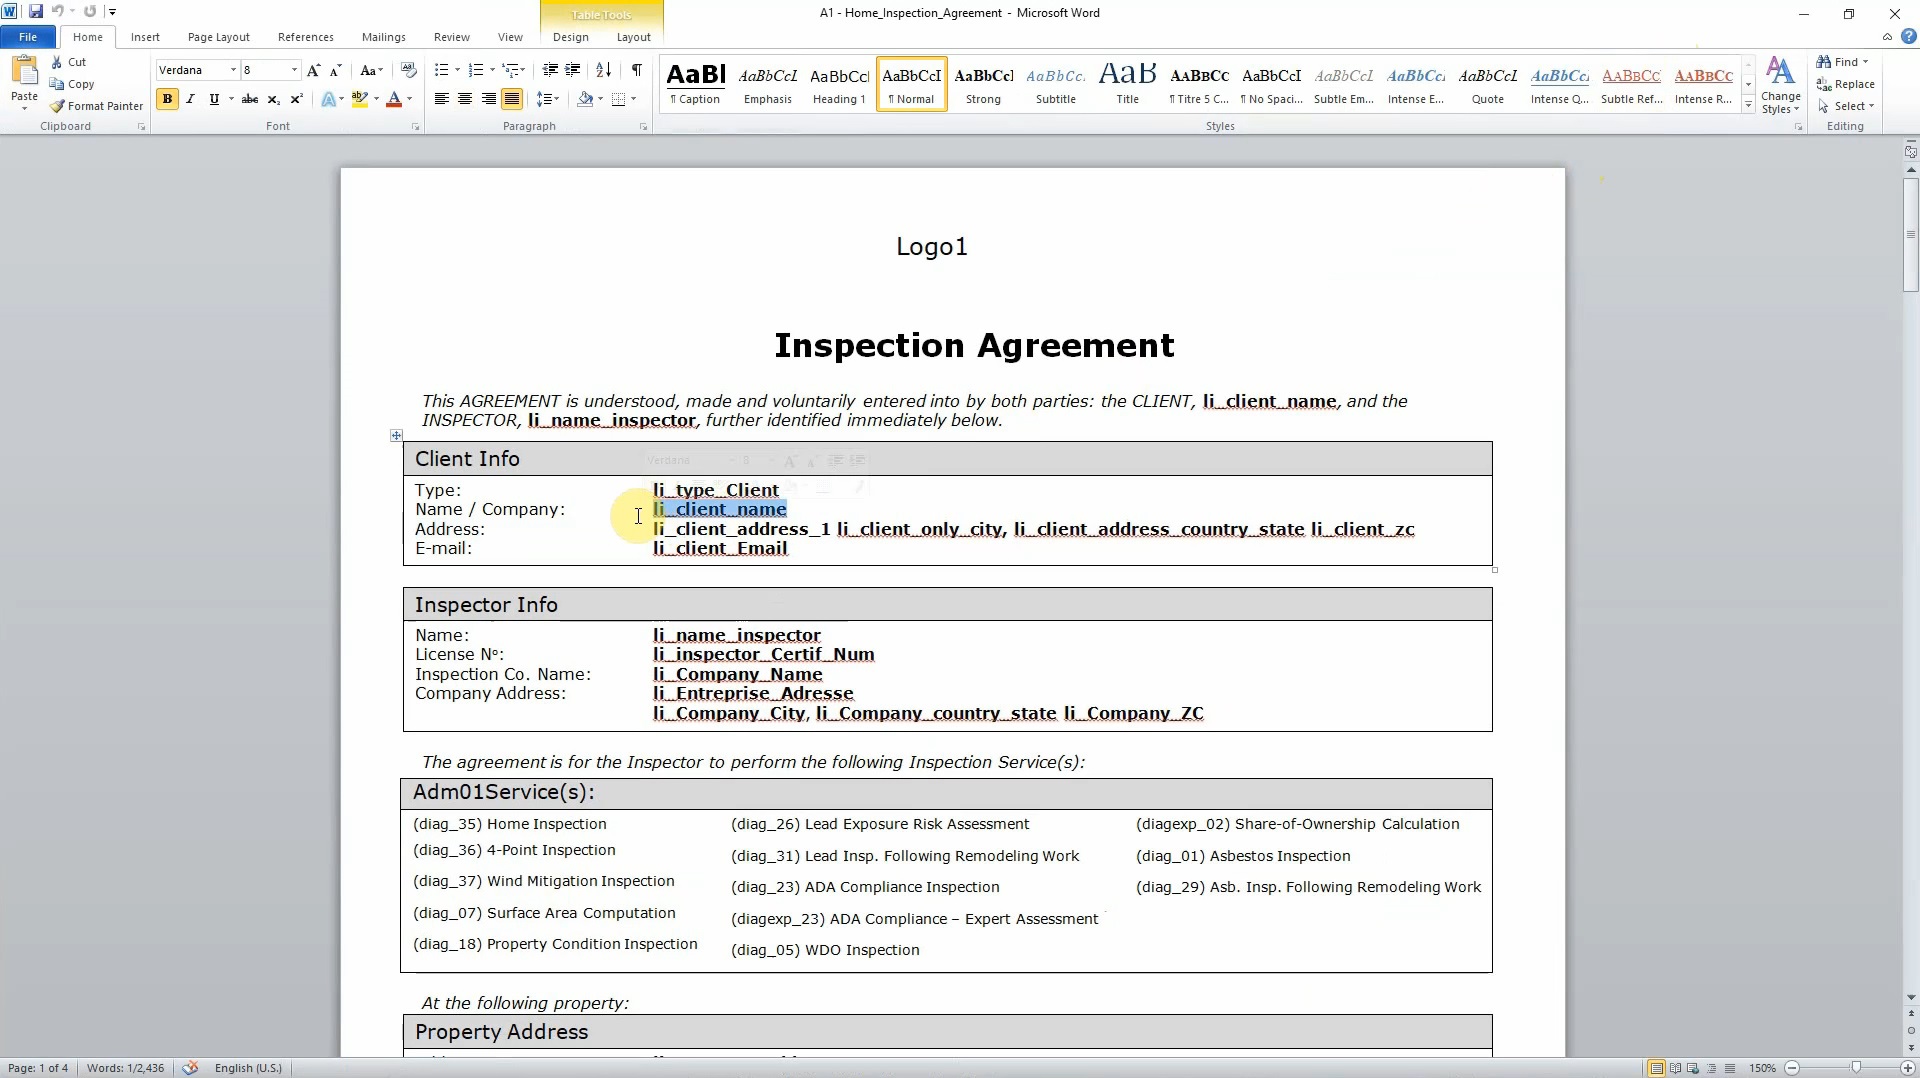
Keys like “Logo1” and “li_footer_of_page_reports” will be replaced with information from your software settings.
When you’re done editing the template, click close and choose whether you would like to save the changes.
The right hand side of the printing module, gives you several capabilities.
Adding a template is quick and easy.
Click “Add Templates” to add templates from your computer and from LICIEL via the internet.
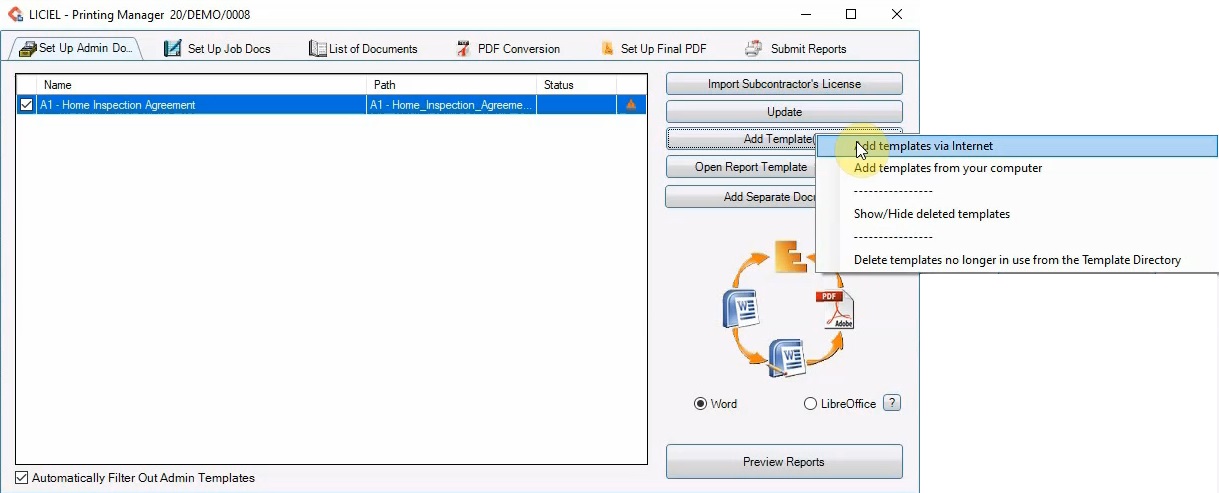
Select “Add Templates Via Internet” to see the list of templates provided by LICIEL for the LICIEL modules.
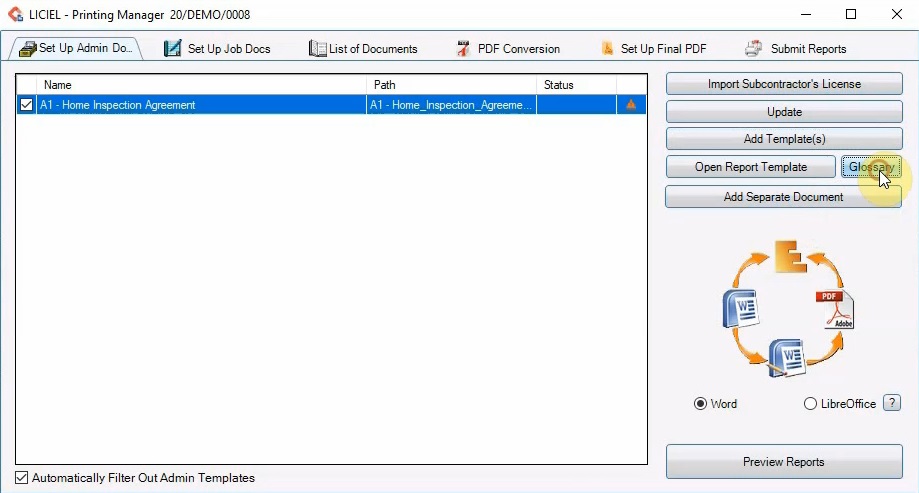
III. Implementing Template Keys
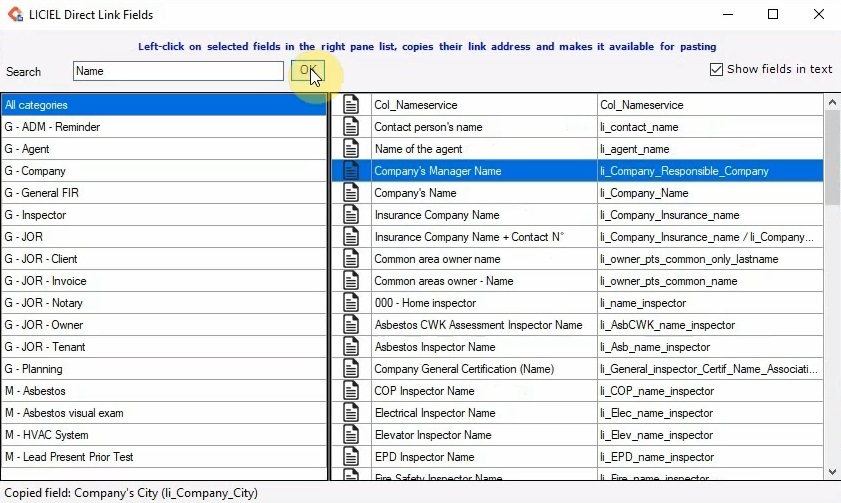
To view a list of the keys that can be used in the templates, click “Glossary”.
When the glossary opens, use the left side to select a type of field.
For example, click “Company”.
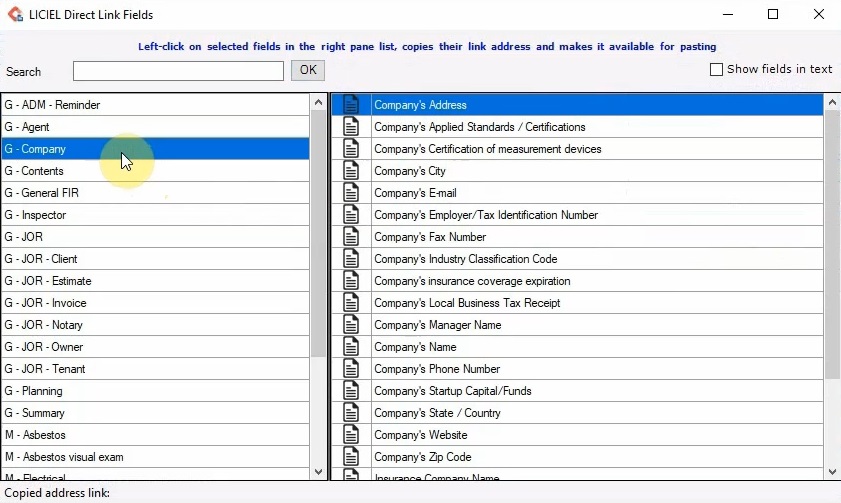
This will display all of the keys that are associated with the company.
On the right side, you will see a description of the key.
Check the checkbox for “Show Fields in Text”.
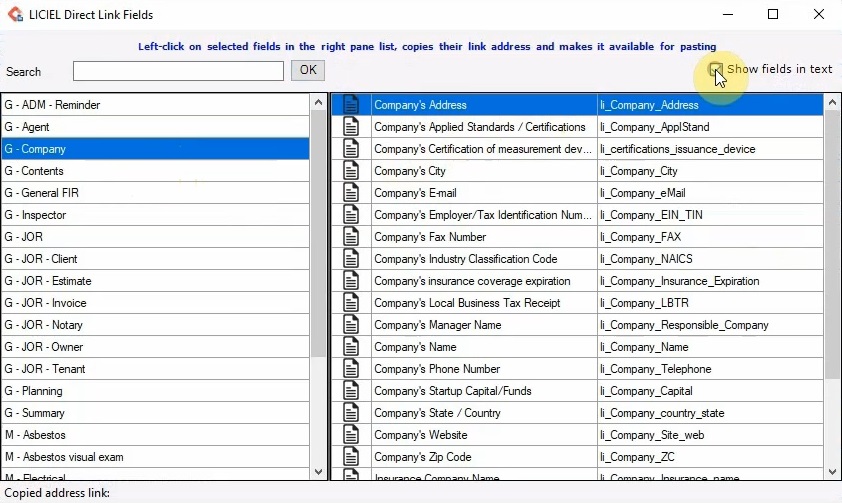
This shows the actual key associated with the description.
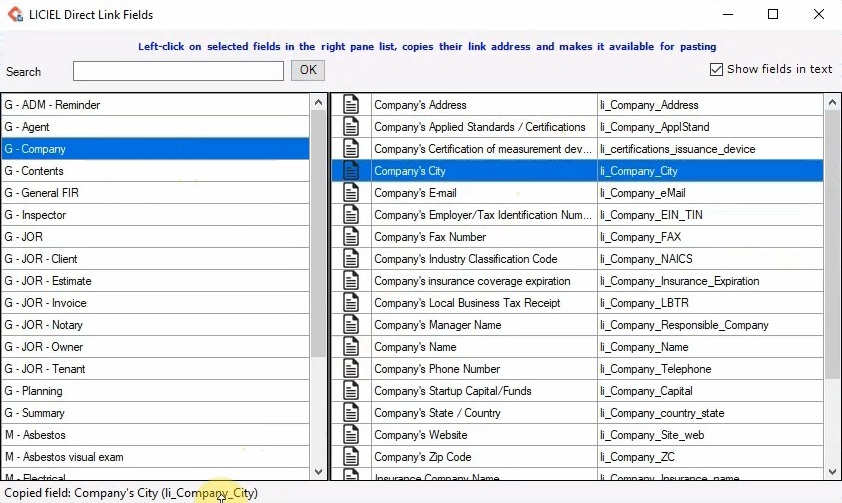
Click a key. For example, “Company’s City”.
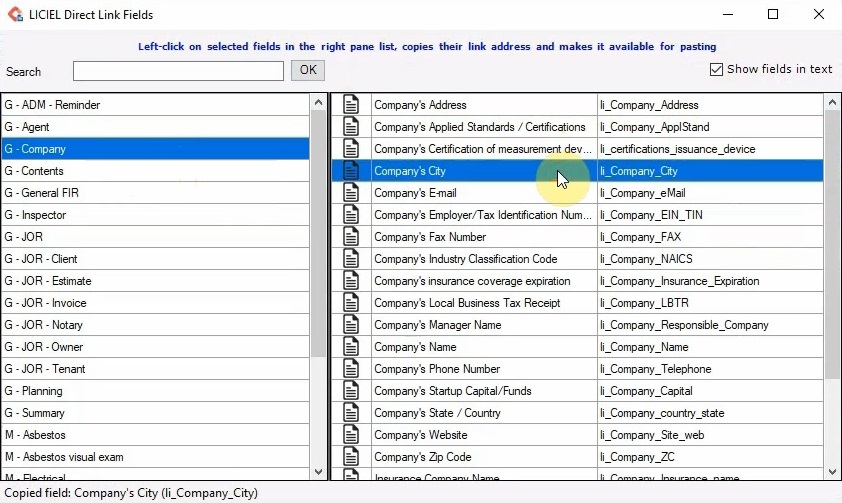
Clicking on a key will copy the key to your clipboard.
Notice that when a key is clicked, the bottom of the glossary window, displays what was copied to your clipboard.
In this case, clicking “Company’s City” copied “li_Company_City”.
The software replaces these keys when the report is generated.
You can also search for a specific key using the search box.
Close the glossary window.
IV. Generating a Report
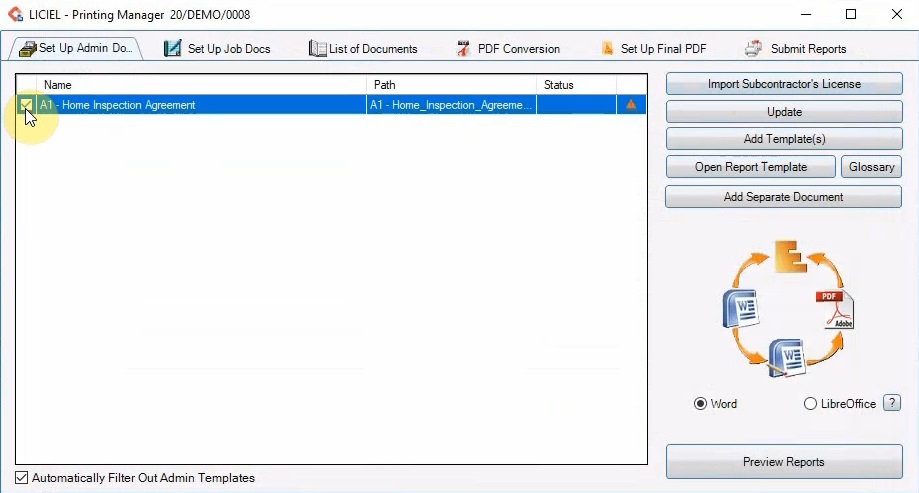
To generate a document, check the checkbox for the document or report you would like to generate.
In this case, check the checkbox for “Home Inspection Agreement”.
Then, click “Preview Reports” to generate the report.
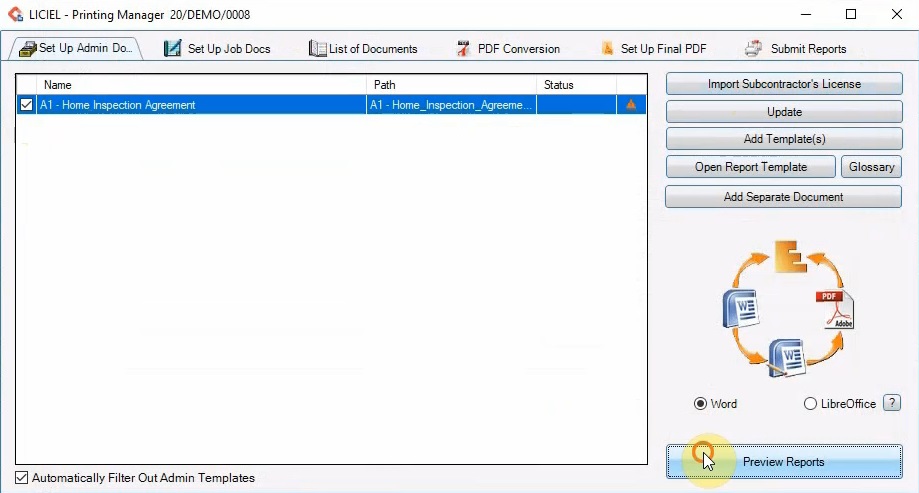
Depending on which report is being generated and how many images were inserted, this might take a minute.
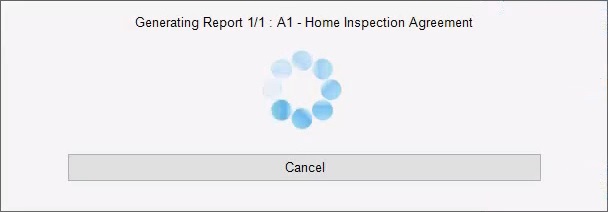
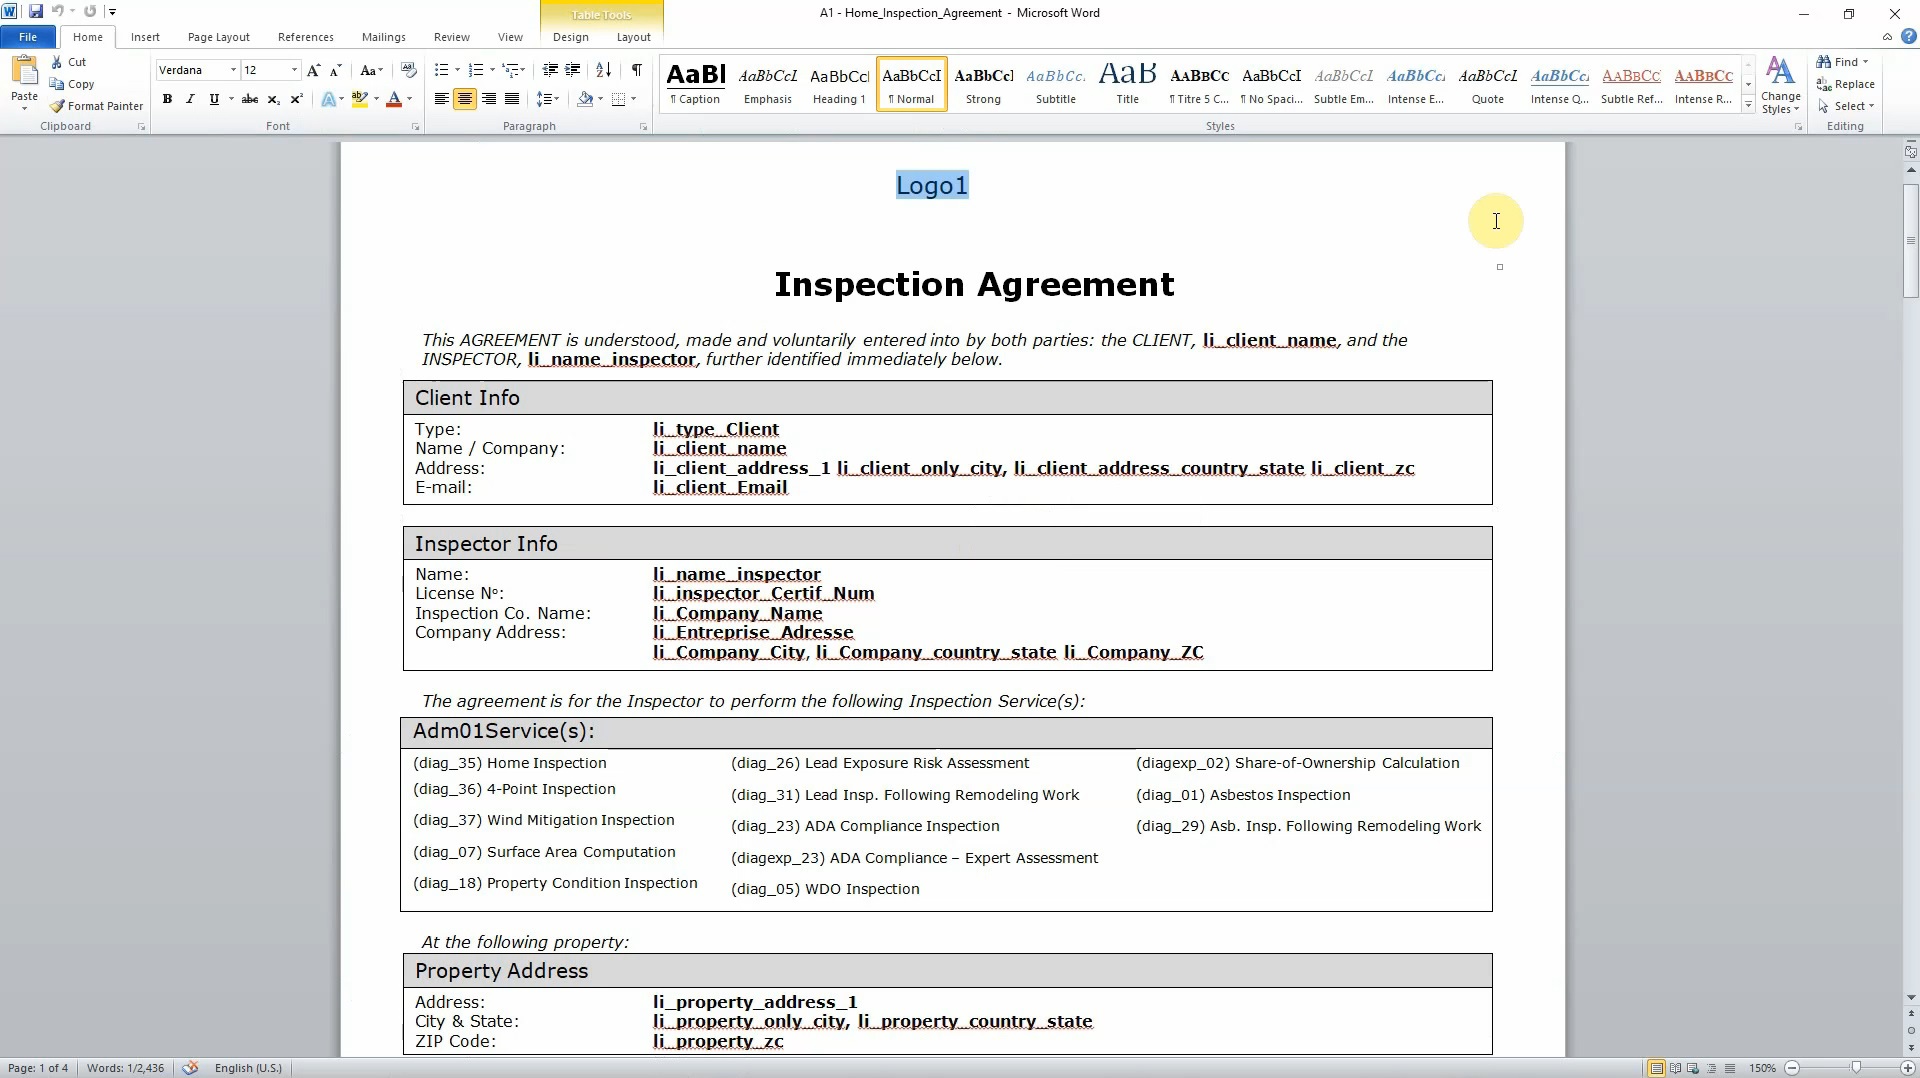
When the report is generated, the word document will open.
Notice that the logo key was replaced with the appropriate logo from our software settings.
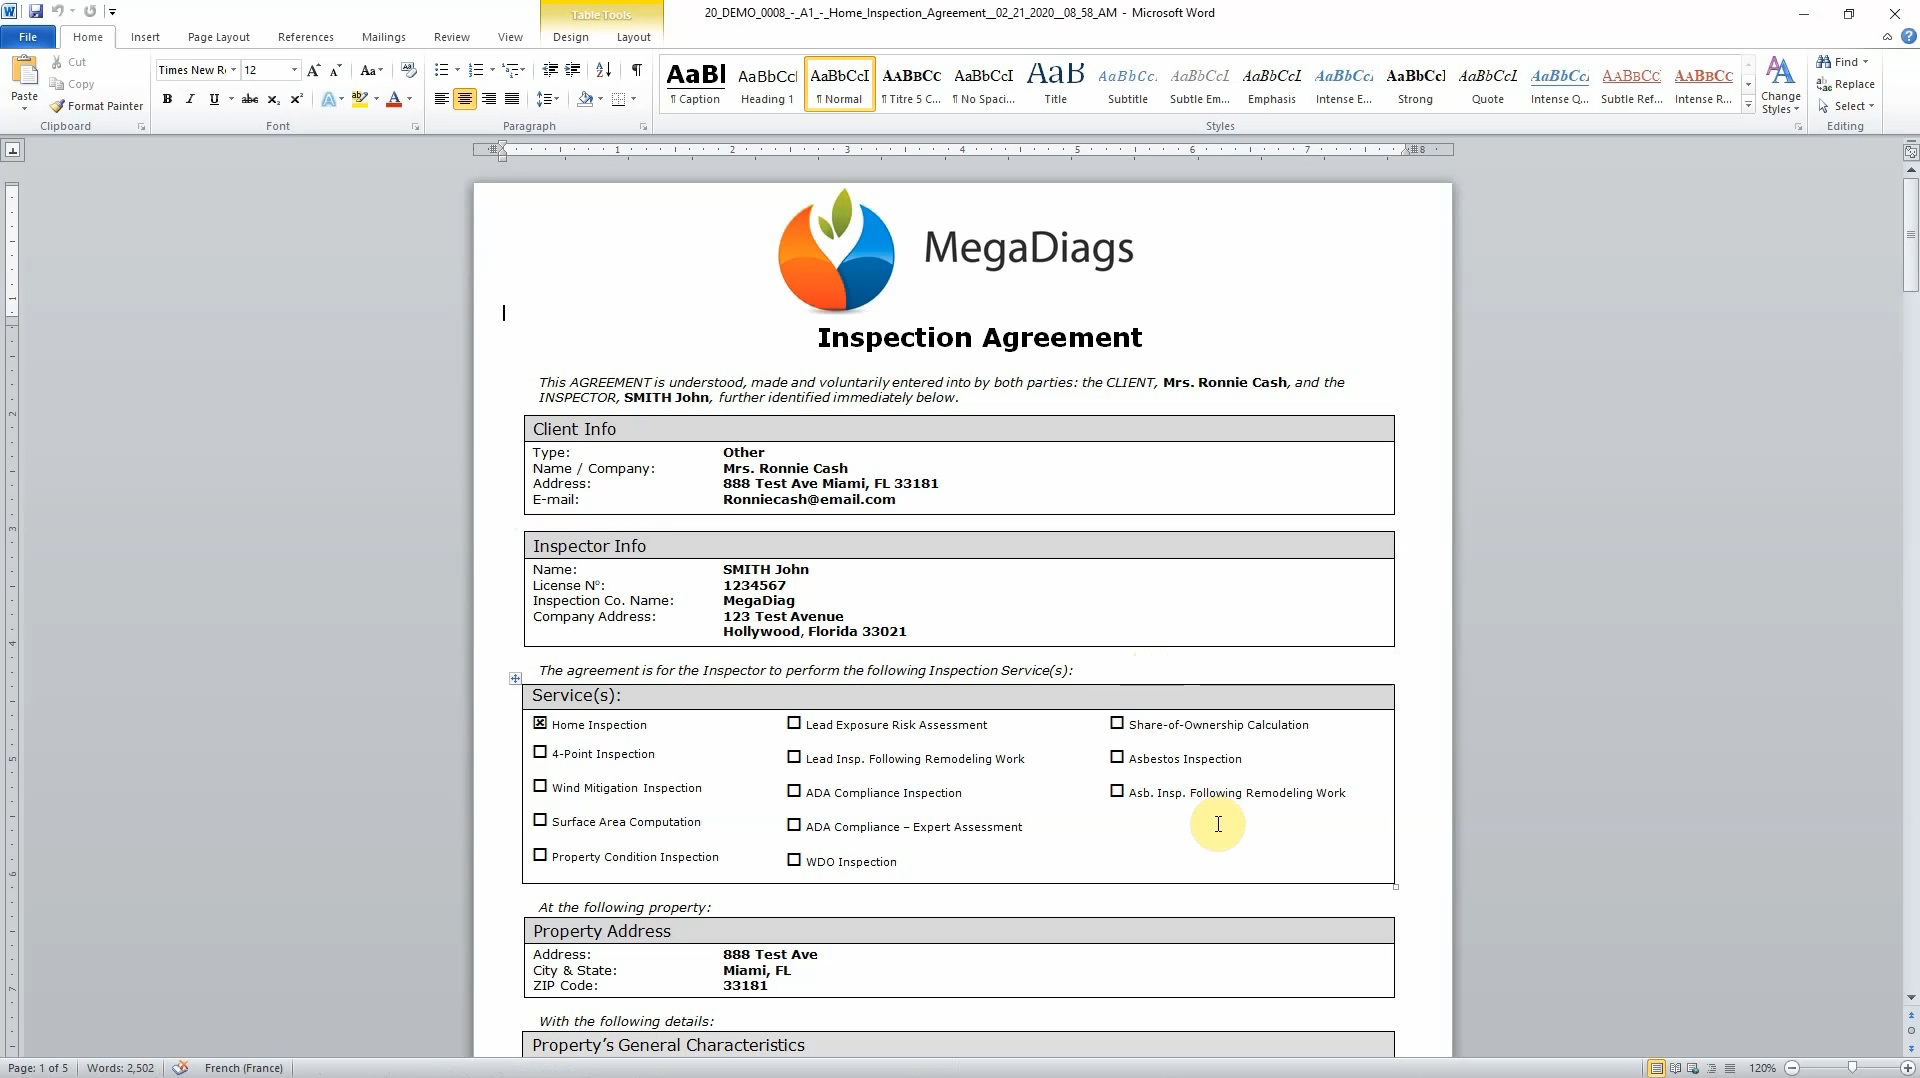
Also, the keys were replaced with the correct information.
Close the word document.
Go to the second tab, “Set Up Job Docs”.
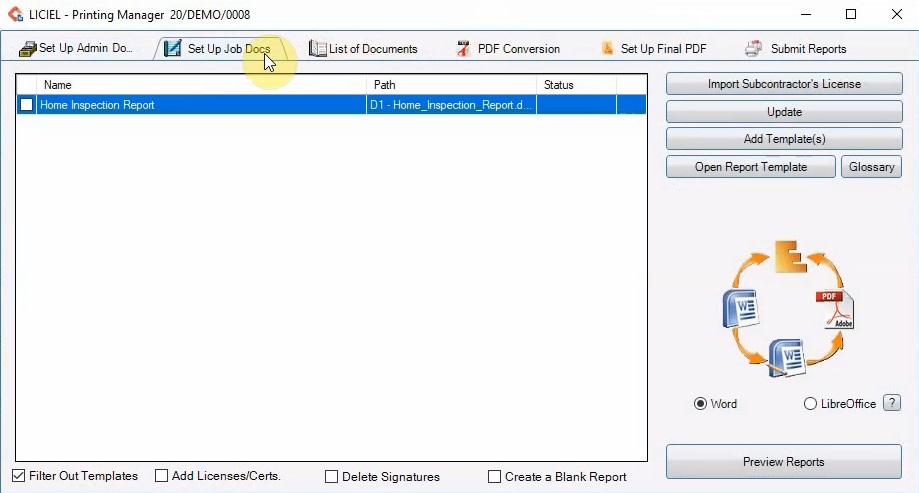
This tab contains almost the exact same features as the first tab.
However, the first tab is for administrative templates and the second tab is for the inspection templates.
For example, check the checkbox for the “Home Inspection Report”.
Click “Preview Reports” to generate the report.
V. Generated Reports
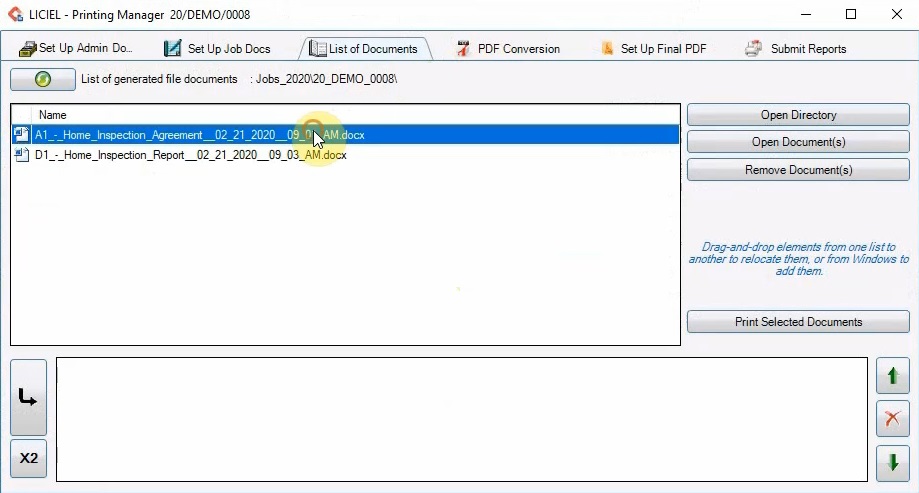
From the Printing Window, click the third tab “List of Documents”.
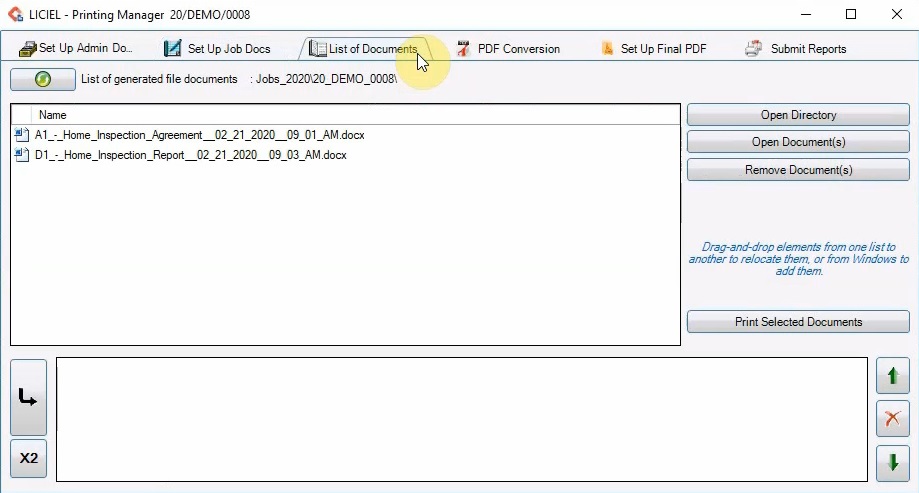
Here there will be a list of all the reports that were generated.
If the "Home Inspection Agreement" was generated multiple times, you will see the name of the Template, followed by the date and time of generation.
You can double click a document from the list to open it.
From the right side, click “Open Directory” to open the directory of the file.
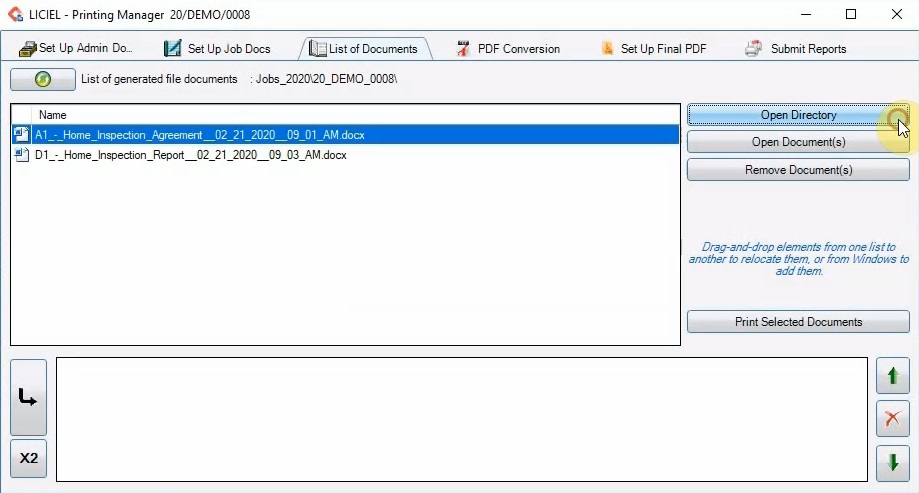
Notice that the folder name is the same as the file number.
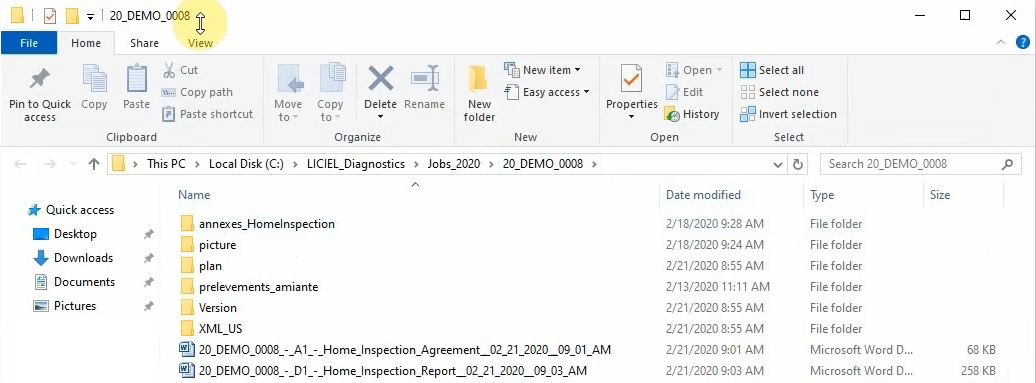
In the folder for this file, you will have a pictures folder, with all of the photos used in the inspection, a plan folder with the different floor plans generated, and also all of the documents generated by the printing module.
Close the File Explorer.
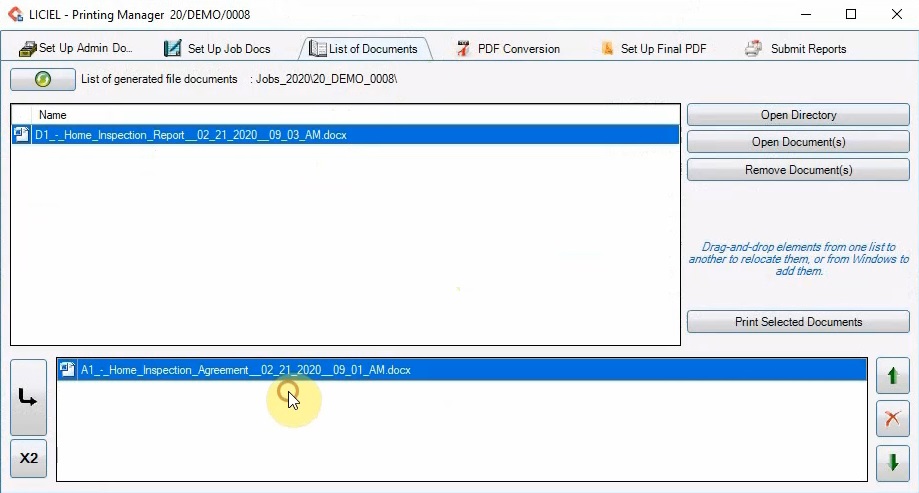
To delete a document from the list of generated documents, select the document from the list and then click “Remove Document”.
To print a document, drag the document to the box in the bottom.
Then, click “Print Selected Documents”.
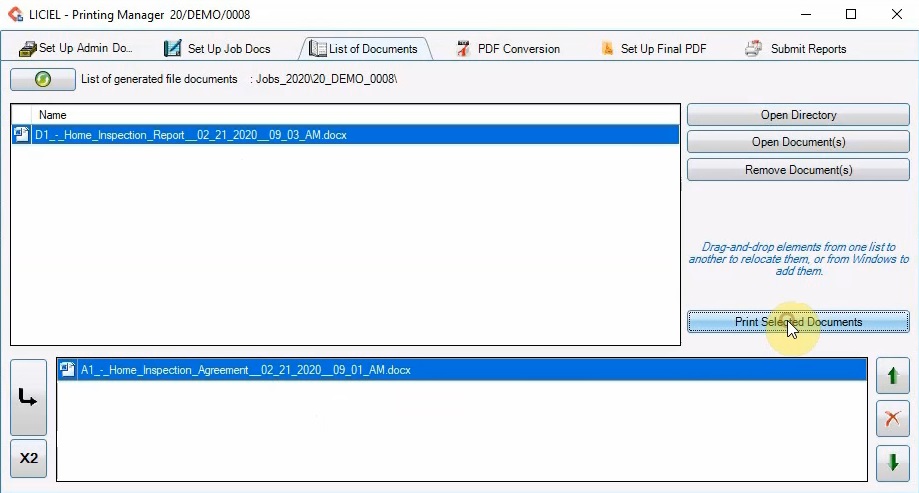
If you don’t want to print it yet, select it and click the “X” button to move the document back to the upper box.
VI. Convert Report to PDF for Submission
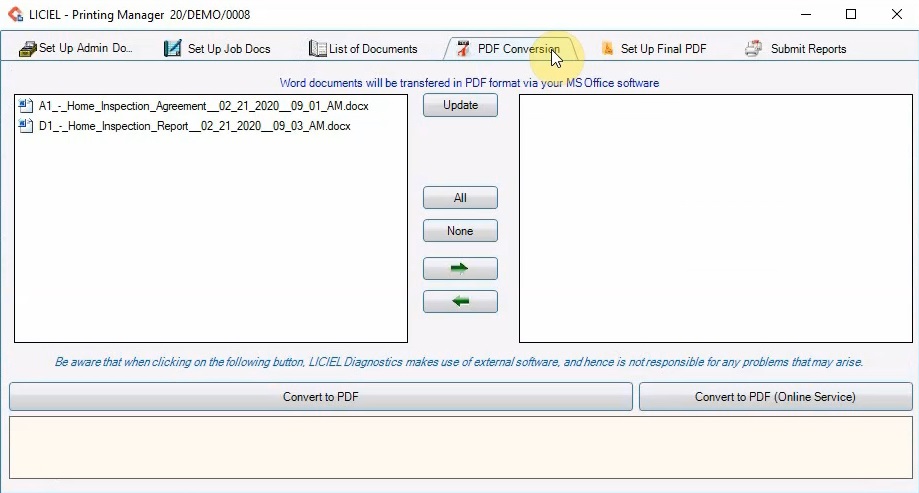
In the “PDF Conversion” tab, the left hand side has a list of all the generated documents.
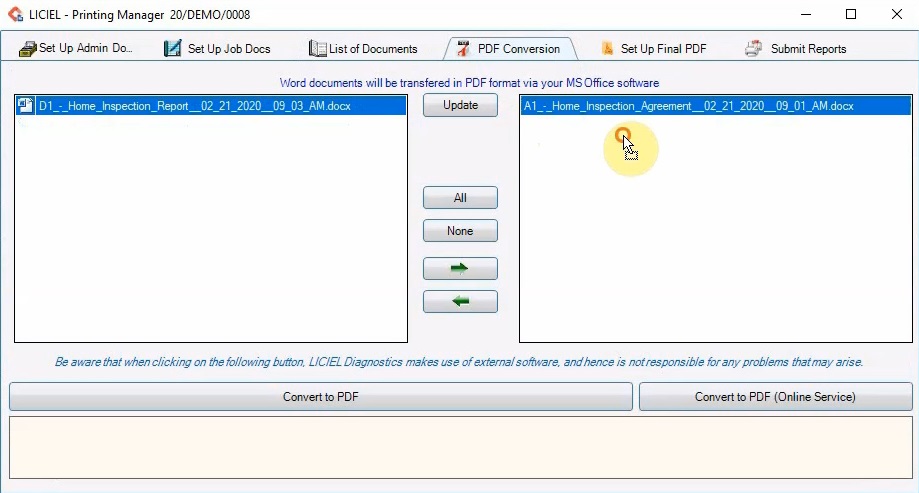
To convert the Word document into a PDF file, drag it to the box on the right.
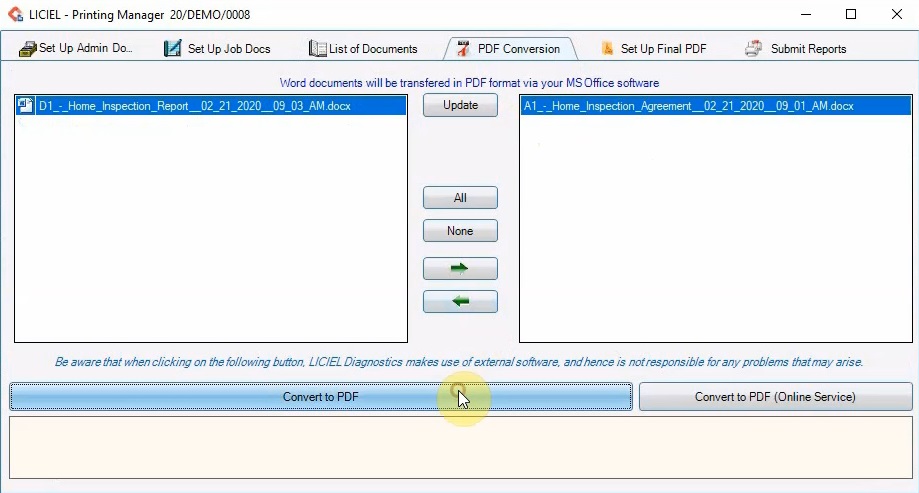
Click “Convert to PDF”.
Click the 5th tab, “Set up final PDF”.
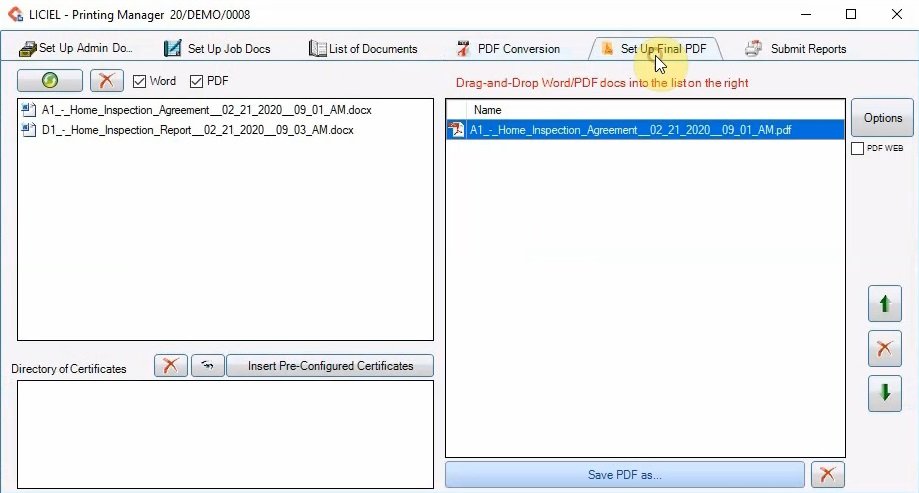
The left hand side shows a list of all the word and PDF documents that were generated.
This tab allows you to select which files will be put together into one final PDF.
Select the files for the final PDF from the left side and drag them to the right side.
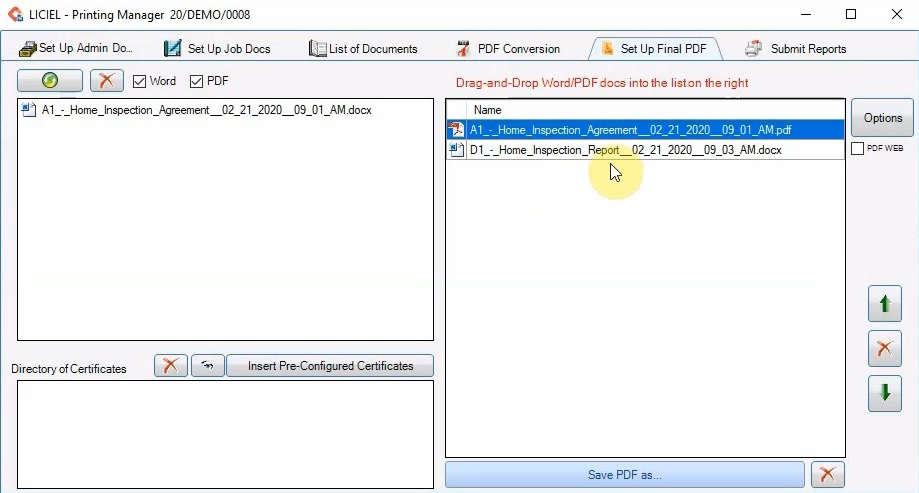
When all the files have been added, click the “Options” button.
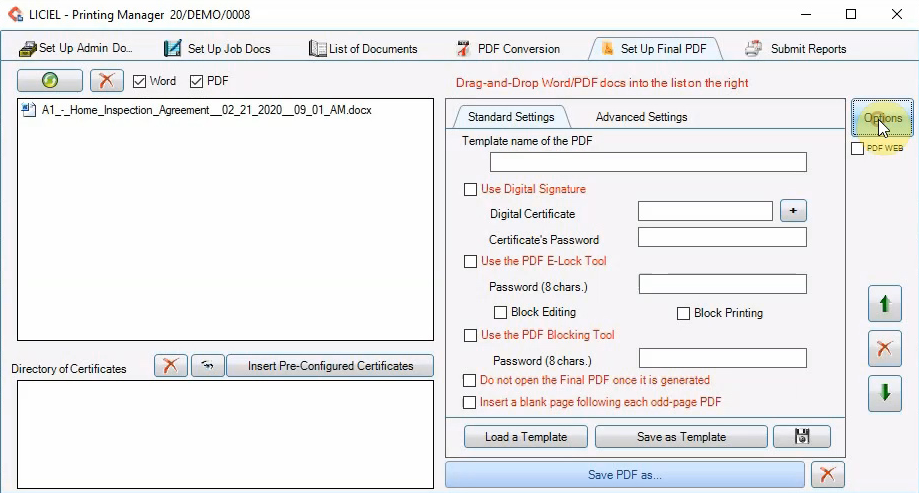
This will display many options regarding the creation of the final PDF.
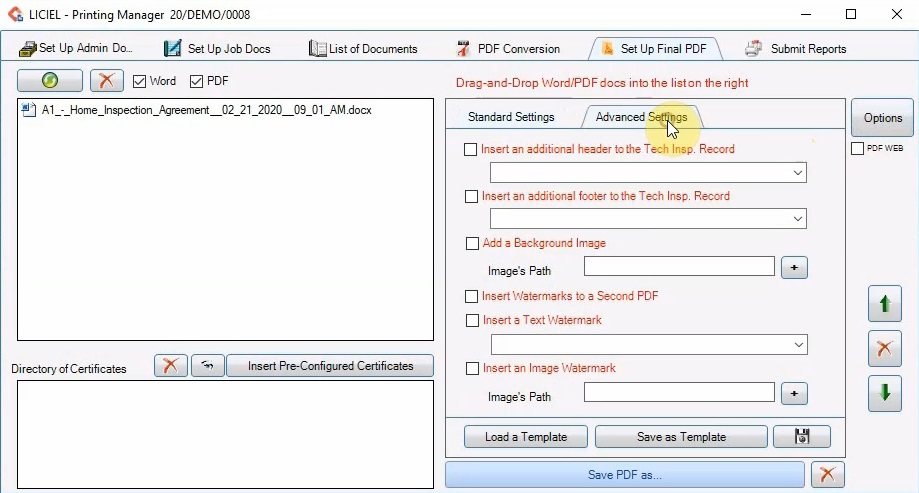
Use the tabs to navigate through the PDF settings.
When the options are set, click the “Option” button again.
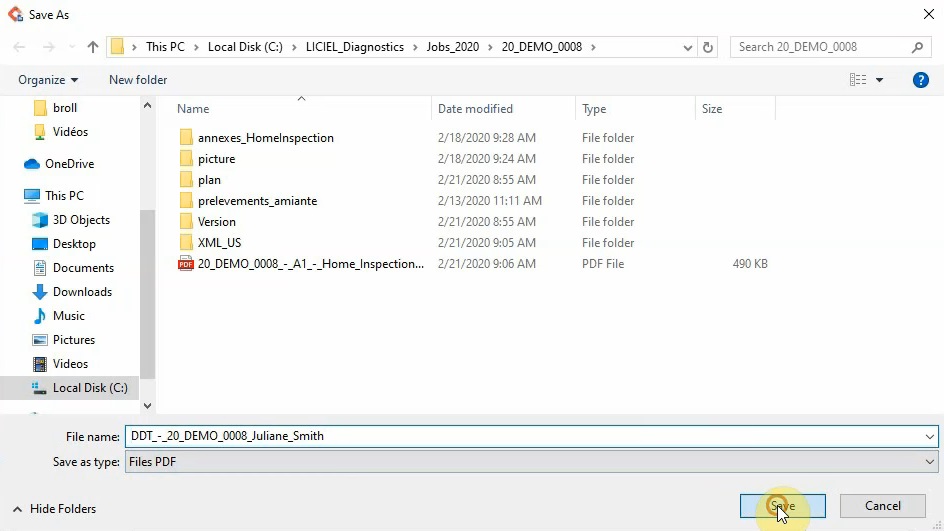
Generate the final PDF by clicking “Save PDF as…”
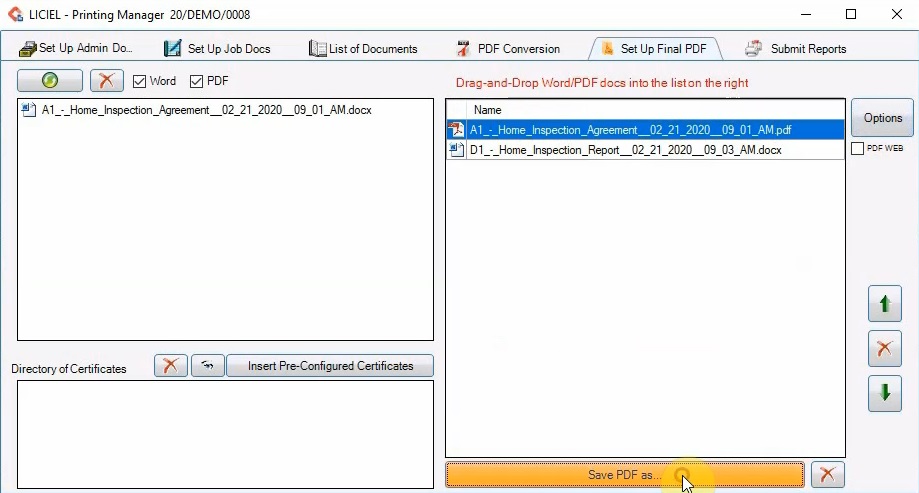
Choose the location for the file and click “Save”.
VII. Submit Report
Go to the last tab, “Submit Reports”.
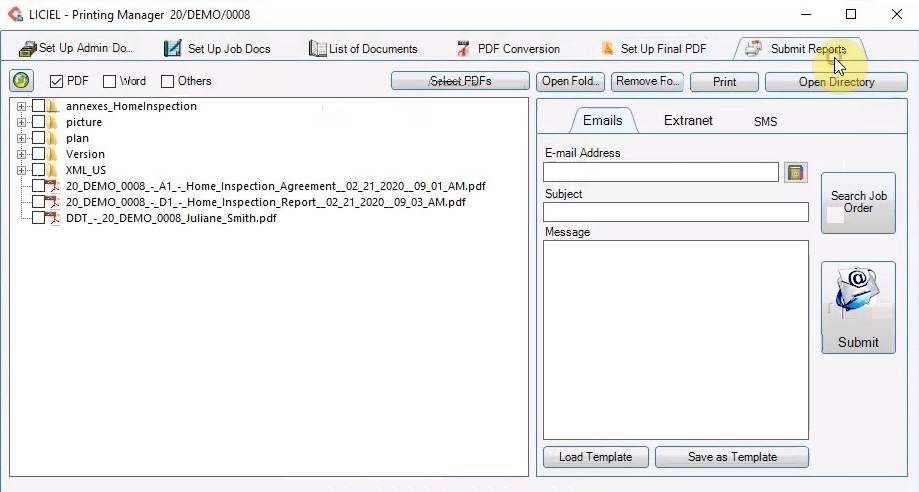
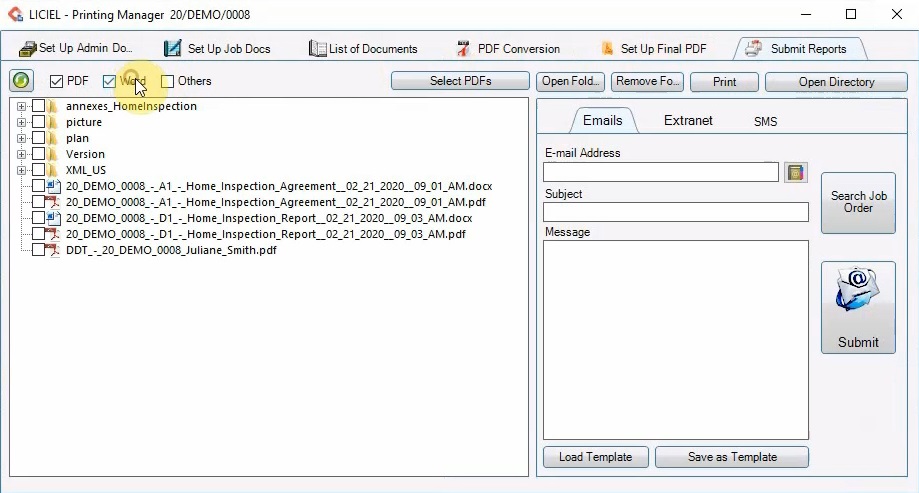
Use the checkboxes to display different file types.
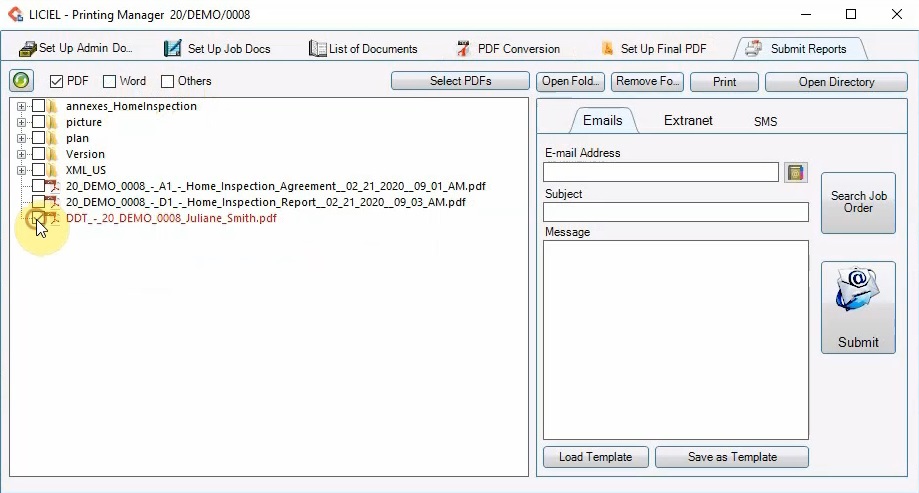
Then select which files to attach using the checkboxes.
Enter the information on the right manually or click “Search Job Order” to auto-fill the information.
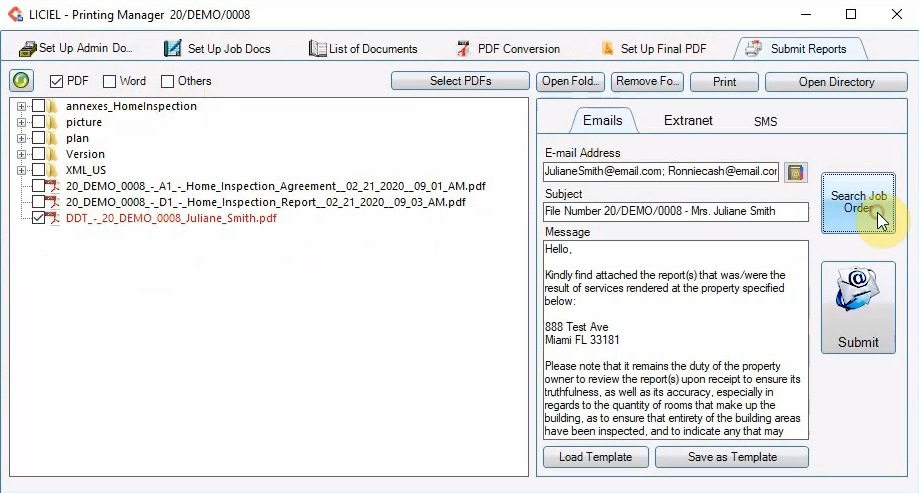
Click “Submit” to send the email with the attachment to the specified recipients.
