Configuring the LICIEL Diagnostic Software
I. Open the Software Settings
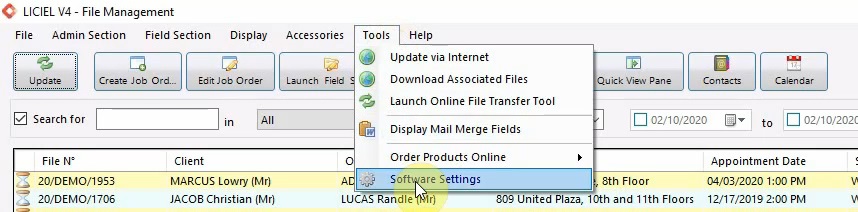
To configure your software settings, open your LICIEL Inspection Software and click on the “Tools” tab at the top.
Then, select “Software Settings”.
II. Contact / User Information
After the settings window opens, we can start filling in our Company Information.
Begin with the company name and address, following with the company phone number, email, and website.
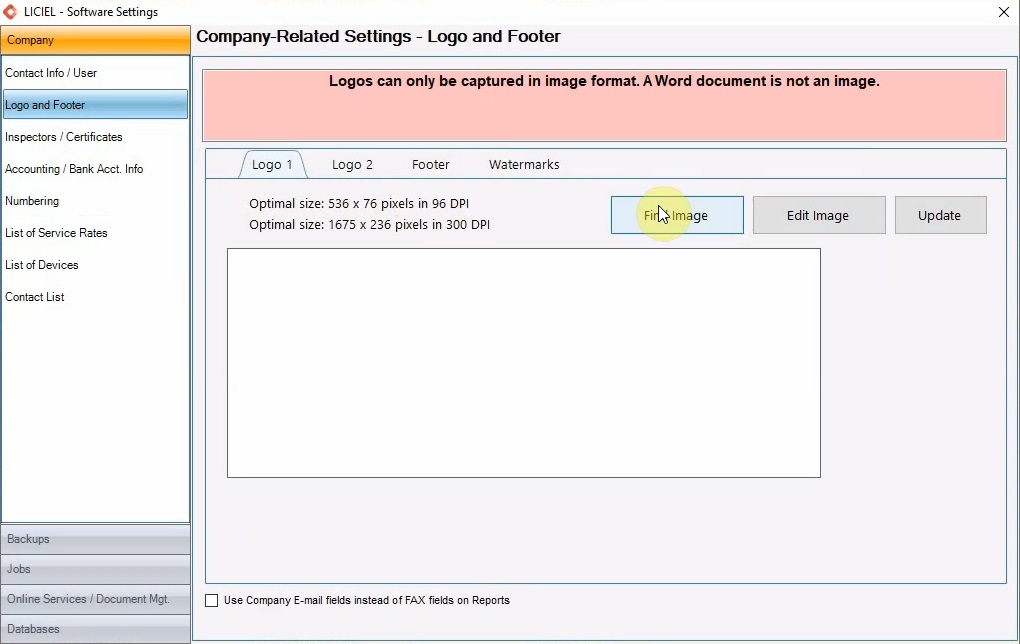
III. Logo and Footer
From the left hand-side panel, select “Logo and Footer” to select the logo, footer, and watermarks that will appear on your printed reports.
Please follow the recommend image sizes for the best results.
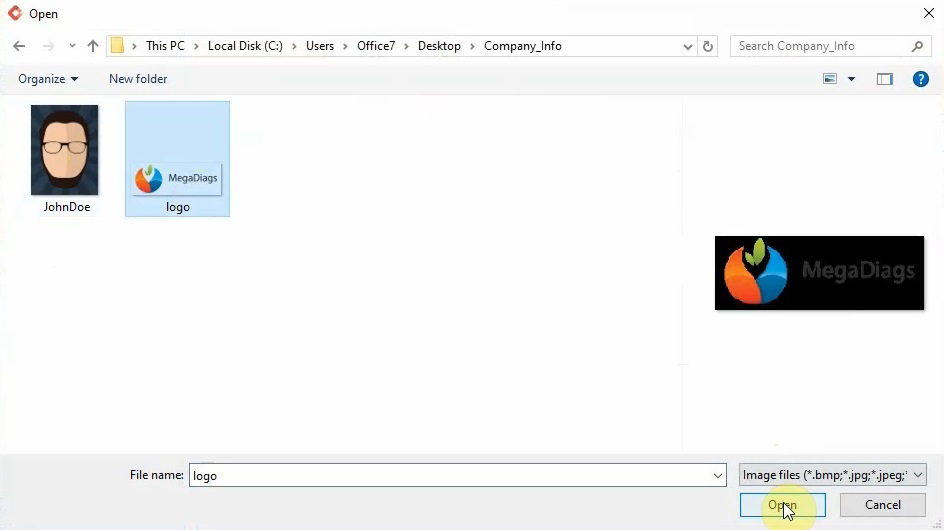
Click “Find Image” to browse through your files.
Once you find the image you want to use, you can click “Open”.
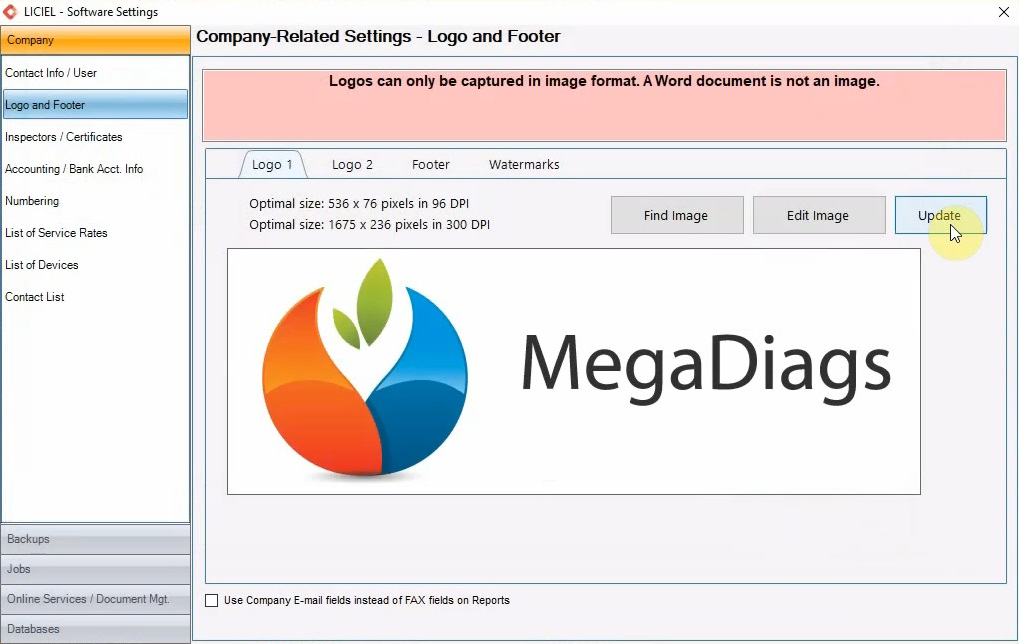
Then, click “Update”. Use the tabs at the top to do the same for the footer and watermarks.
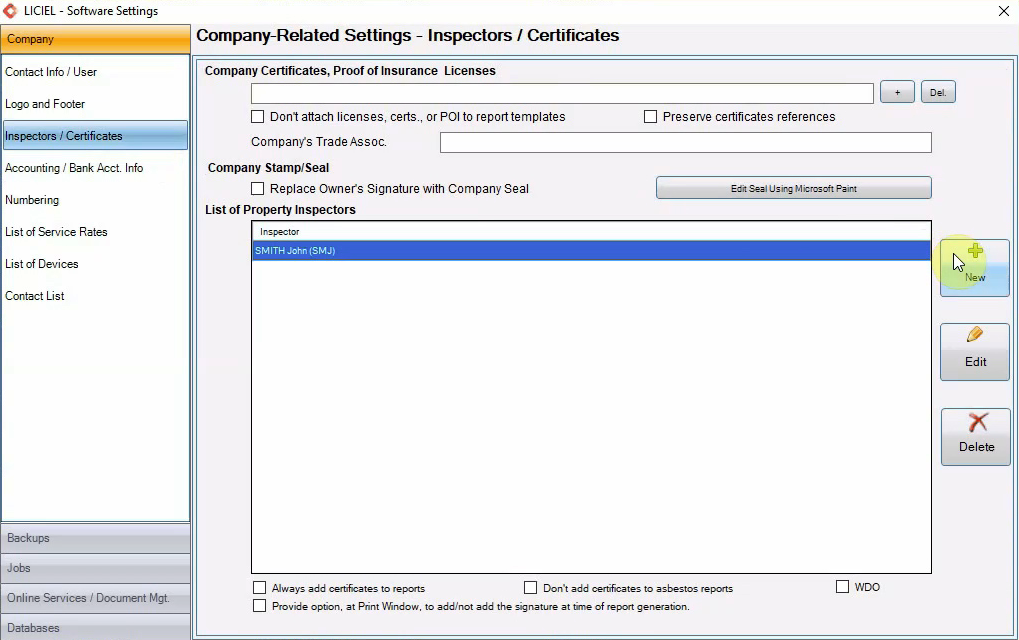
IV. Inspectors / Certificates
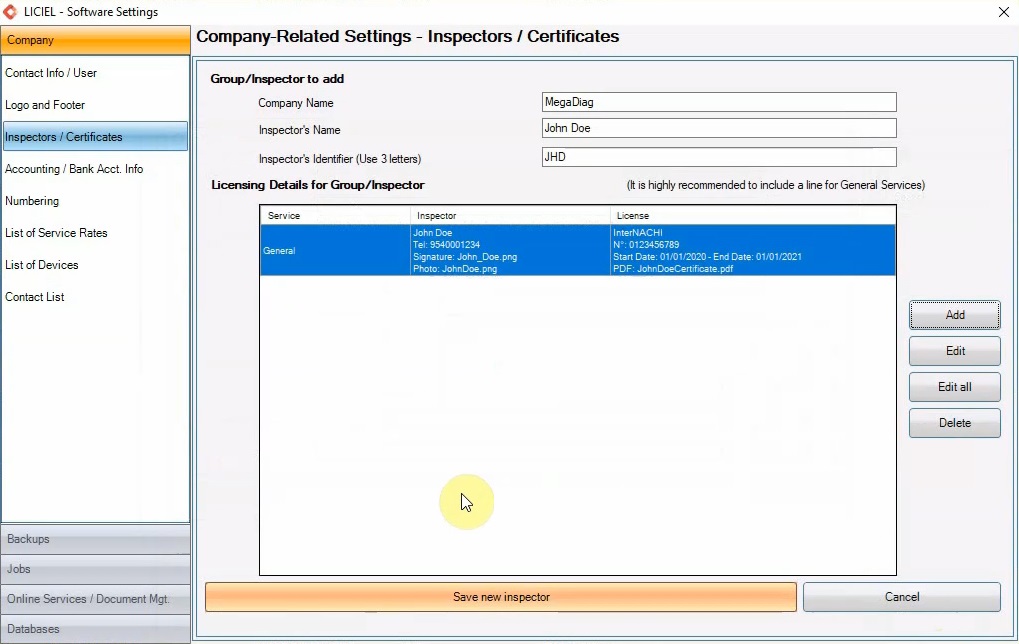
To add our inspectors, select “Inspectors / Certificates” from the left hand-side panel.
When creating a job order, you will be able to assign an inspector to each order.
Click “New” to add a new inspector.
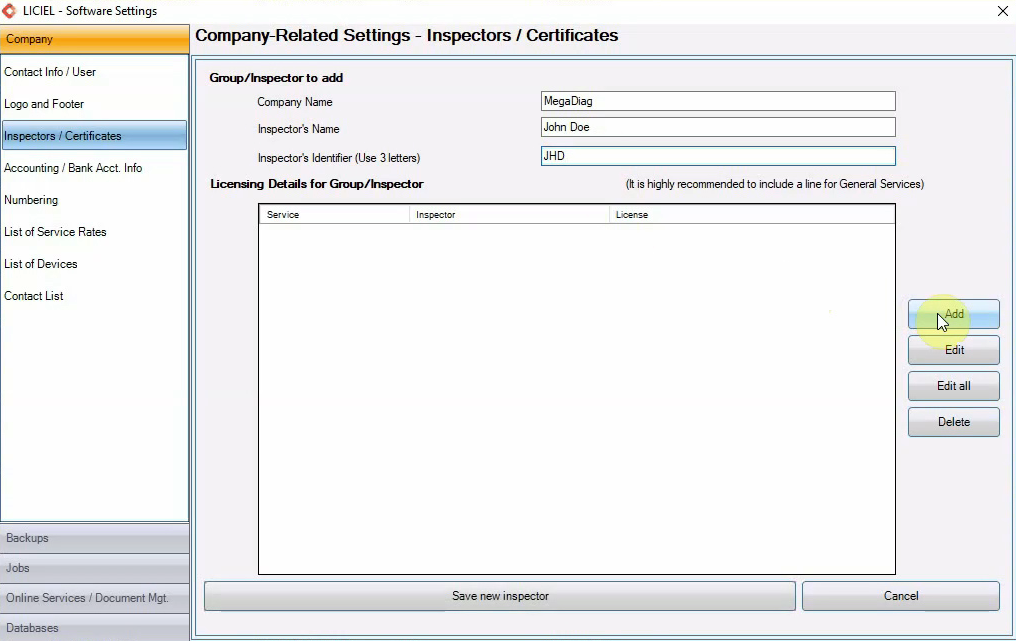
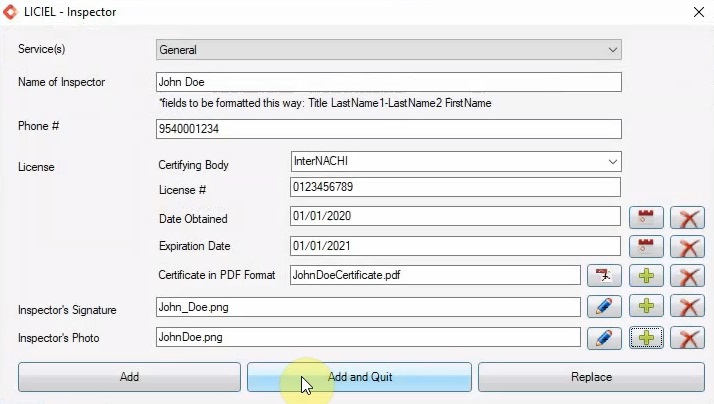
When, the new inspector form opens, you can fill out the inspector’s information.
This includes the company name, the inspector name, and the inspector’s identifier which is typically the inspector's initials.
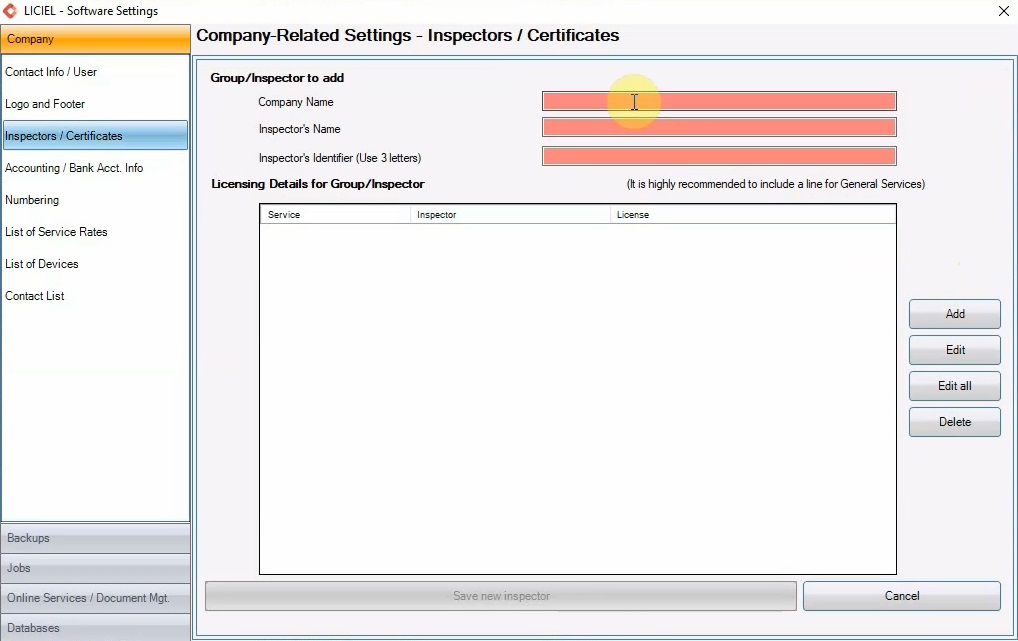
Then, add the licensing details for this inspector.
Add the certifications for this inspector one by one.
Click “Add”.
From the “Services” drop down, select what kind of certification it is.
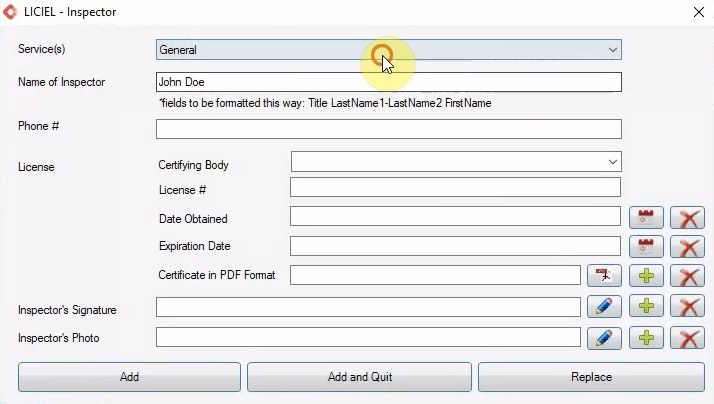
Then, enter the rest of the certification information- the certifying body, the license number, the date obtained, and the expiration date.
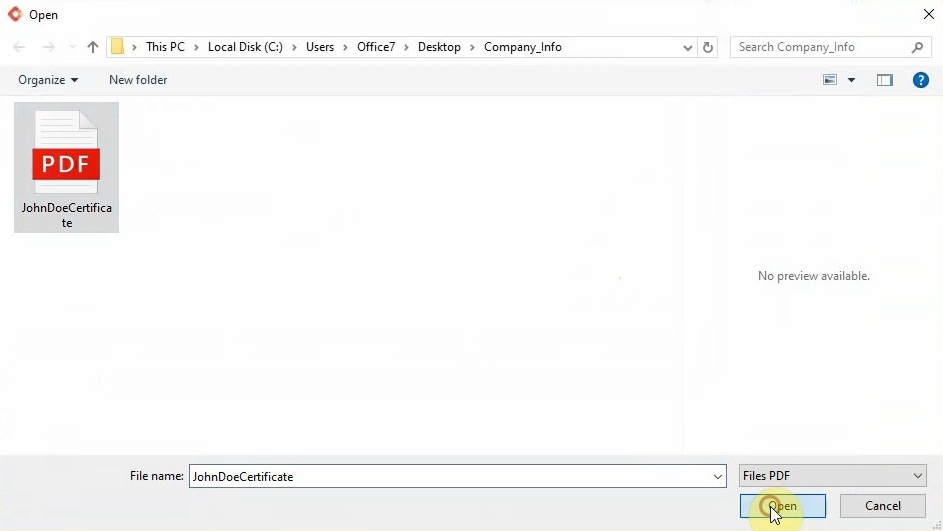
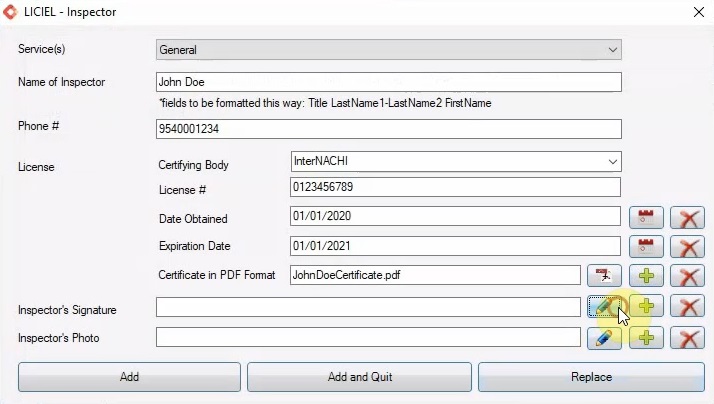
Upload a PDF certificate as proof of the inspector’s certification.
Click the “Plus” sign and select the correct file.
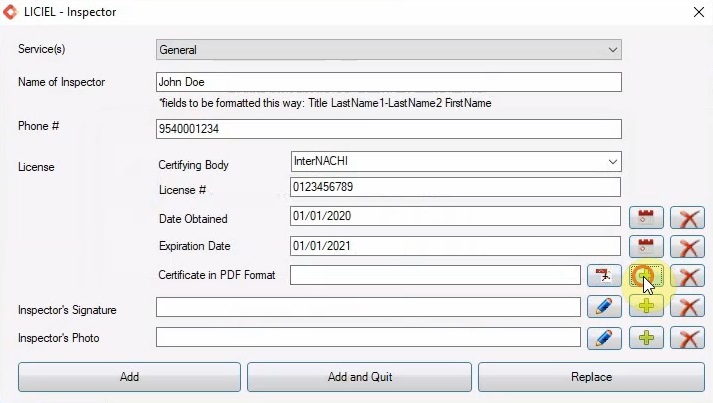
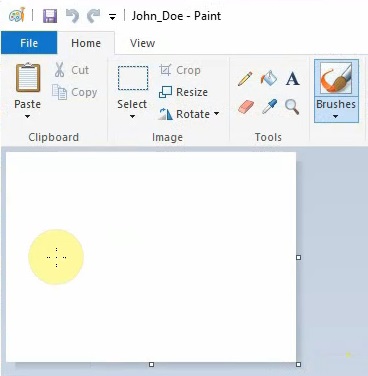
Next, let’s add the inspector’s signature.
This signature will be printed on the reports.
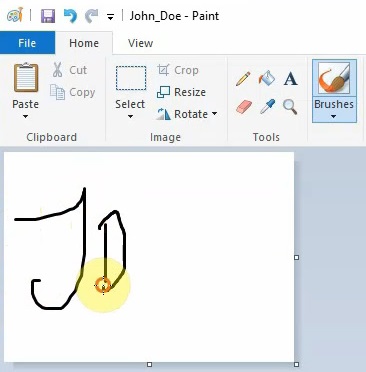
Add an image of the signature by clicking the “Plus” sign or create a signature from scratch by clicking the pencil (see below).
Do the same for the inspector’s photo.
Click “Add and Quit” to save this certification.
Add as many certifications as needed.
V. Numbering
To arrange your numbering preferences, click "Numbering" from the sidebar.
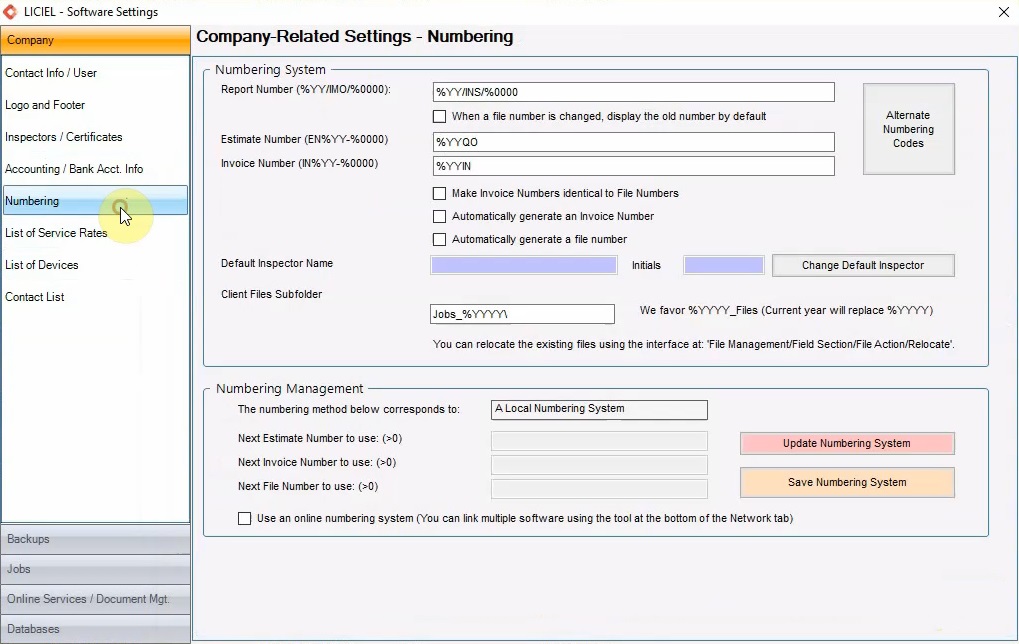
This affects everything from report and invoice numbering to the directory naming format.
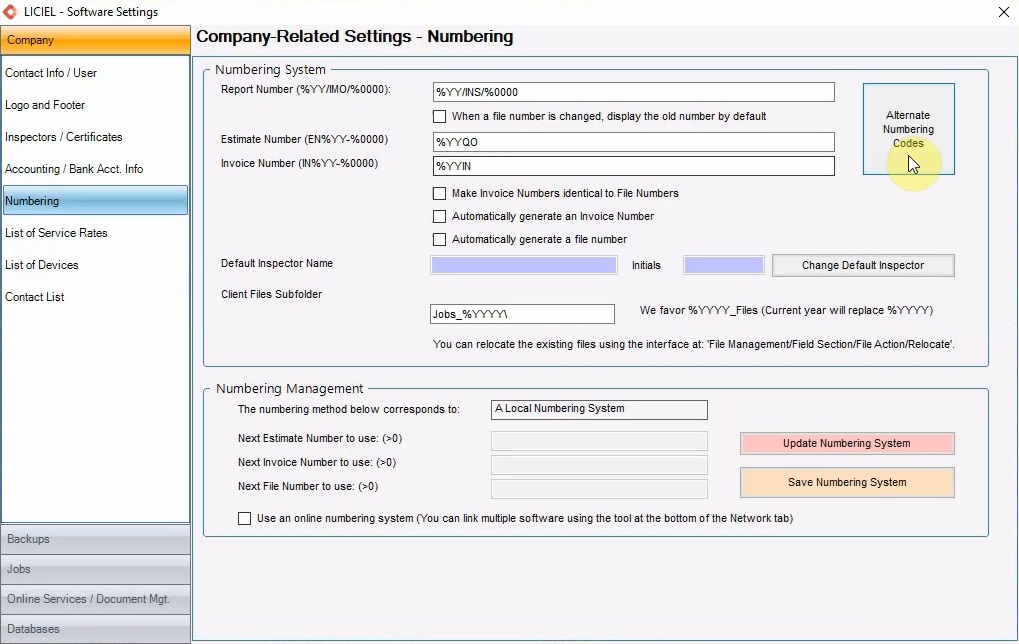
Click “Alternate Numbering Codes” to view the allowed codes.
When you use one of these codes, the software replaces the code with the appropriate information.
For example, “%YY” will add the last two numbers of the current year.
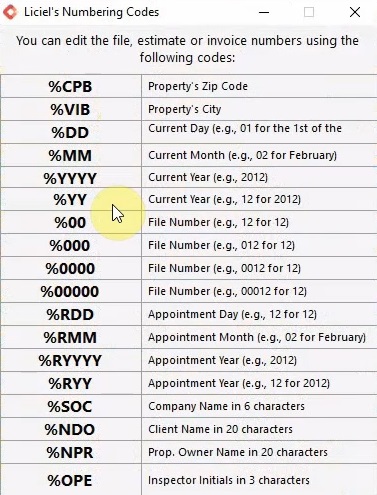
So in 2019, the code “%YY” would be replaced with “19”.
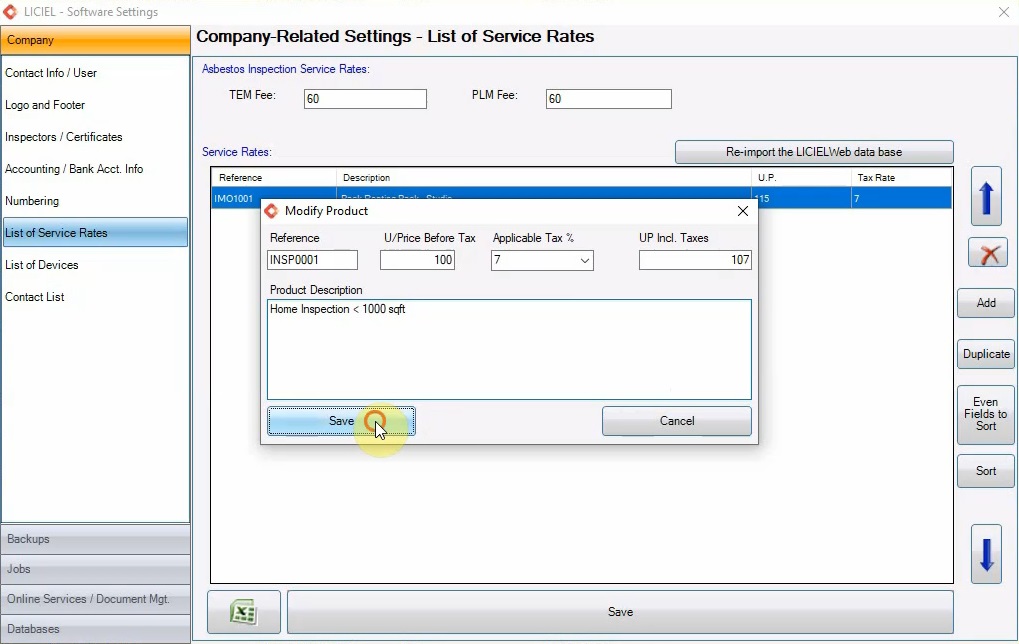
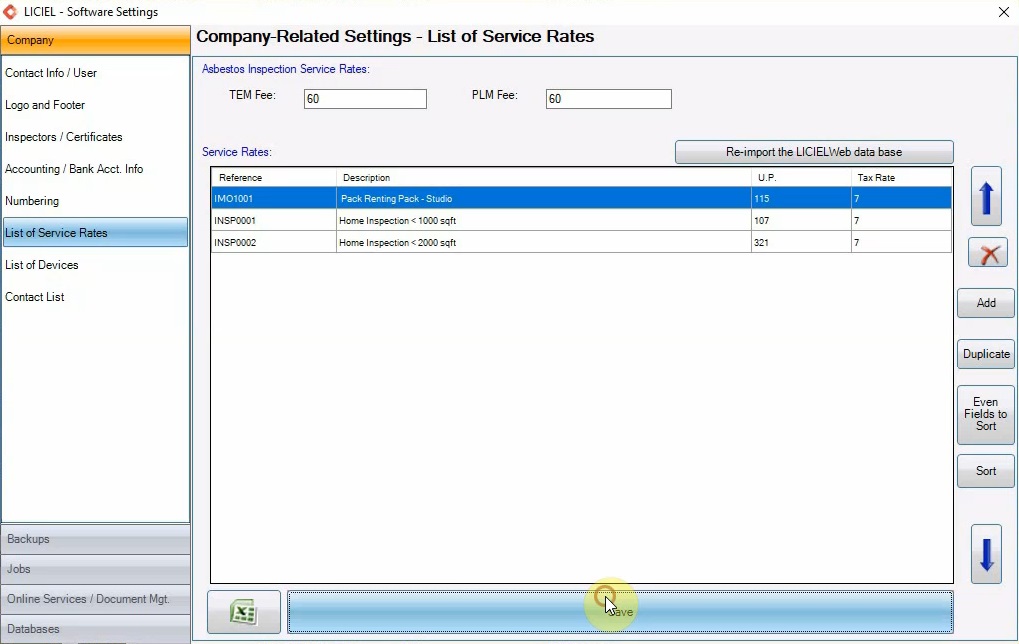
VI. List of Service Rates
To add the available services, click "List of Service Rates" from the sidebar.
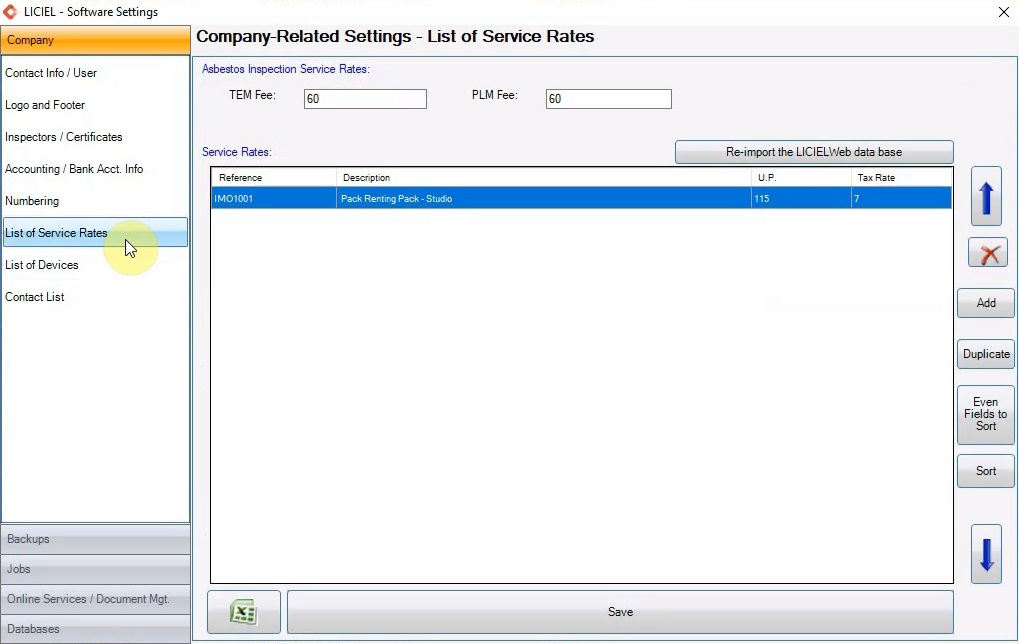
This is the list that will be available to you when creating an order.
Your invoices will consist of the items on this list.
To add a new service, click “Add” and enter the required information.
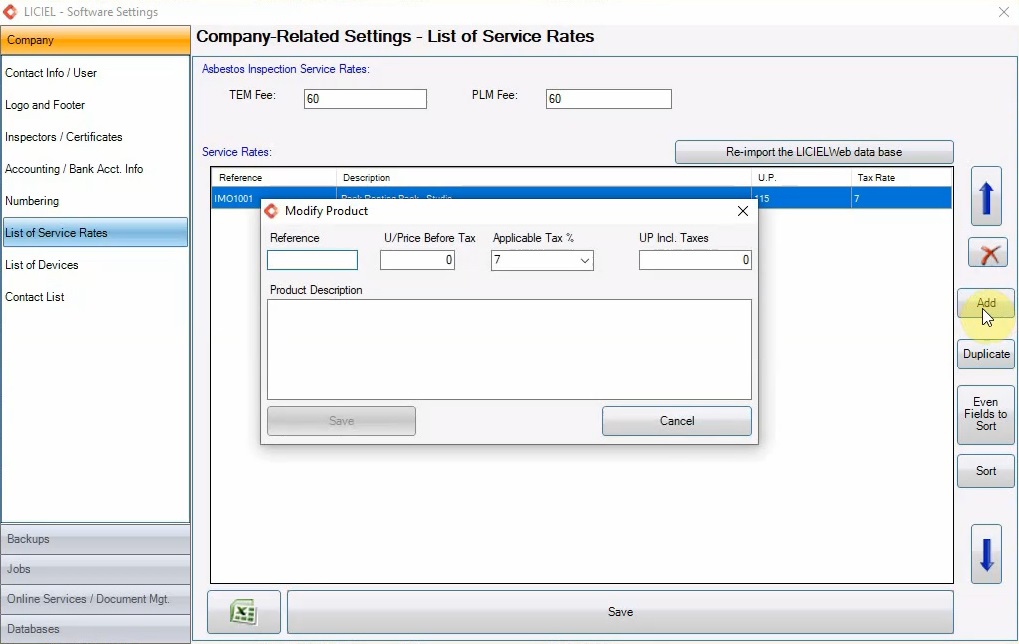
Each service will have a reference number, description, unit price, and tax rate.
Click “Save” to add this new product to the list.
When you’re done adding services, click the big “Save” button at the bottom.
VII. Backups
Configure you’re auto save preferences to ensure that you never lose any work.
On the left hand-side panel, click “Backups” and then “Field-Data Section”.
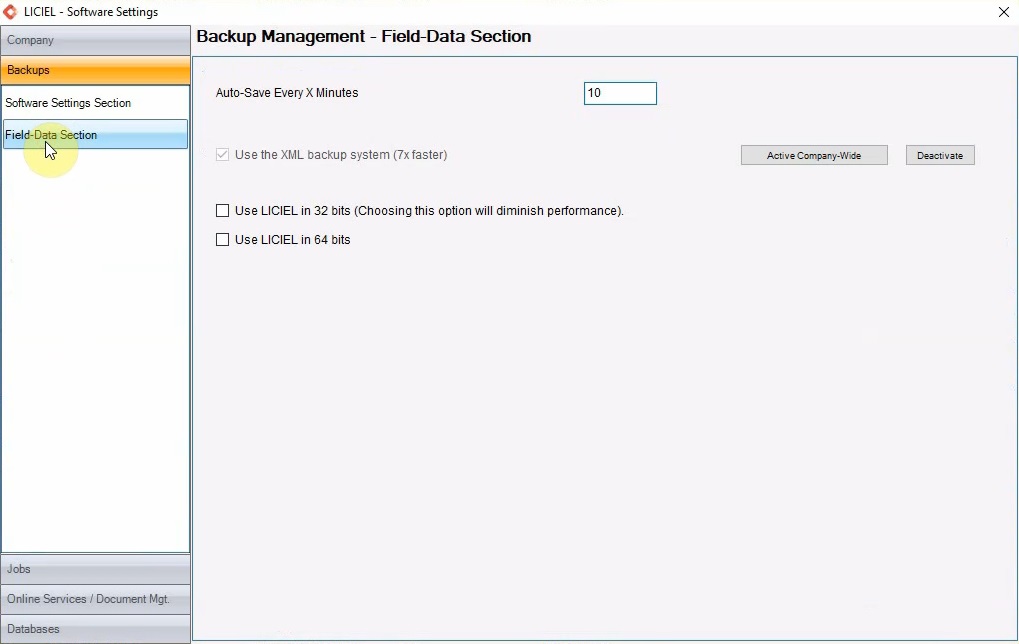
By default, the software will automatically save your progress every ten minutes.

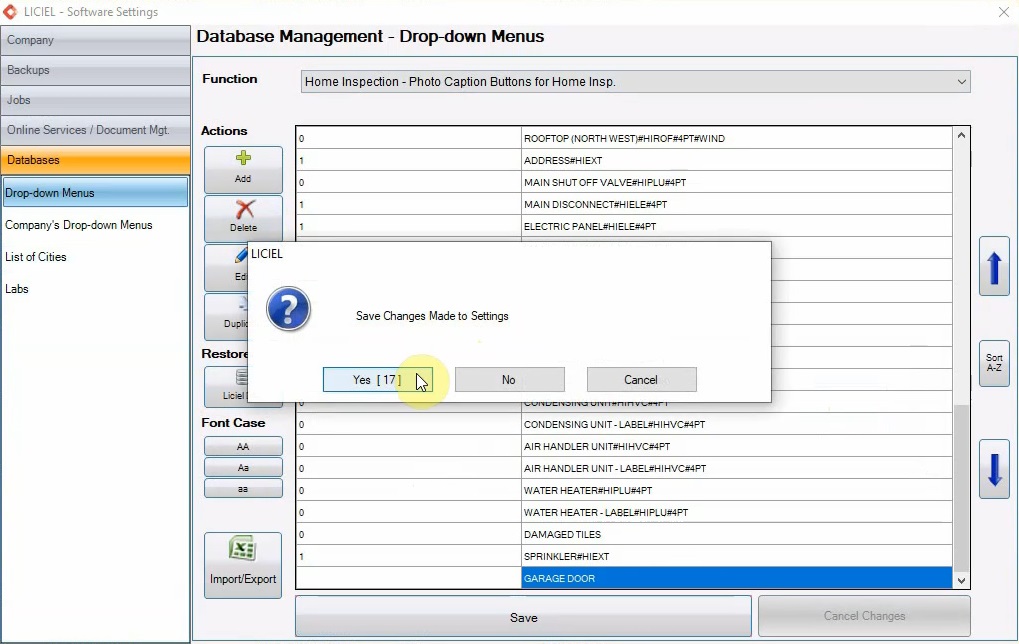
VIII. Databases
From the left hand-side panel, click “Databases” and then click “Drop-down Menus” to take a look at the drop down menus.
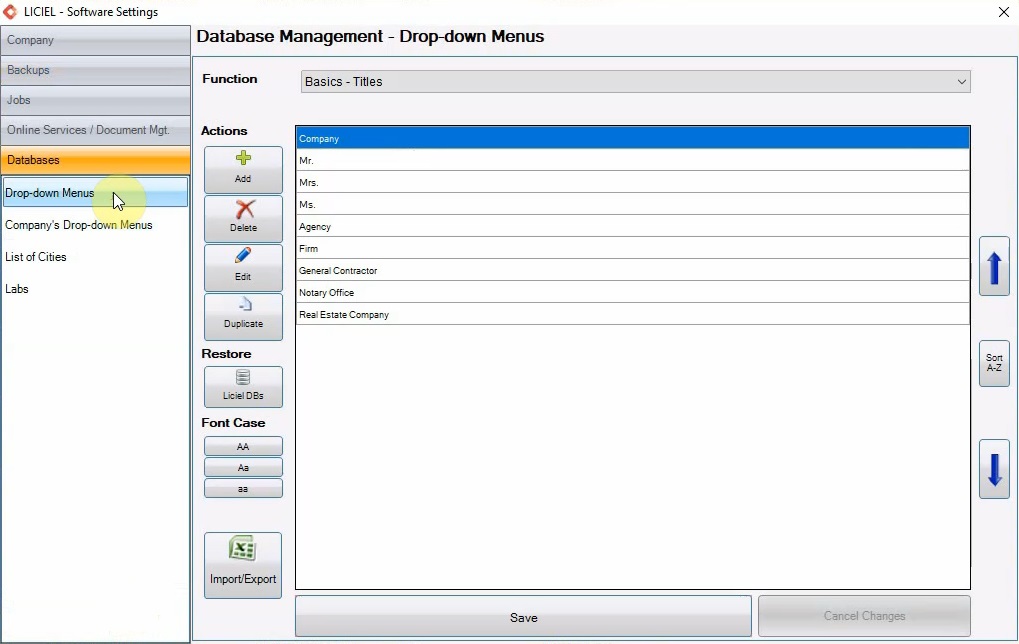
These are the drop down menus available to you as you create an order or move through an inspection.
For example, the “Basics –Titles” drop down.
These are the prefixes for contacts.
Click the down arrow we can see all the drop down menus.
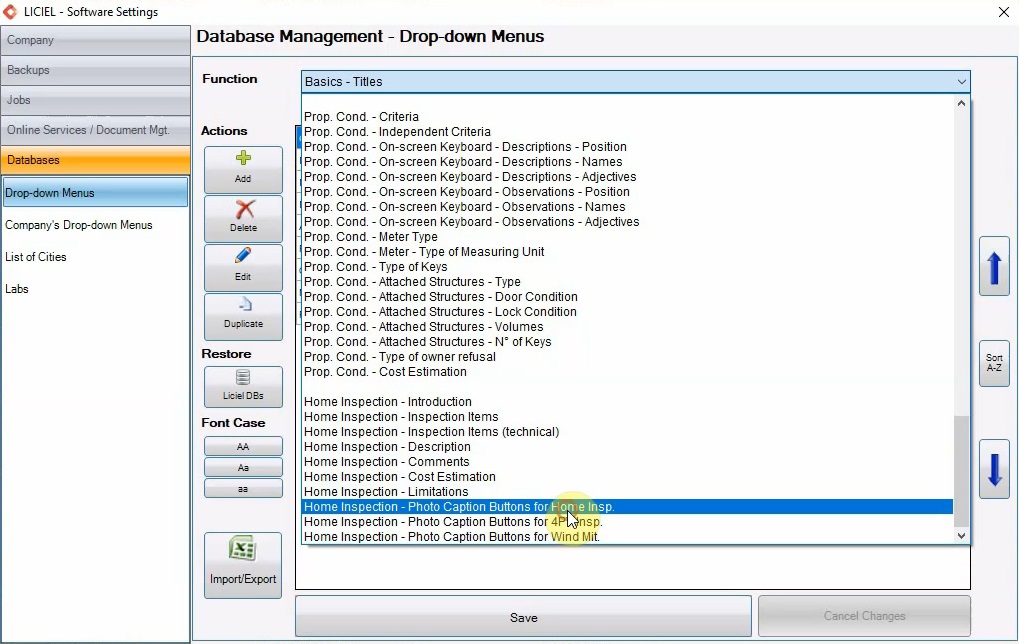
Some of the drop down menus control the captions for the photos.
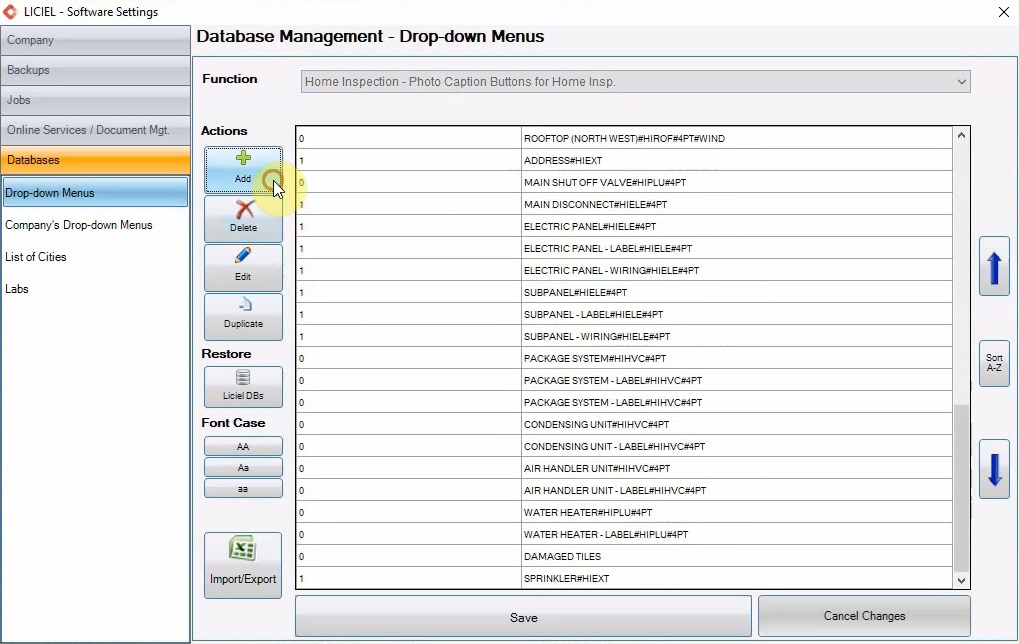
All the way at the bottom of the list, is “Home Inspection – Photo Caption Buttons for Home Inspection”.
Select this item and click “Add” to create a new photo caption option.
When you are satisfied with the caption, click “Confirm” to add it to the list.
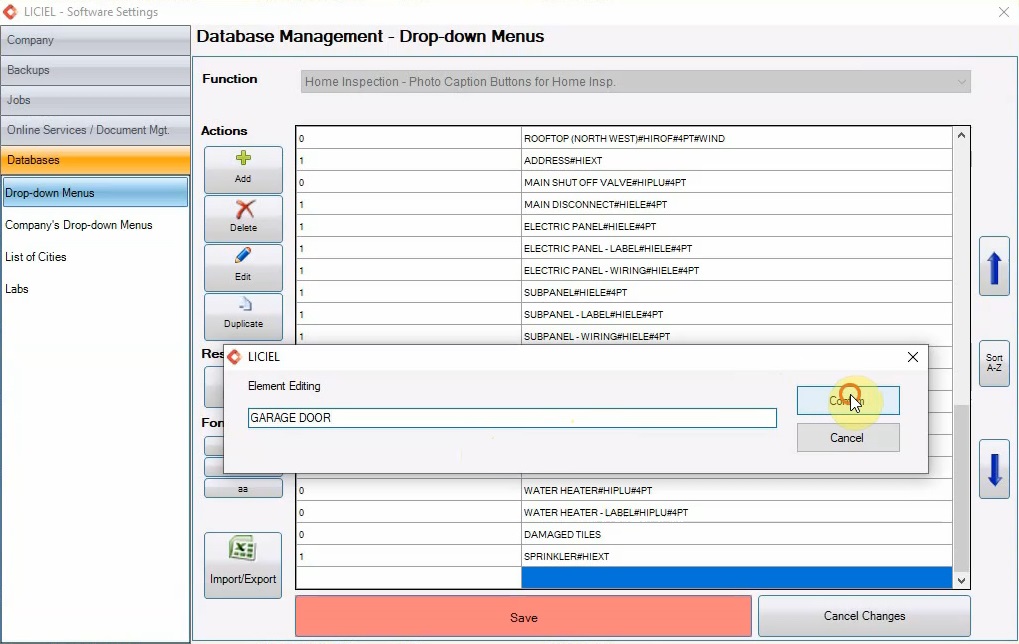
Then, click “Save” to save your changes.

Your software is now configured!
Click the "X" in the corner to close the software settings.

Then, select “Yes” when asked if you want to “Save Changes Made to Settings”.
Now that the software has the correct company information, logos, inspectors, numbering format, services, and drop down menus, you are ready to create and order and launch an inspection!